BackDrops
Views
Walks
Lego
Megabloks
Puzz3D
Compilers
MUD
Roomba 530
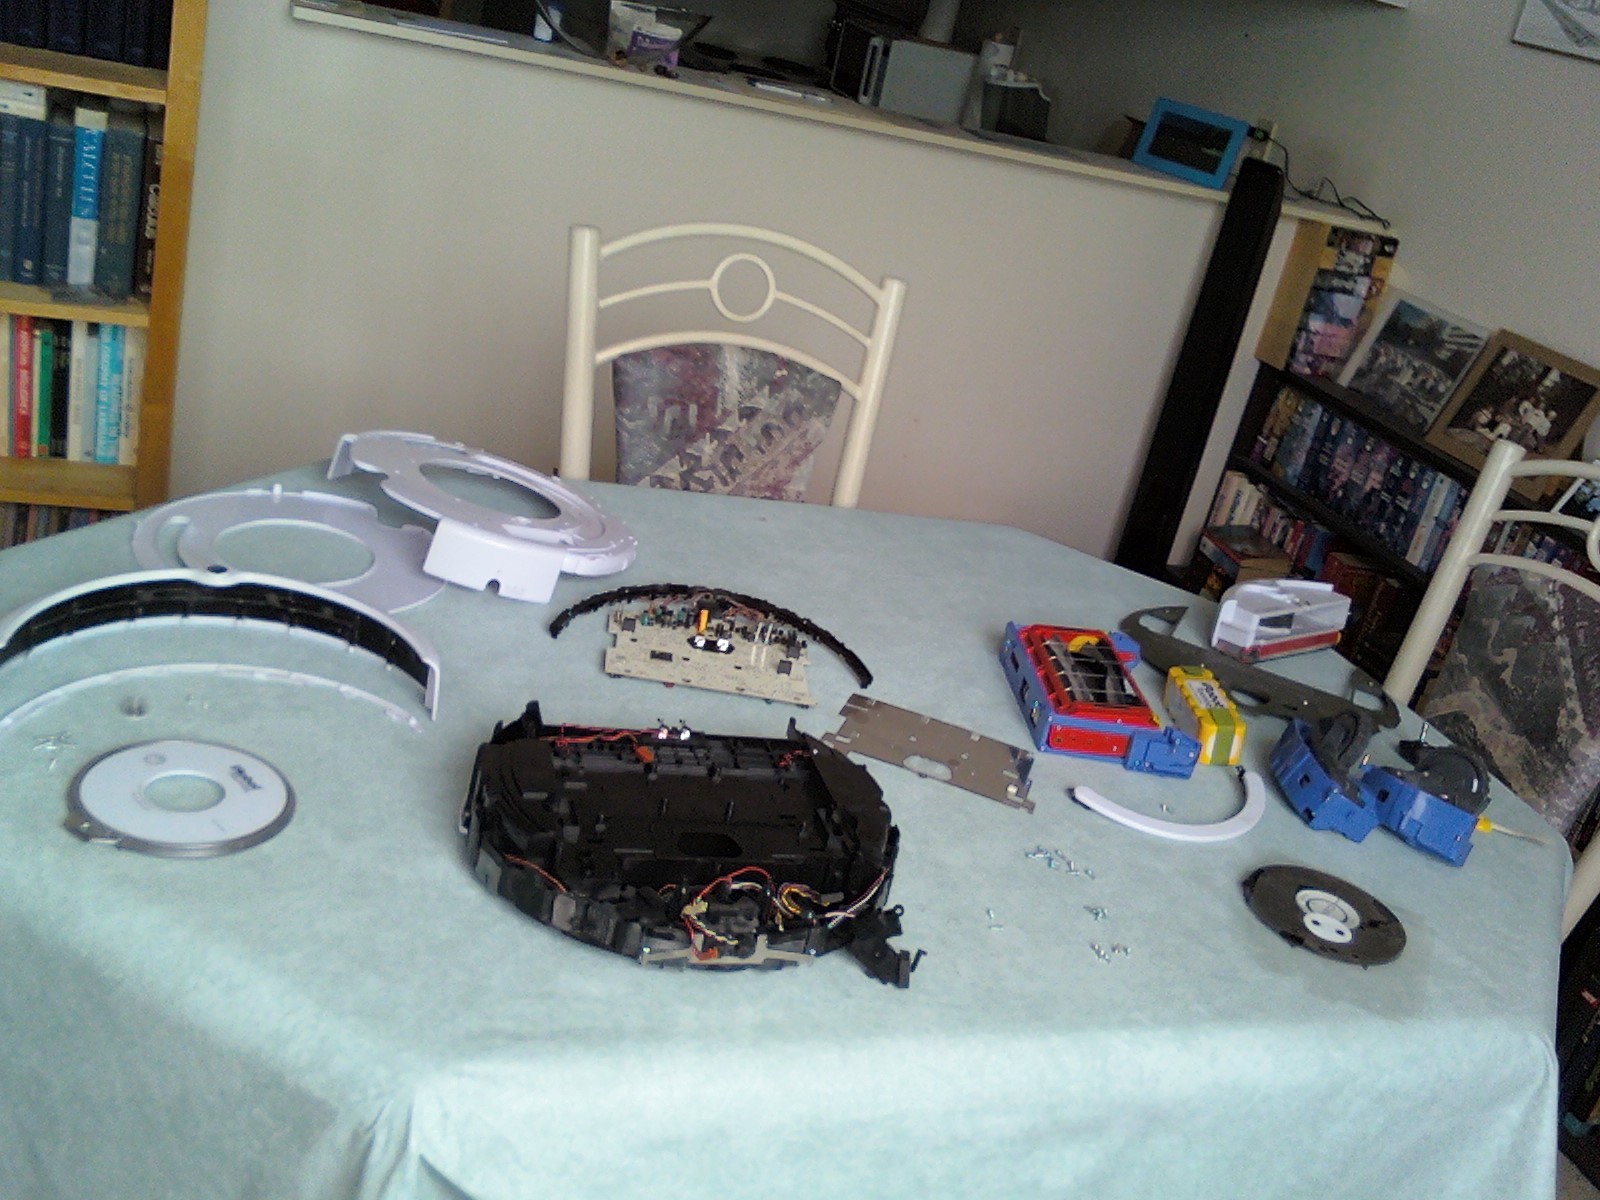
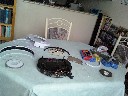
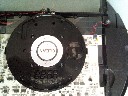
My Roomba 530 vacuum cleaner started acting up, and a bit of checking on the web revealed that the problem was with the front bumper sensors. I decided to have a look at them, which required a fairly complete disassembly of the machine. These pictures show some views of the disassembled result. I now have a replacement 531 unit, so this one is spare parts.
The front bumper piece can be removed by removing all of the little screws in the bottom of it. That doesn't really help with major disassembly, but gets it out of the way, and gives you access to the IR sensors.
Disassembly starts with removing the dust container and the vacuum, just like when you are emptying it. Then looking at the top of the unit from the rear, note that the top is actually two pieces. The top piece pries off - it is held on only by 4 snap-in fingers. A screwdriver can help with prying. When you have that off, you will see the programming connector and some screws. From there on, removing screws is how you disassemble further.
All of the pieces and screws
|
|
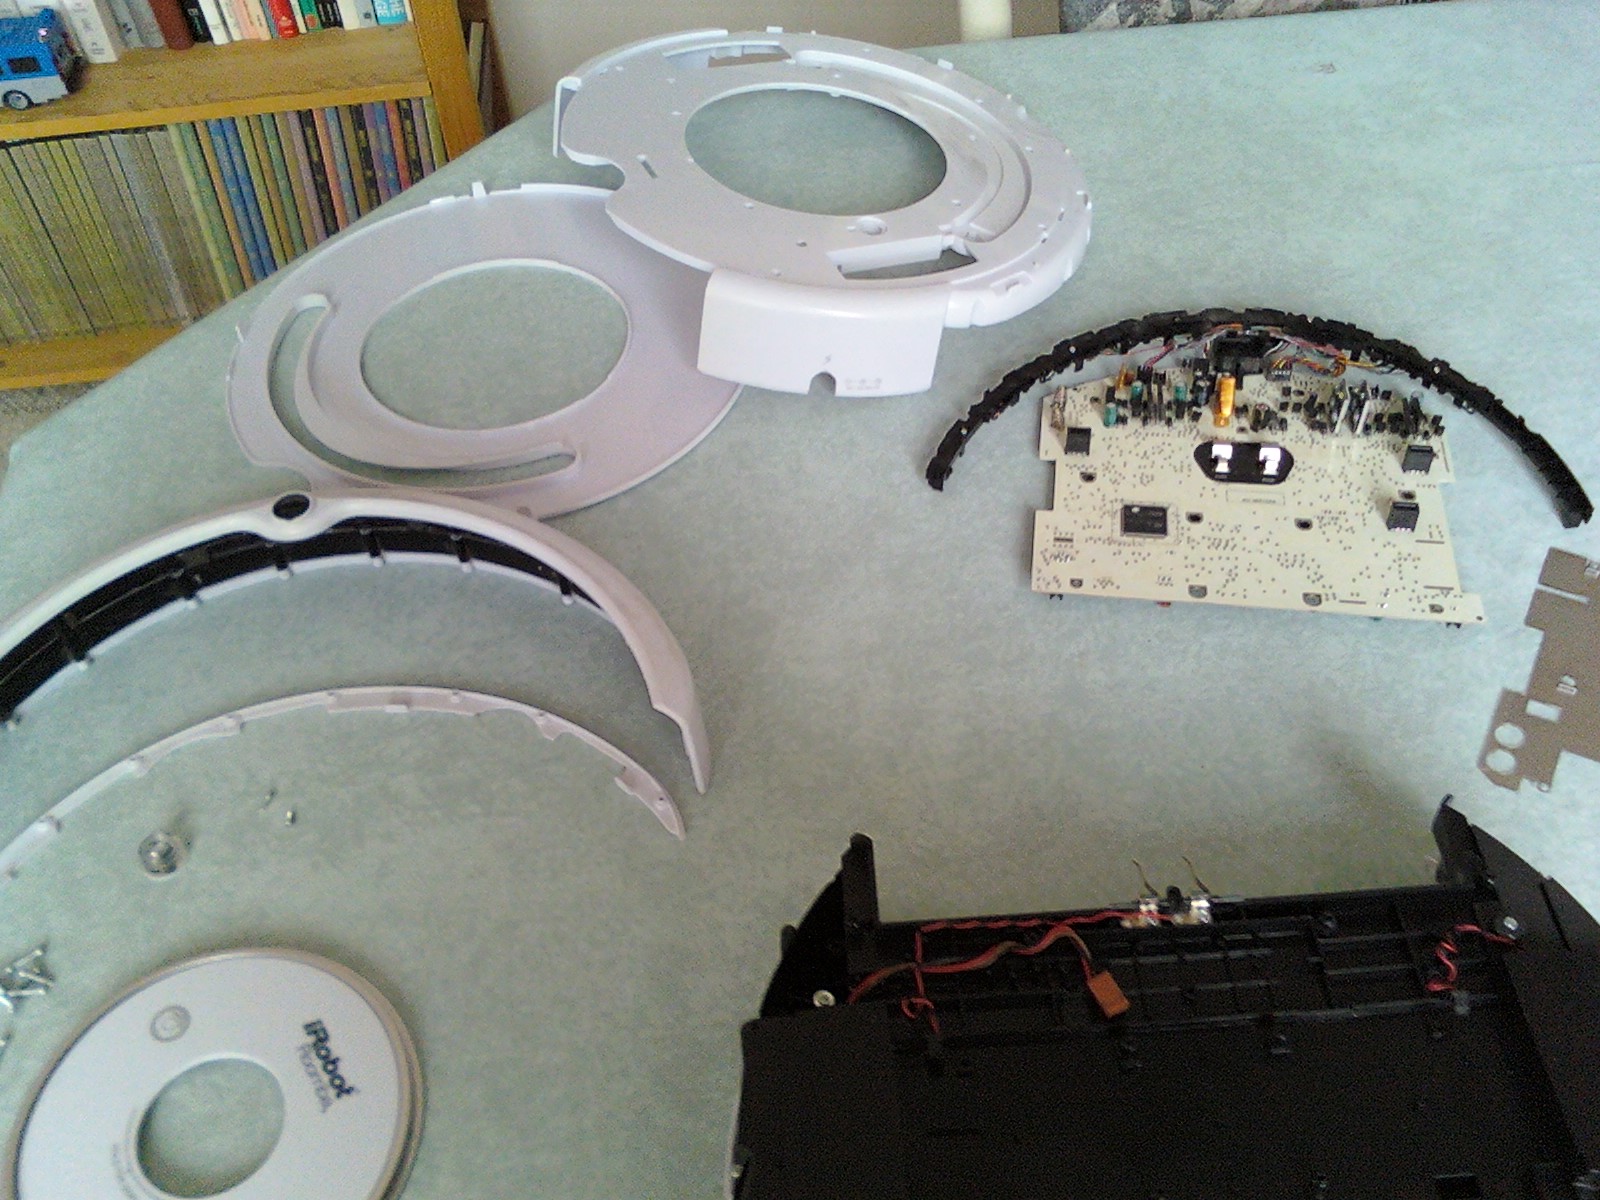
Normally removeable parts

|
|
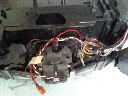
Parts removeable with a bit more effort

|
|
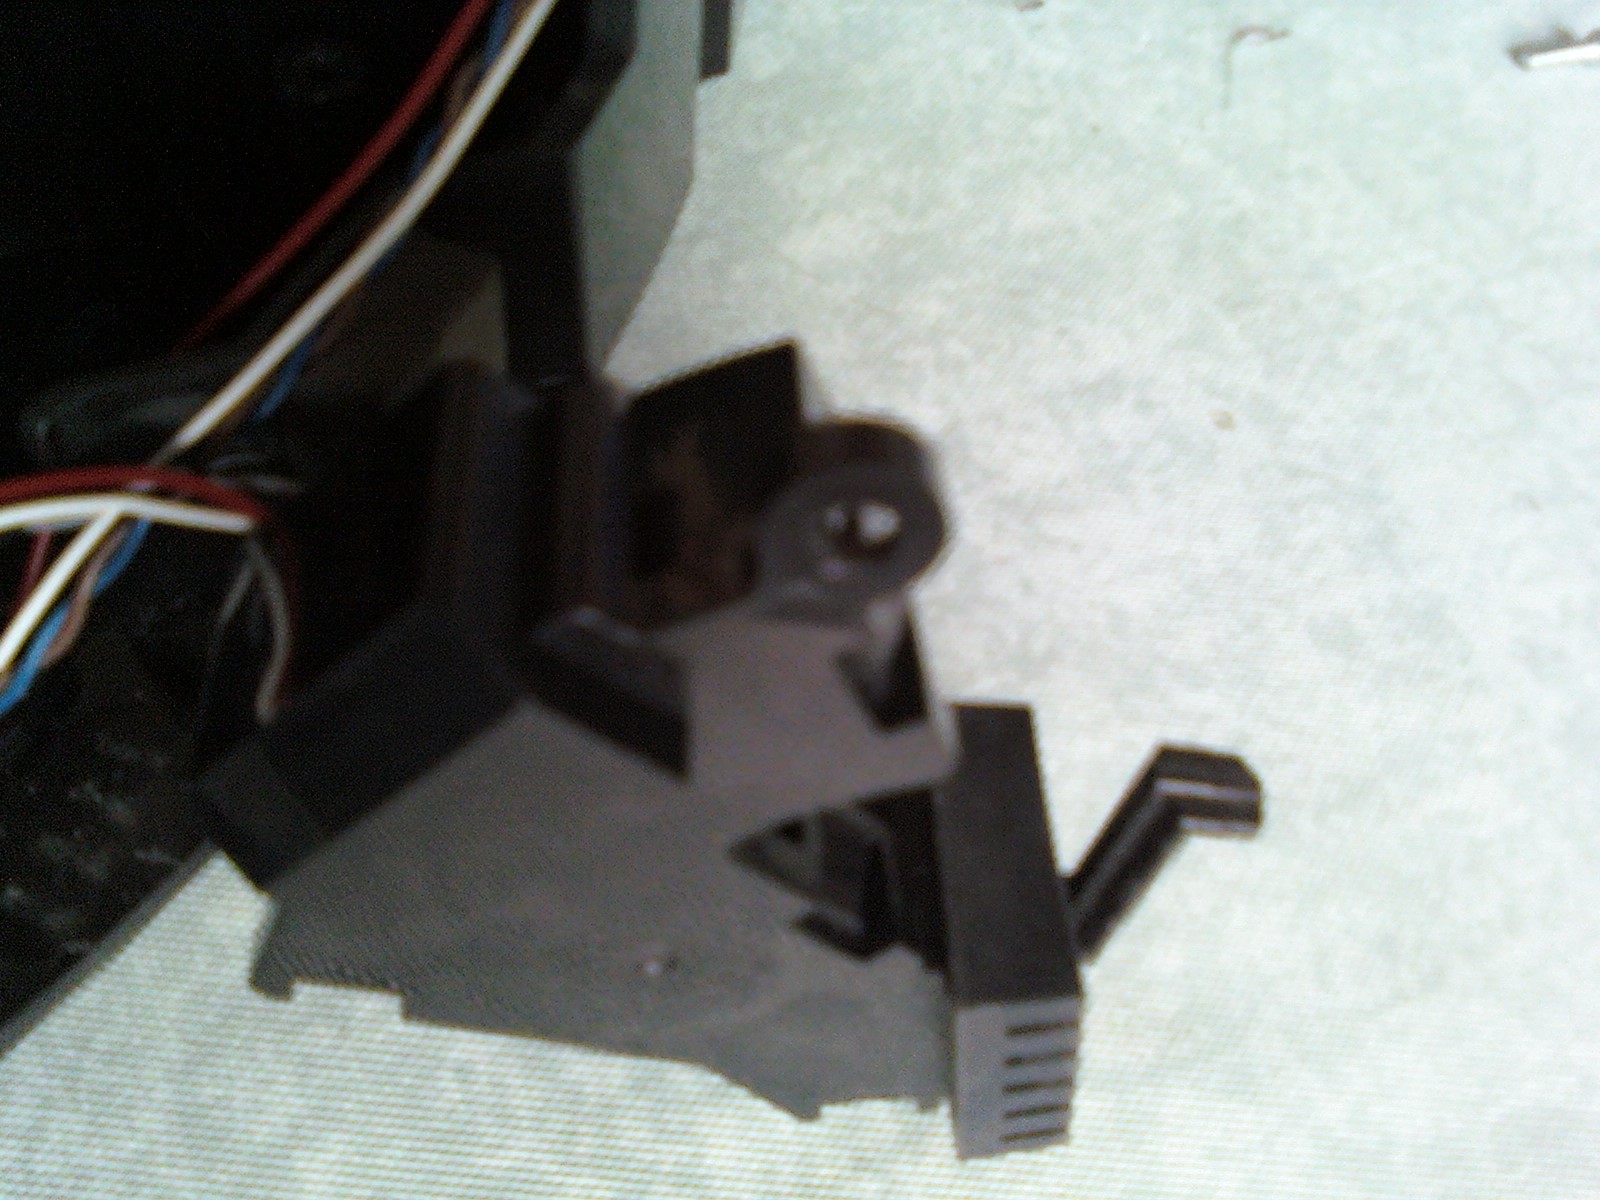
Blurry image of one of the bumper sensors - note that it is fully enclosed

|
|
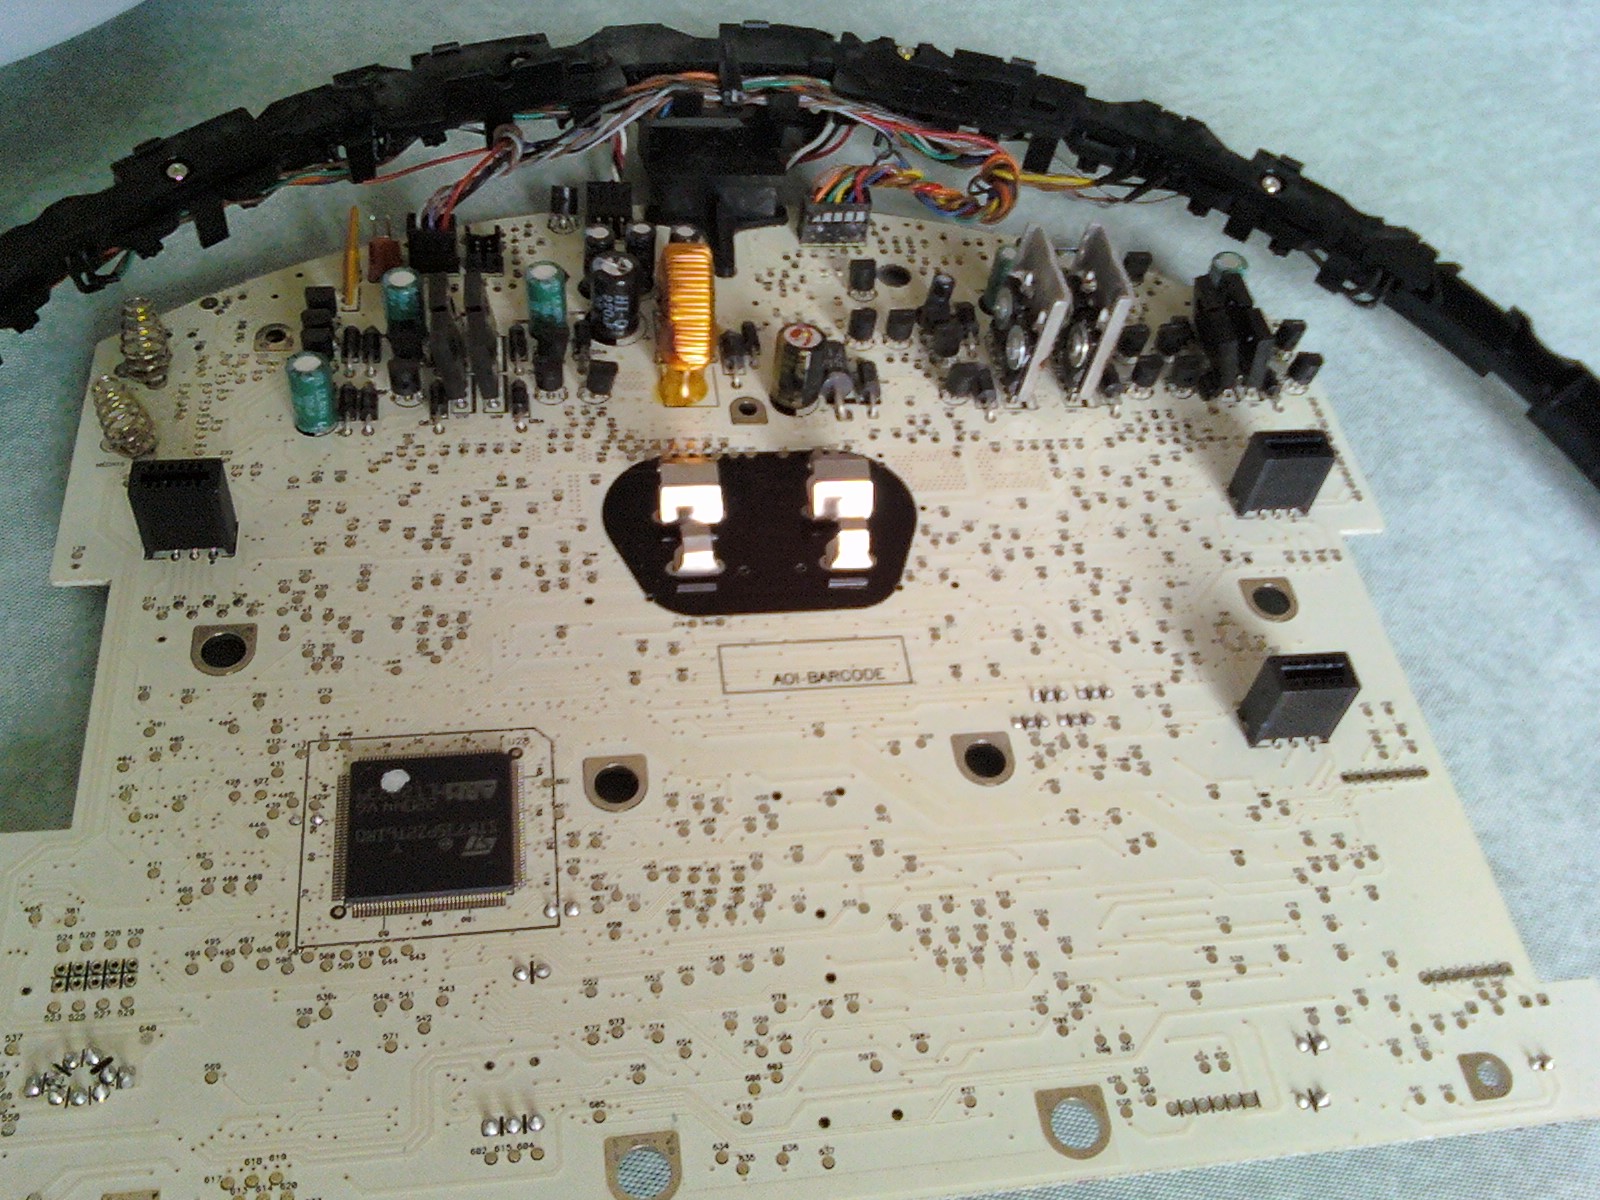
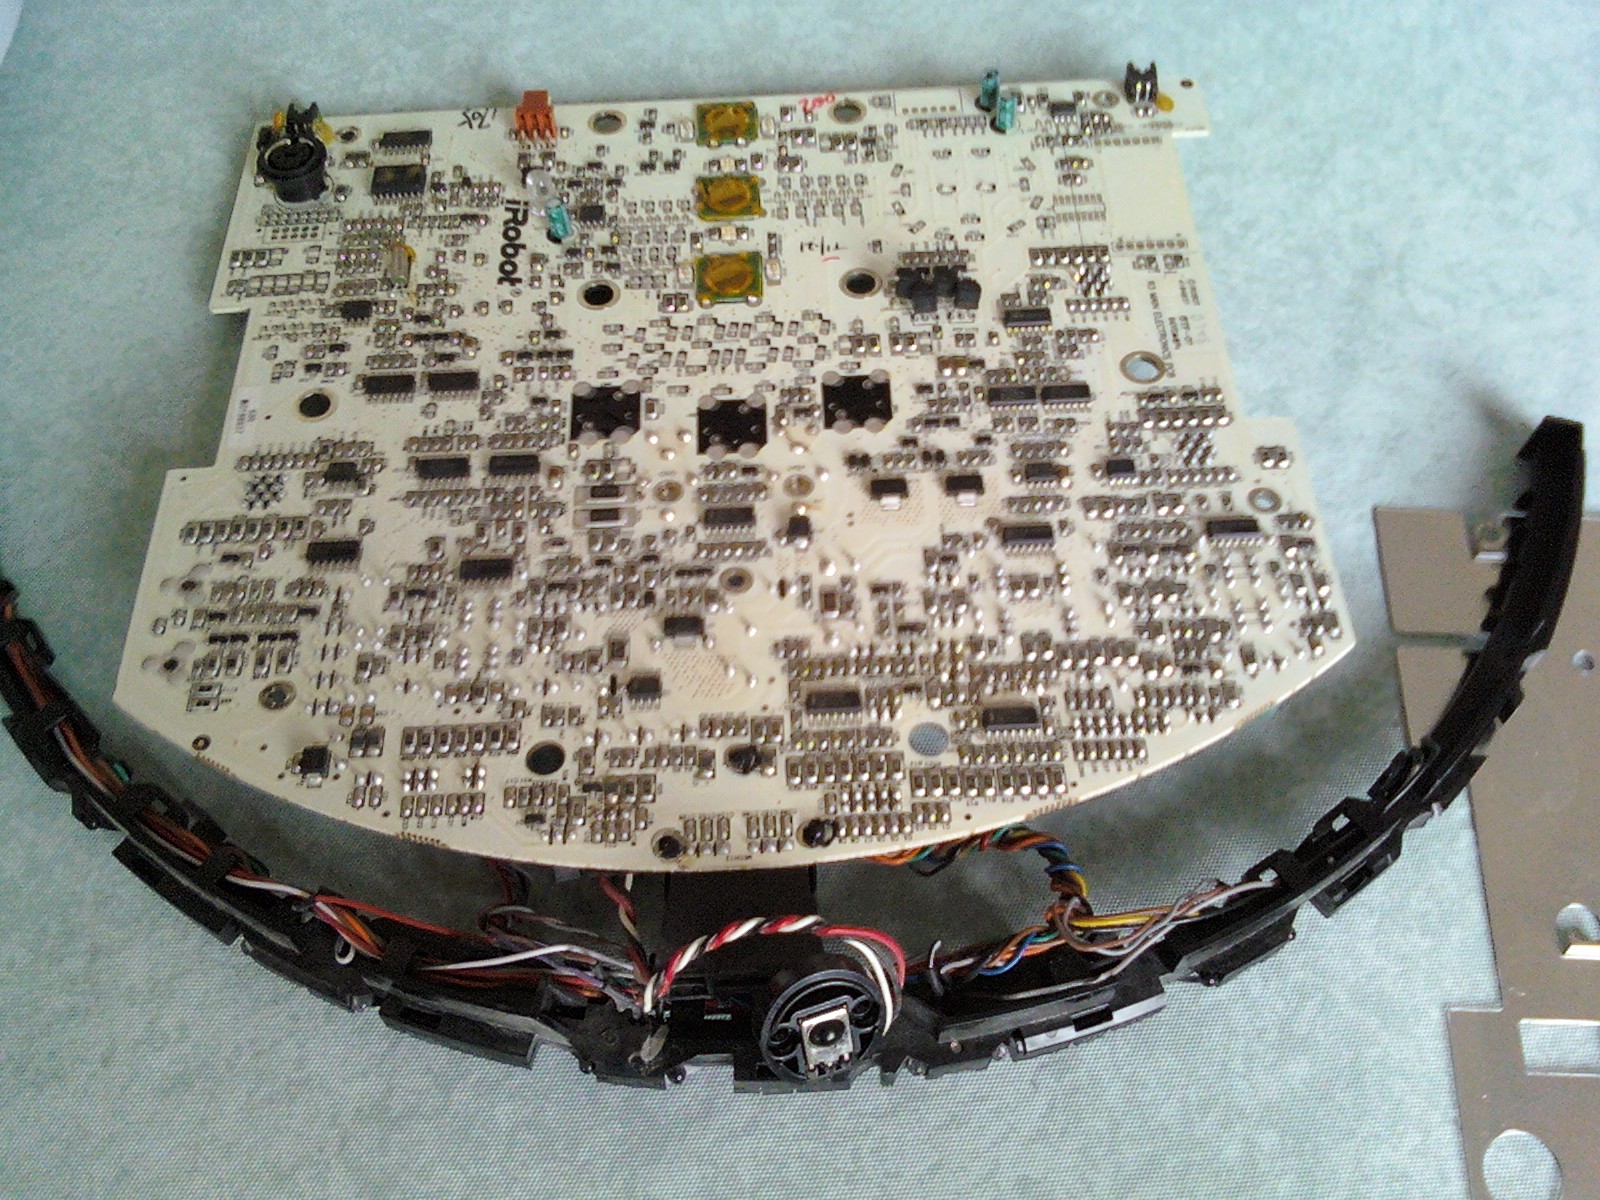
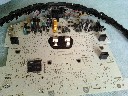
Bottom of motherboard, still connector to bumper sensor ring
|
|
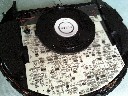
Top of the motherboard, containing display LEDs, button pads, etc.

|
|
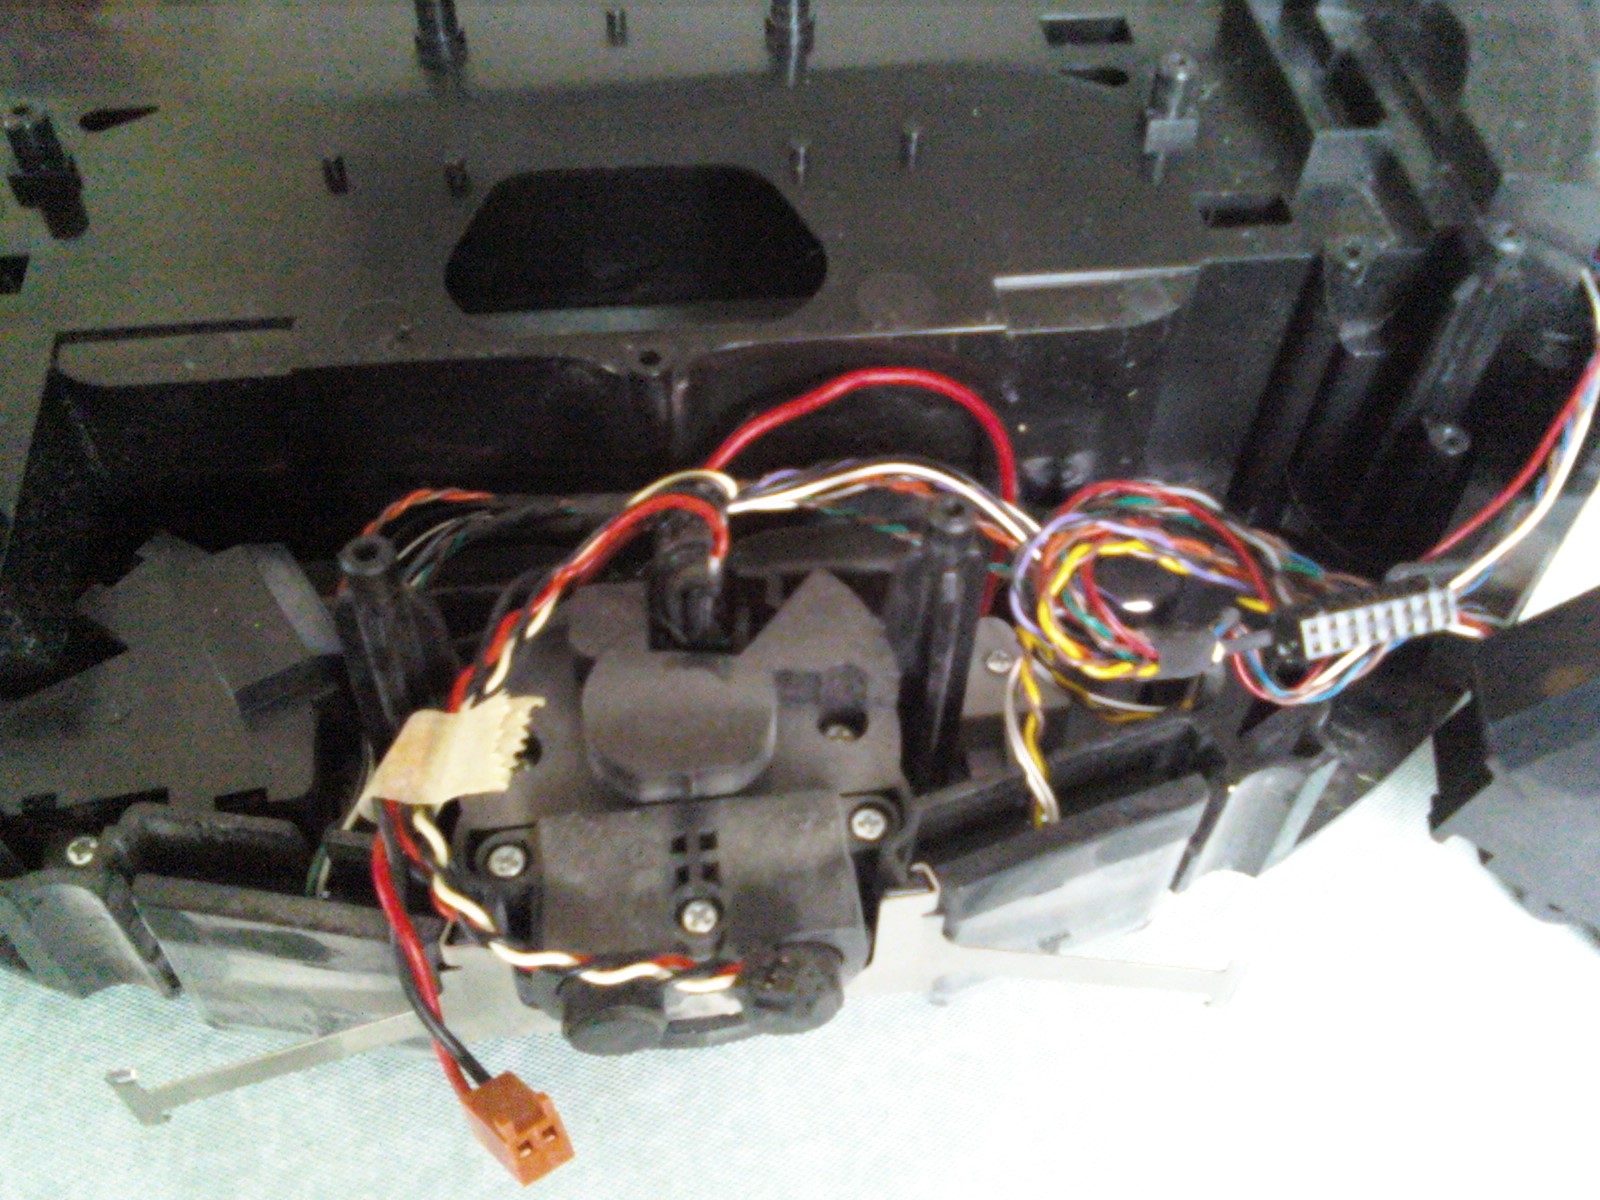
One of the front IR sensors
|
|
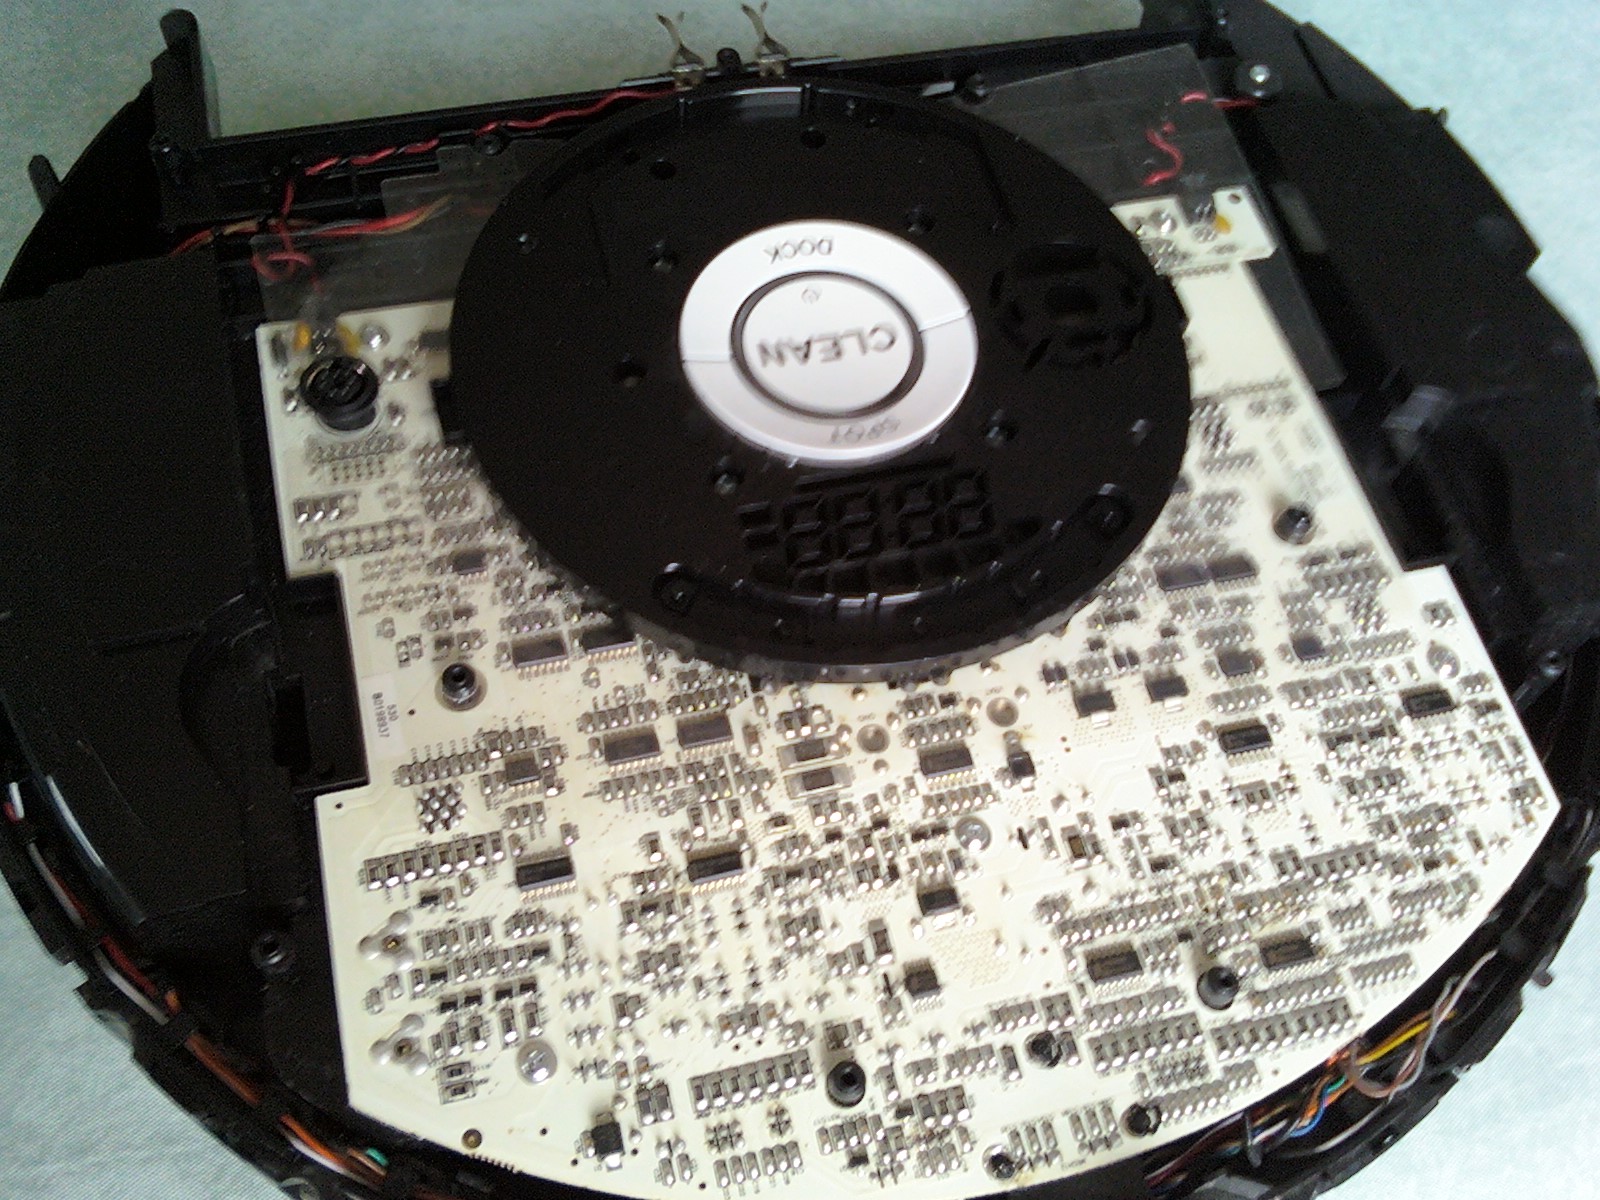
Motherboard and faceplate in place - note the programming connector
|
|
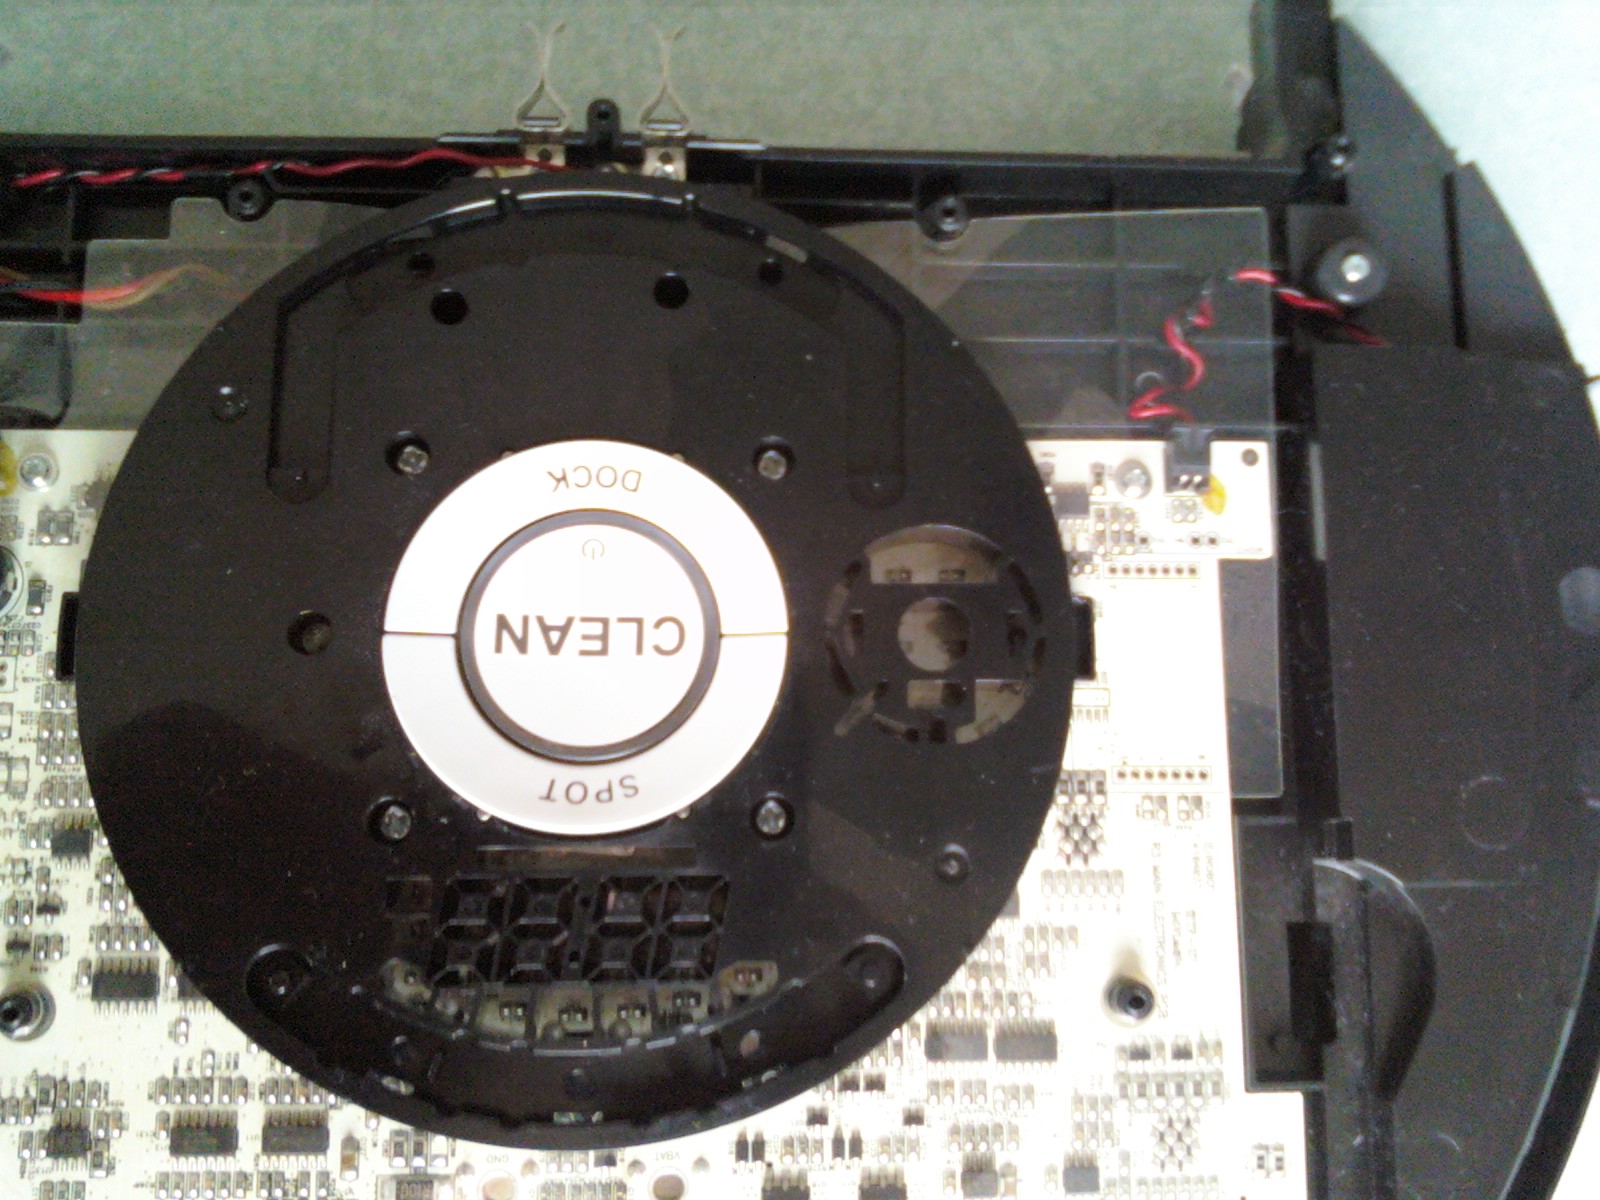
Button faceplate in place, showing the 4 digit display
|
|