BackDrops
Views
Walks
Lego
Megabloks
Puzz3D
Compilers
MUD
GETS 2008 - "Boomtown" and a New Mountain
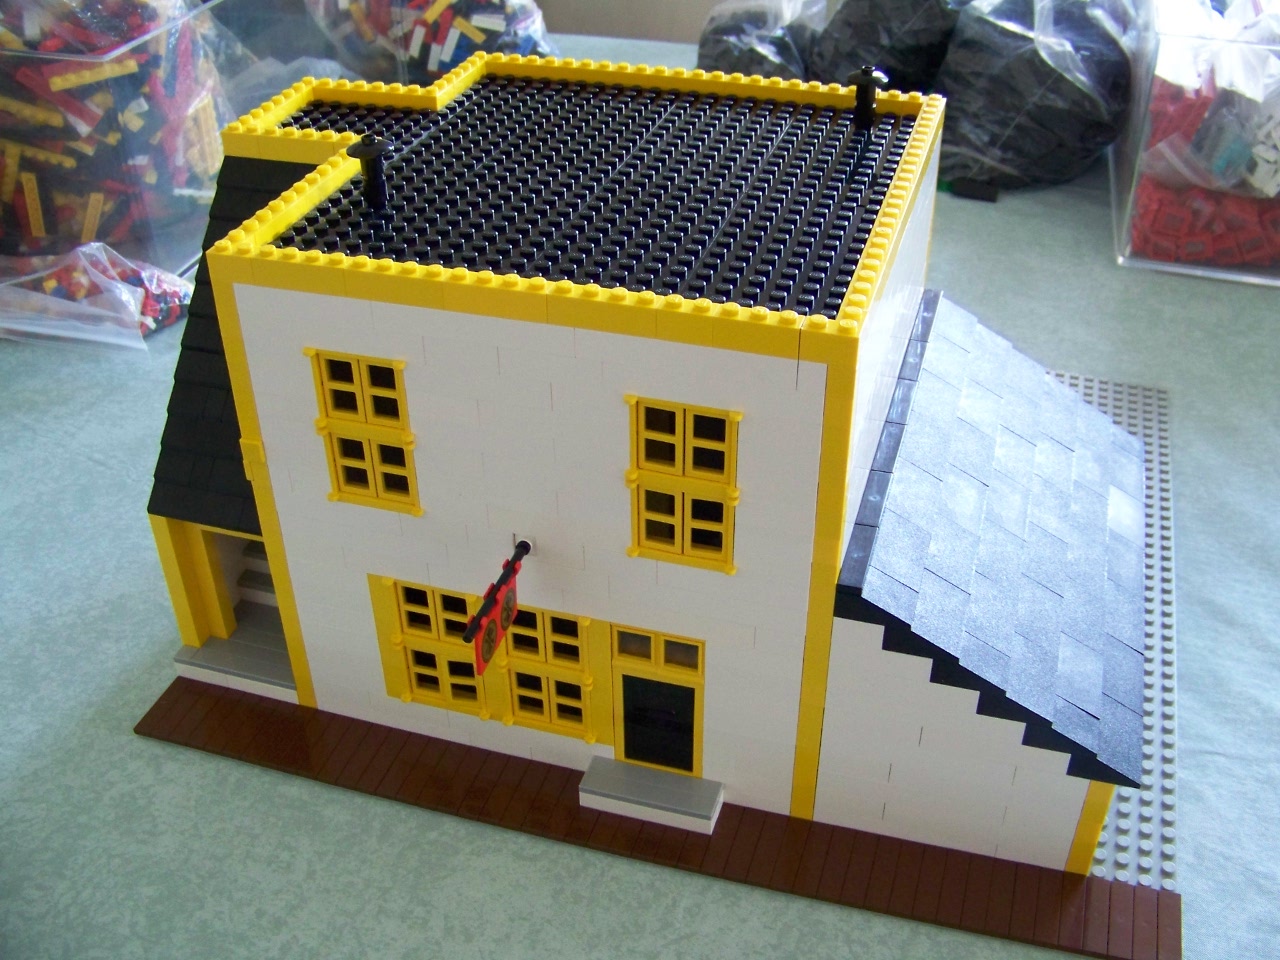
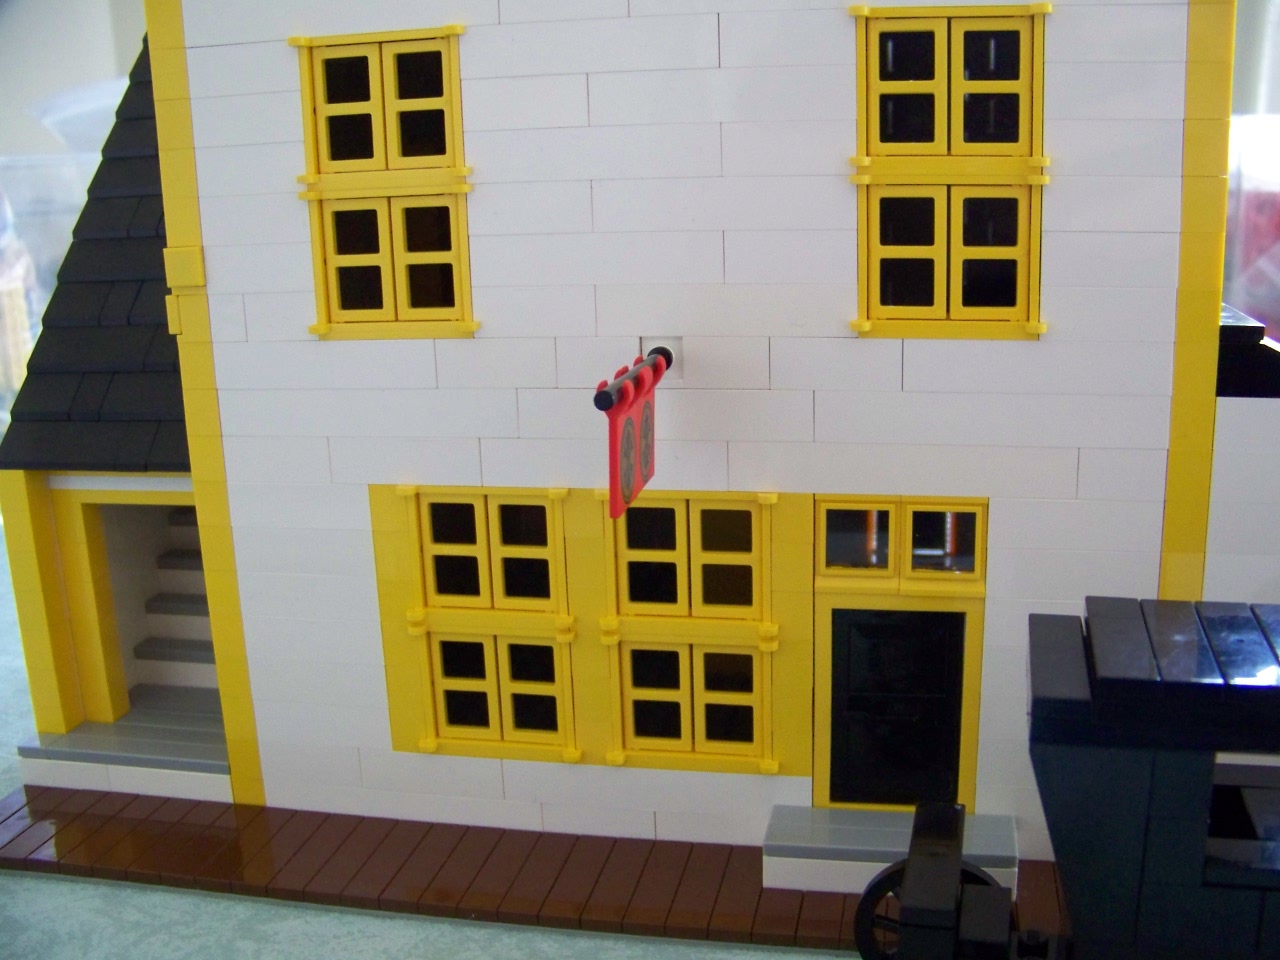
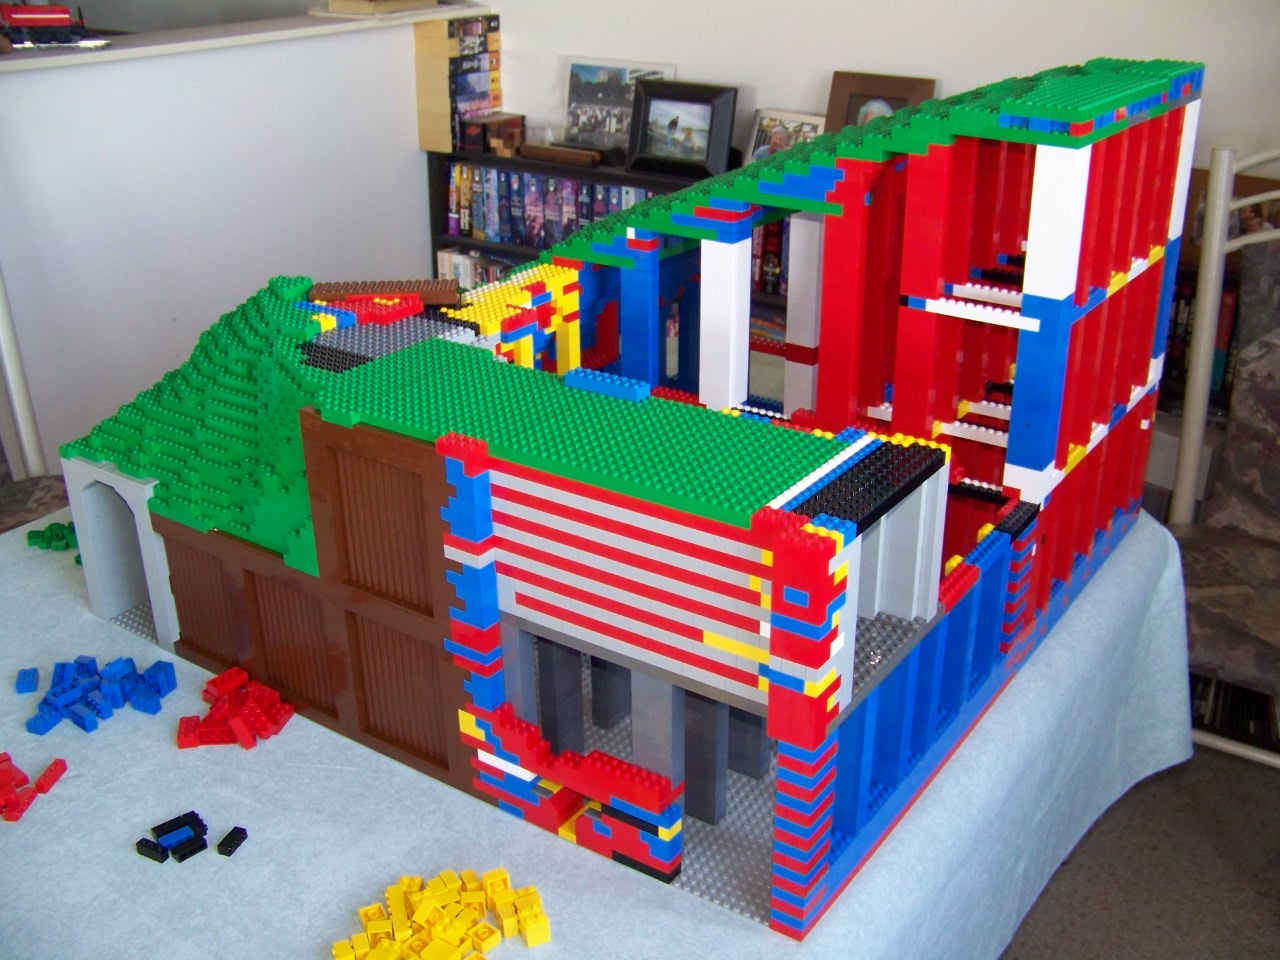
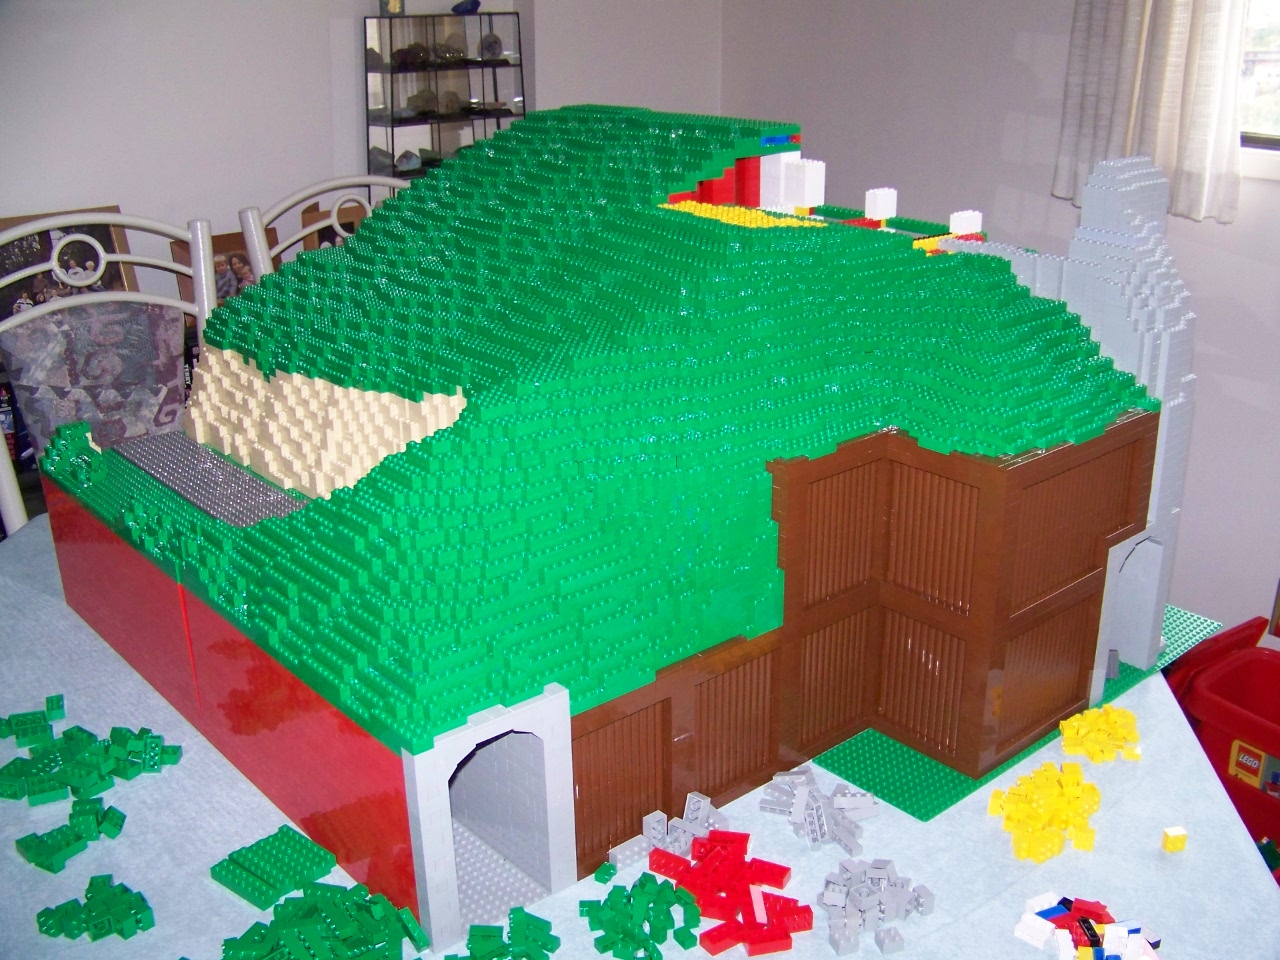
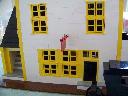
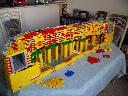
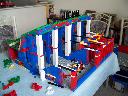
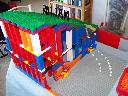
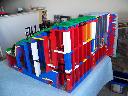
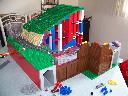
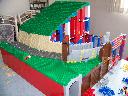
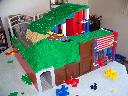
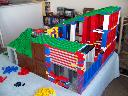
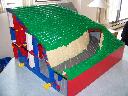
Drew was "show dictator" for GETS 2008. One of the things he suggested was that folks could build some buildings from an indoor museum called "Boomtown" in Saskatchewan. He provided pictures of several of the buildings. I said I would do some, and did 3 of them:
Doctor's office

|
|
Doctor's office
|
|
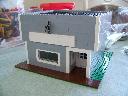
Hardware store
|
|
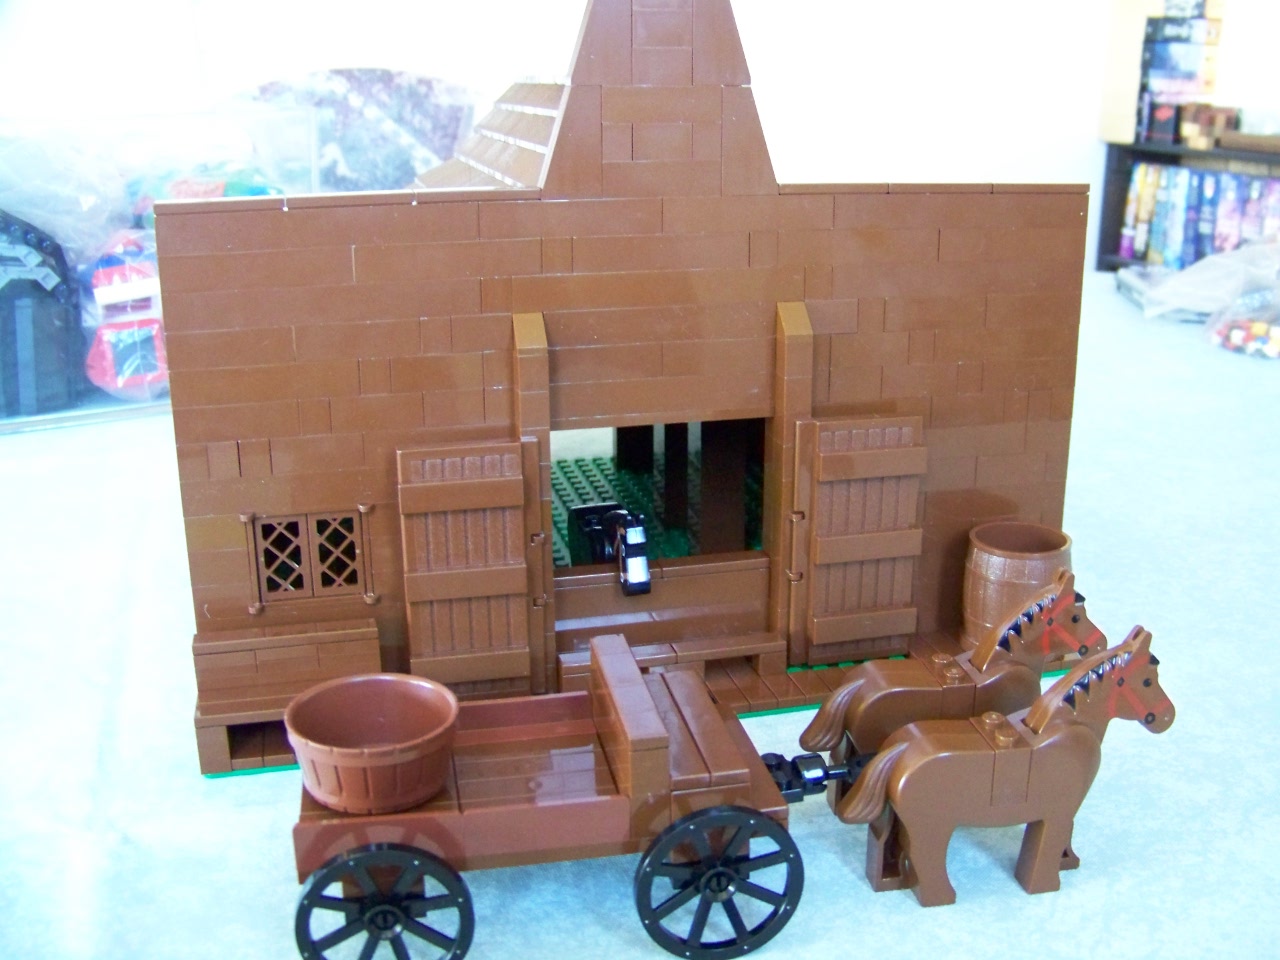
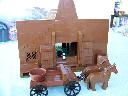
Blacksmith
|
|
|
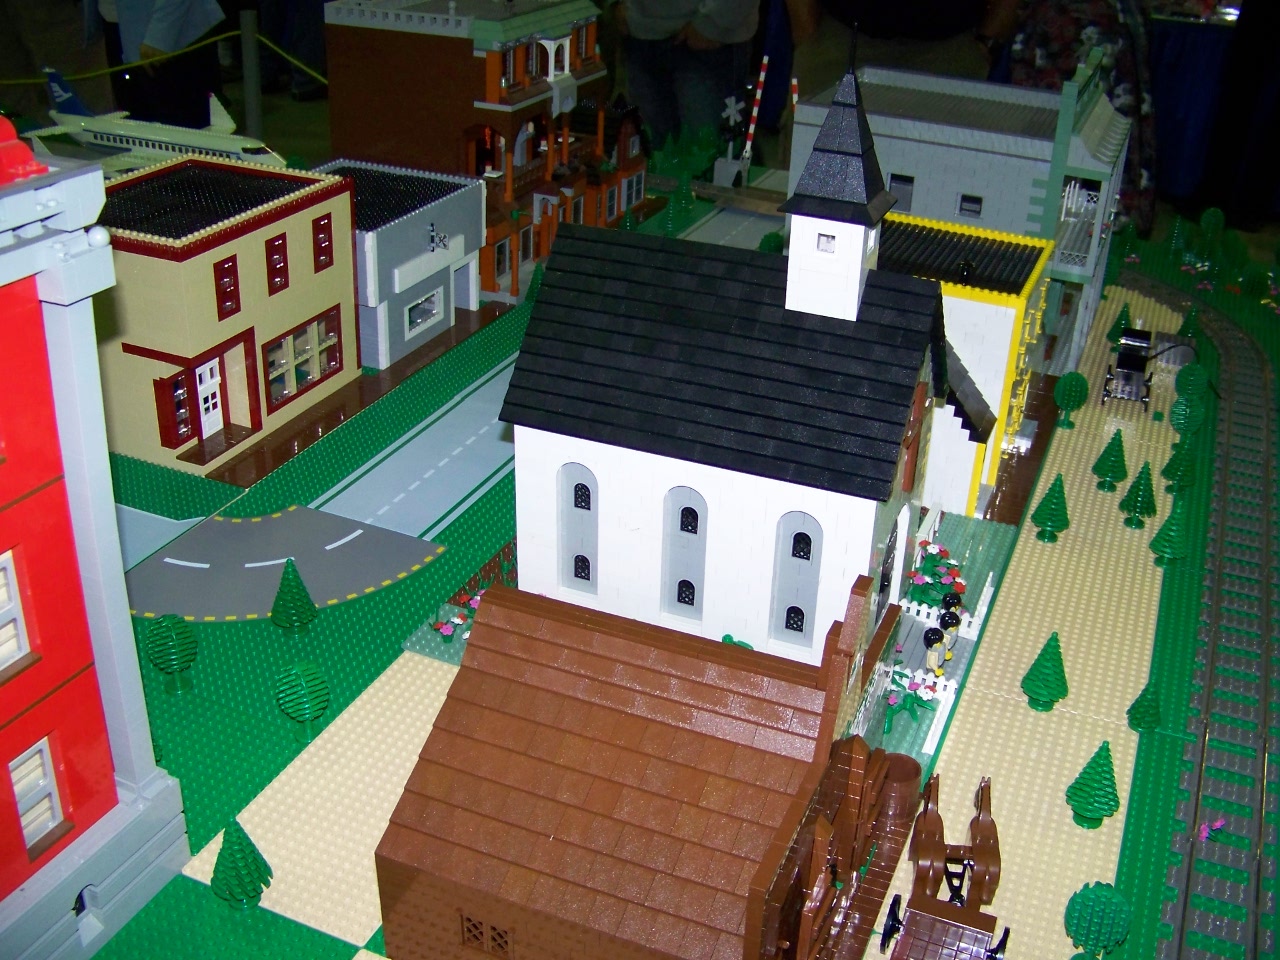
Ok, so there ended up being four. The fourth is the tan with dark red trim building seen in the last picture above. I can't remember what the building was!
After finishing the 3rd, I got to talking and thinking (bad idea!) and realized that it was quite a while since I'd done anything new and big for GETS. And, since I was now retired, I had the time, and I had the brick. I couple of weird thoughts later I had the basic ideas. A day or so of trying it out convinced me that I had neither the brick nor the time to do it. So, I shrank it down by a factor of 2 in height, and nearly a factor of 2 in size, and started again.
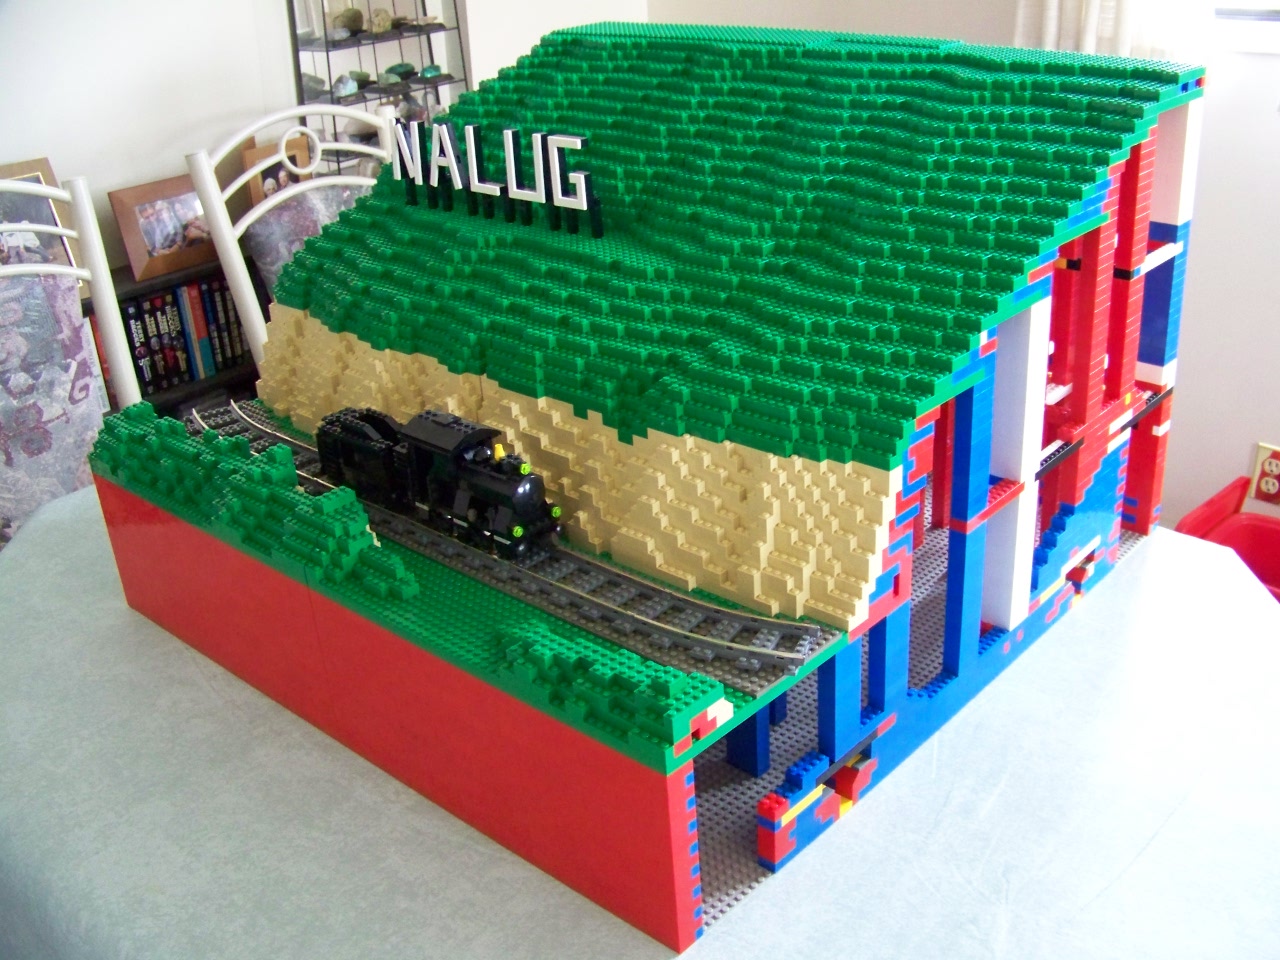
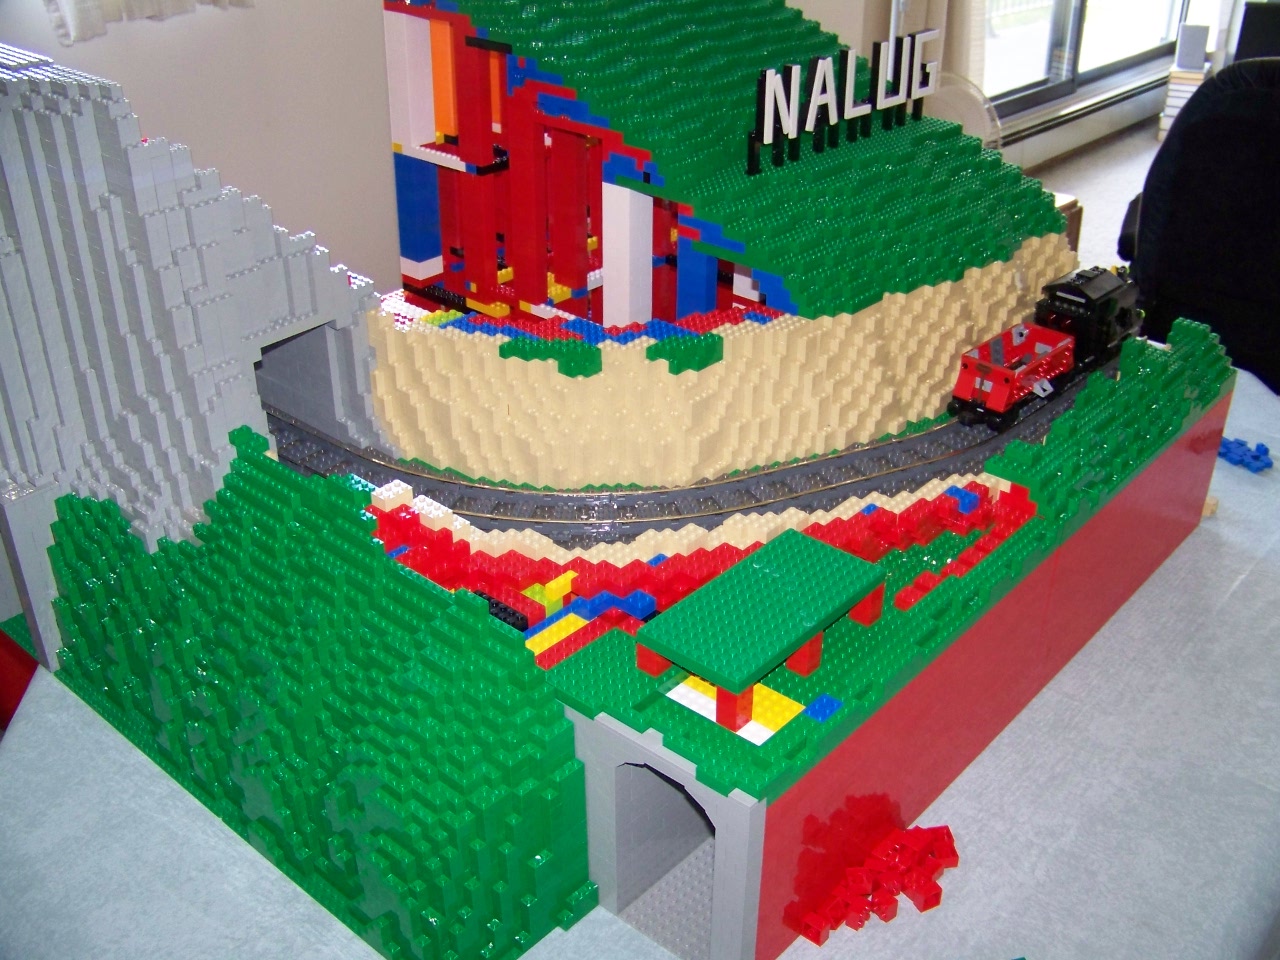
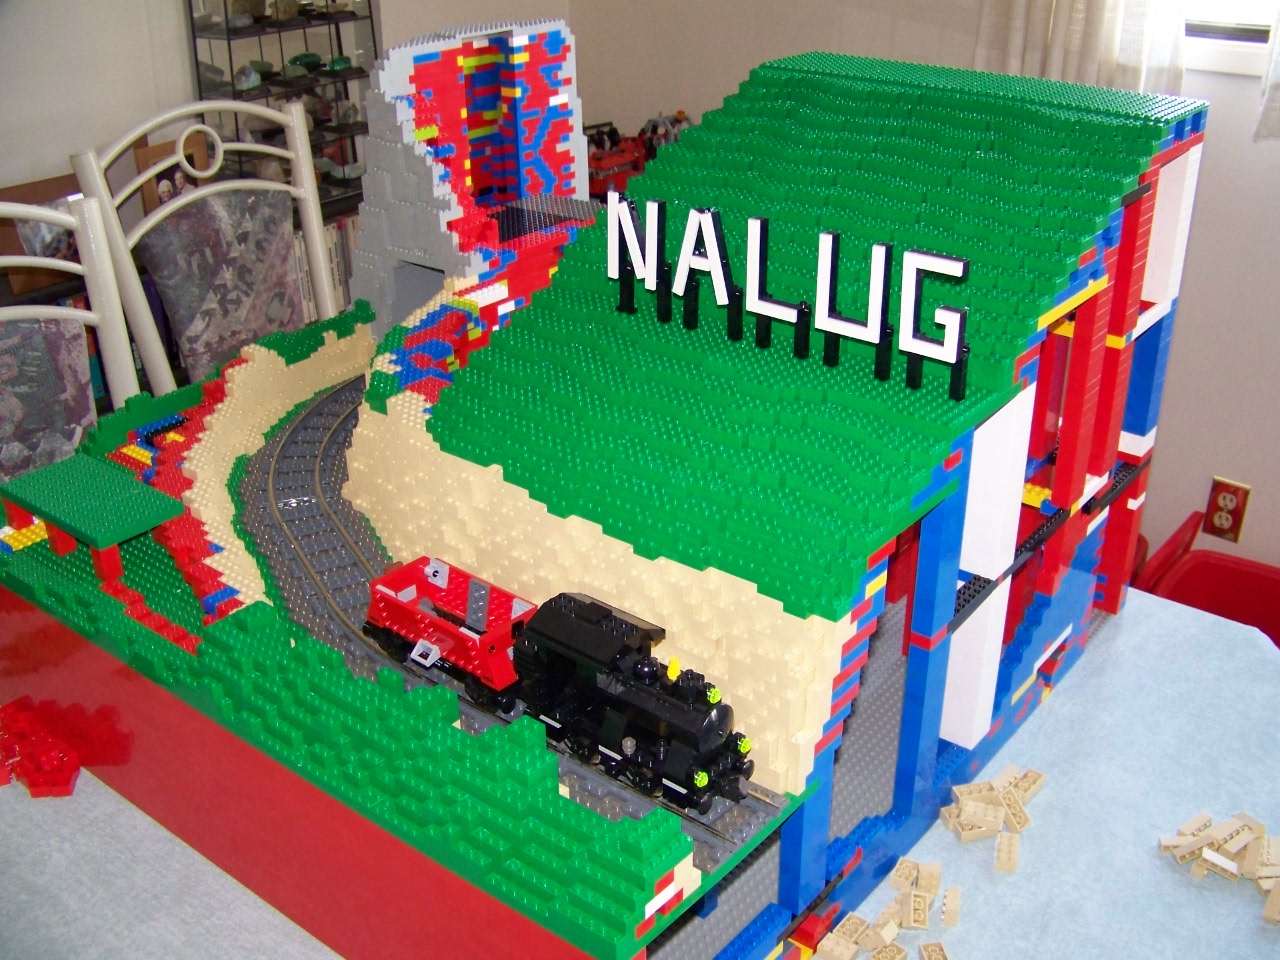
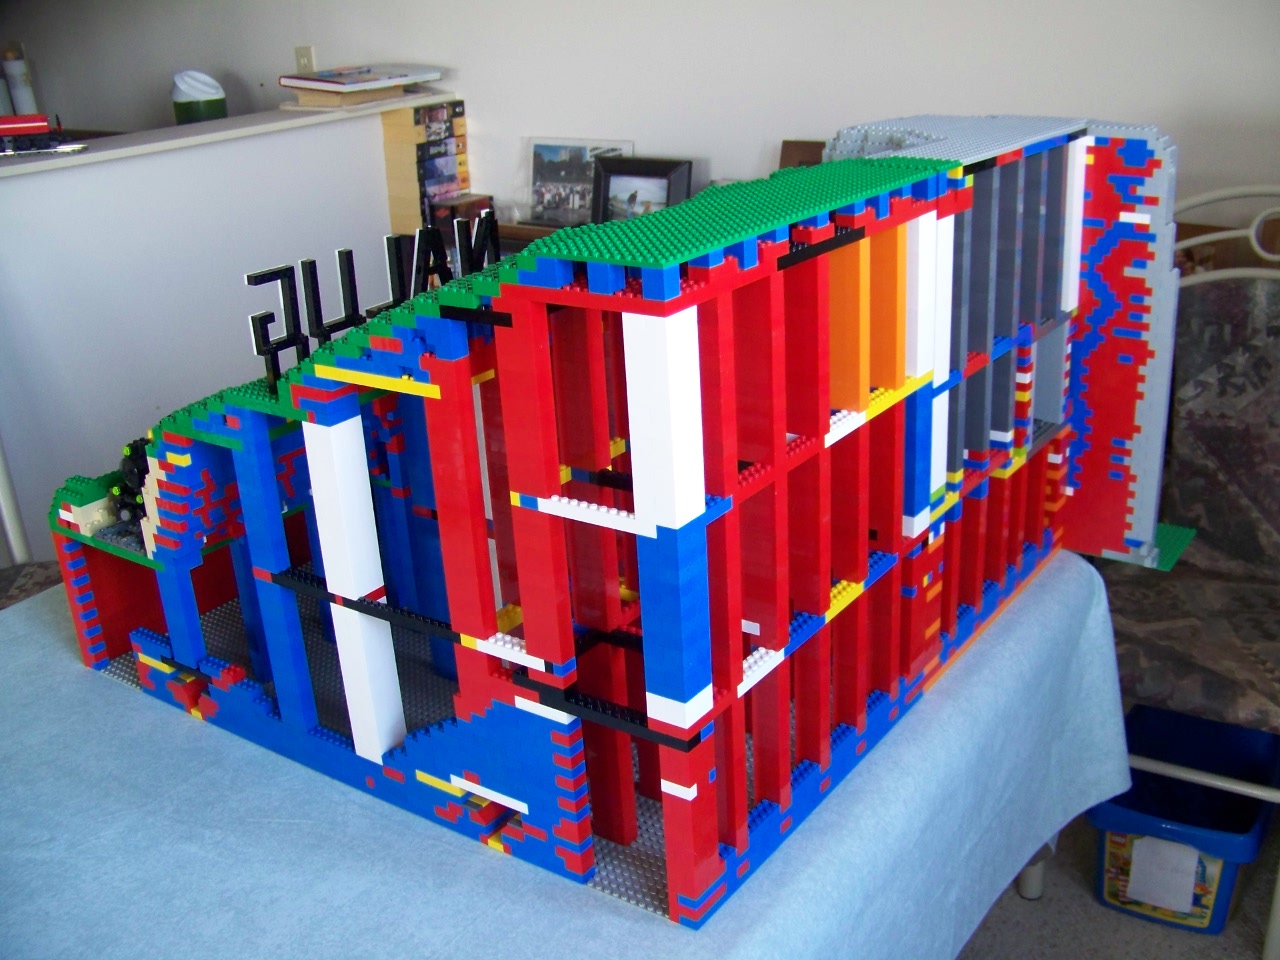
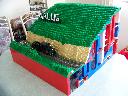
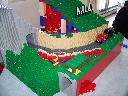
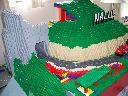
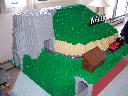
The first idea was simple - do the HOLLYWOOD sign in Los Angeles on a green hillside, but have it say NALUG instead. The second idea was to do the crazy cliff road that pictures of have gone around in emails, etc. The initial emails said it was the "Stremnaya" road in Bolivia. However, some searching says that it is actually the Gualiang Tunnel near Mount Taihang southwest of Beijing in China. So, my project would be a combination of the two - cliff railroad on one side, and NALUG sign, etc. on the other side.
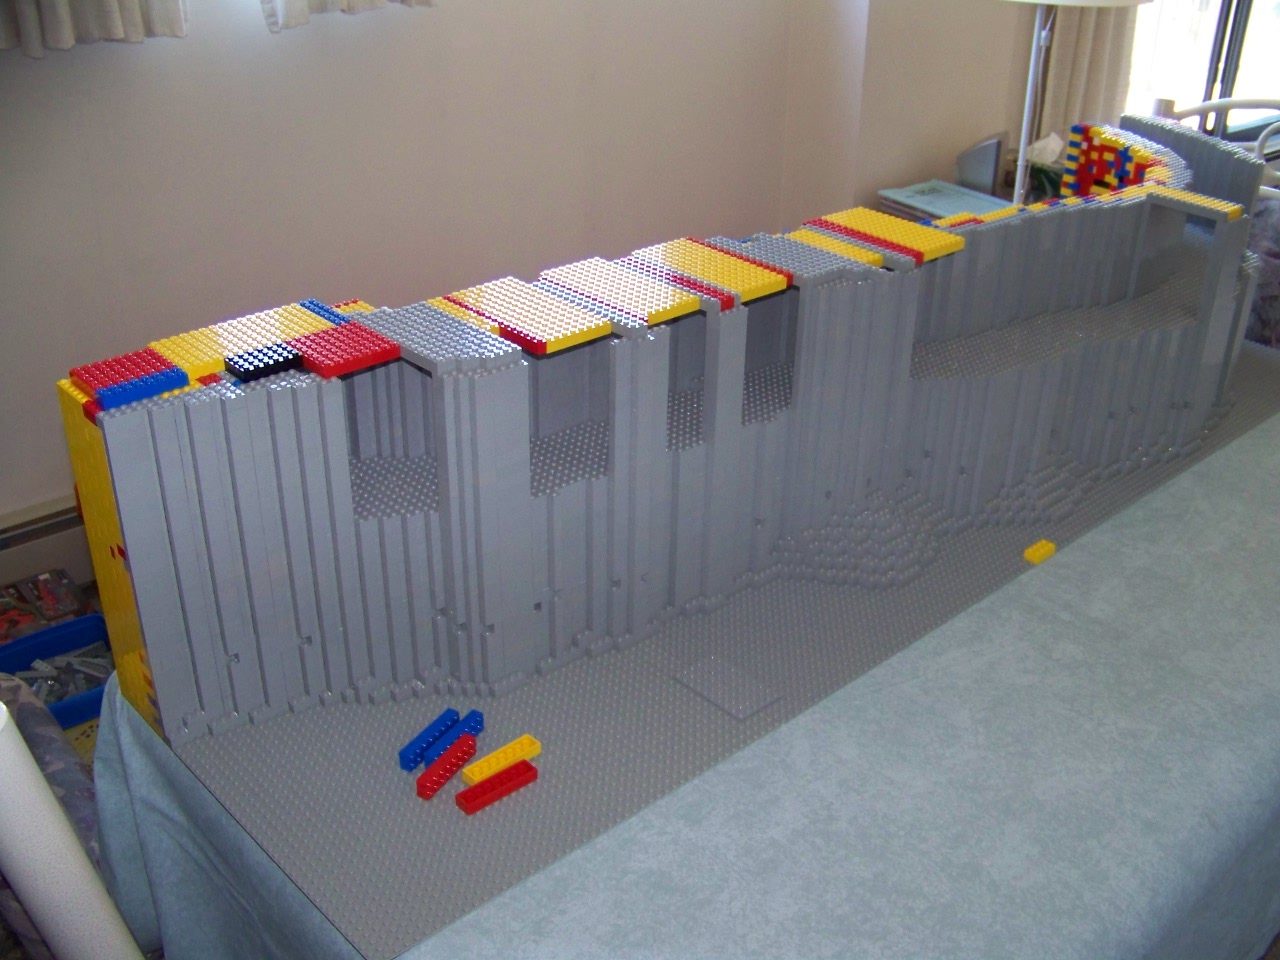
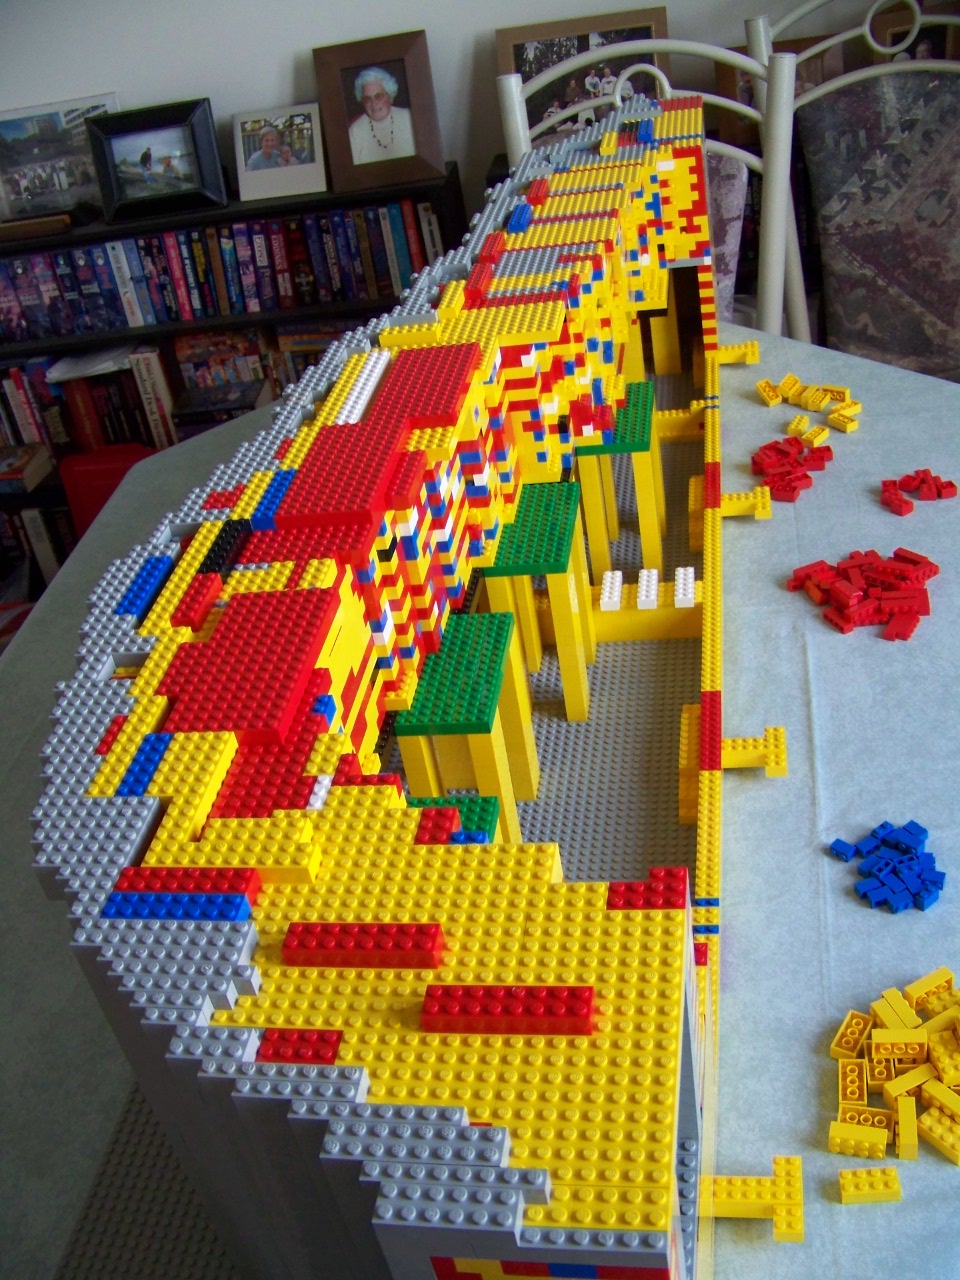
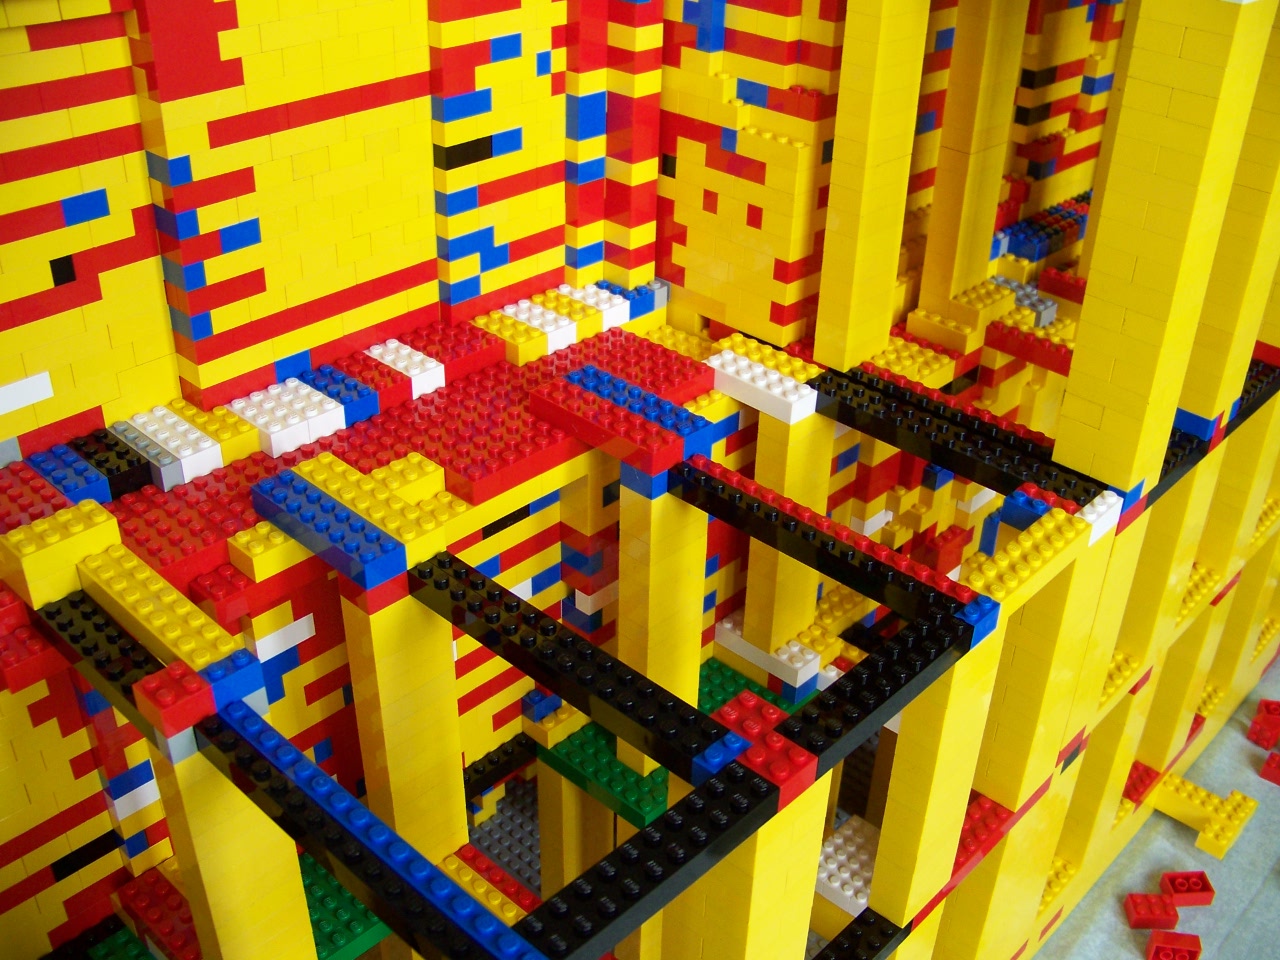
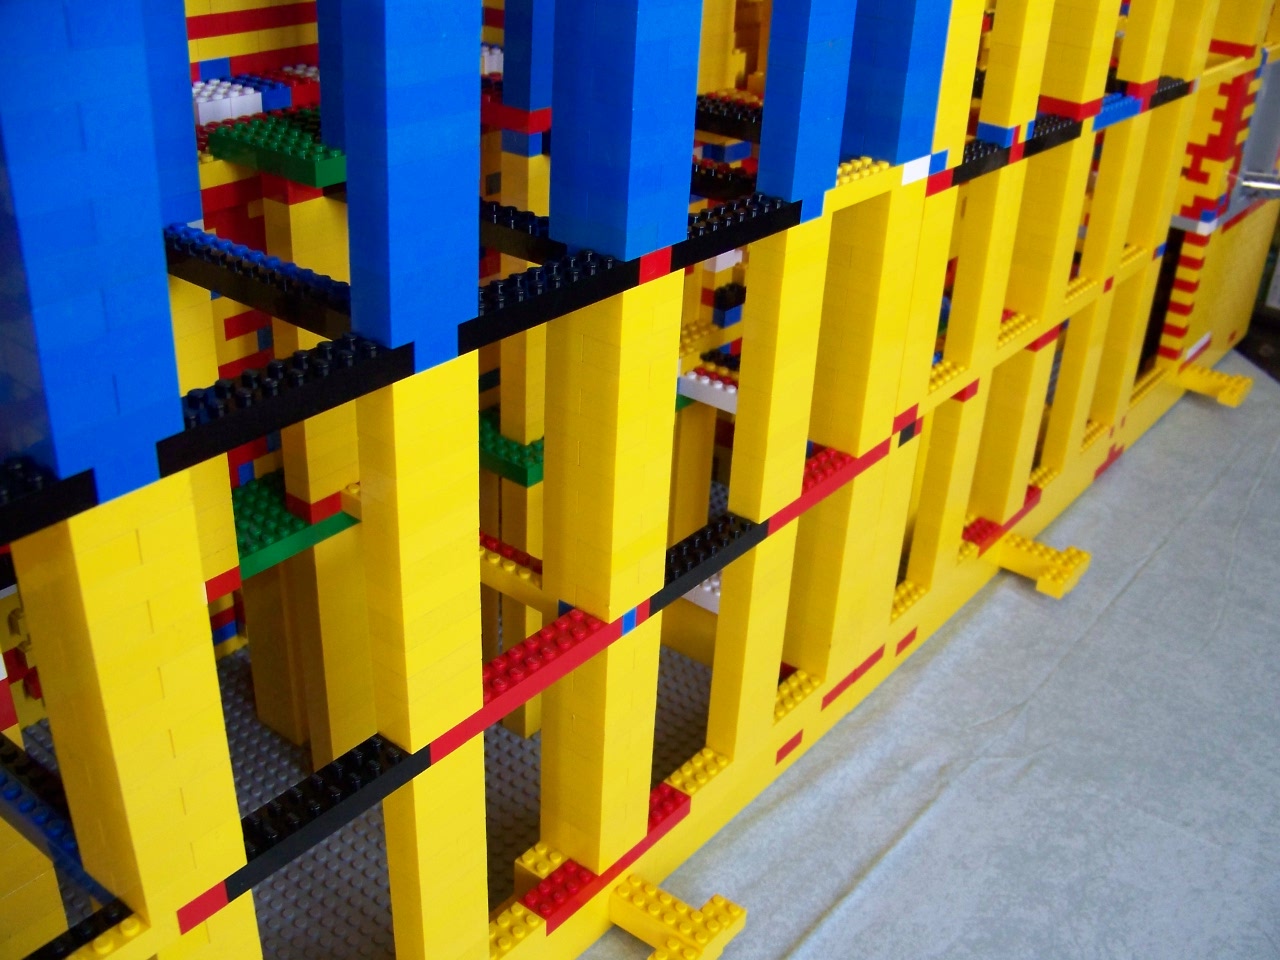
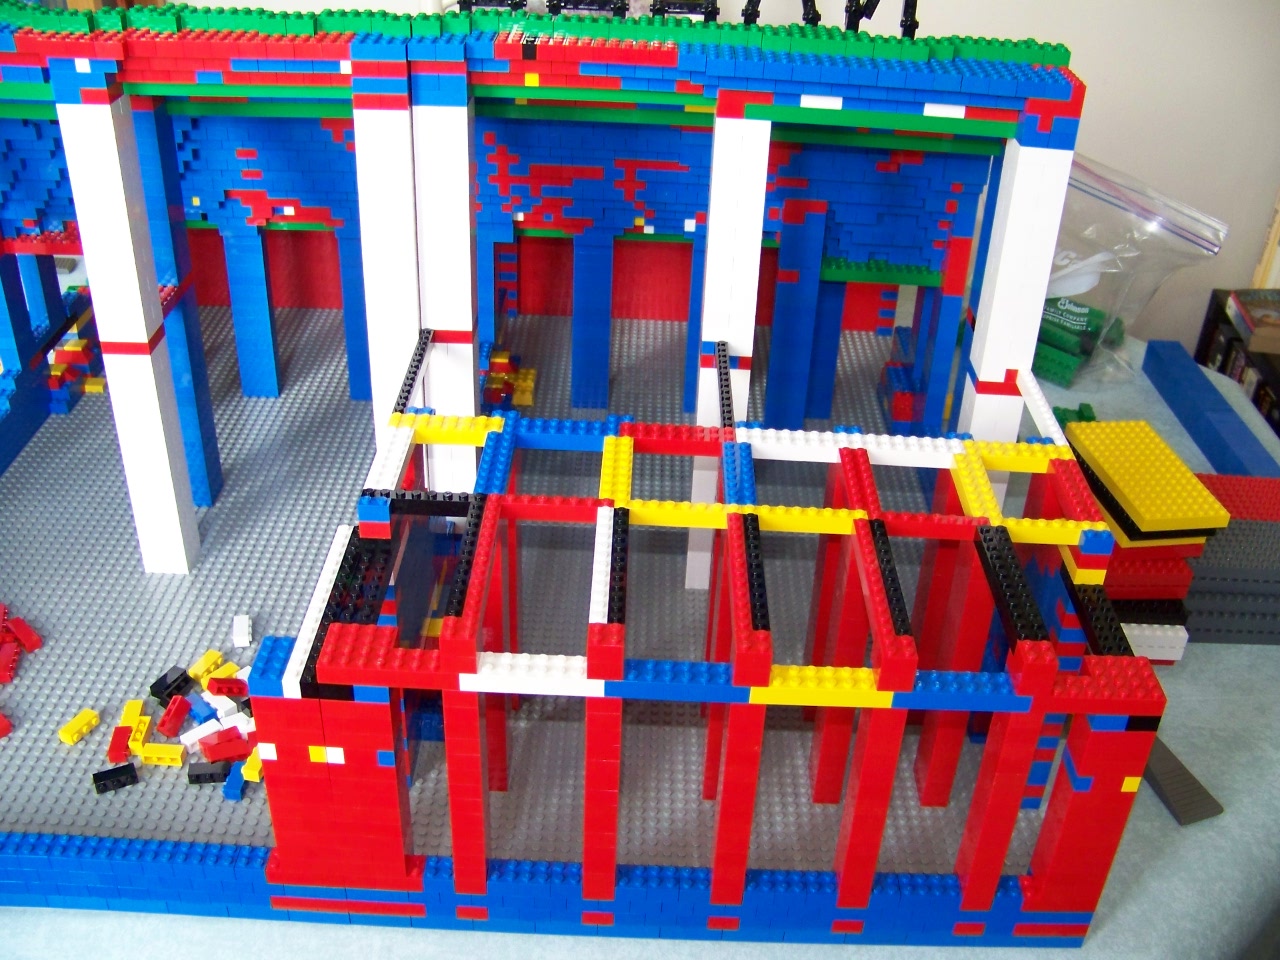
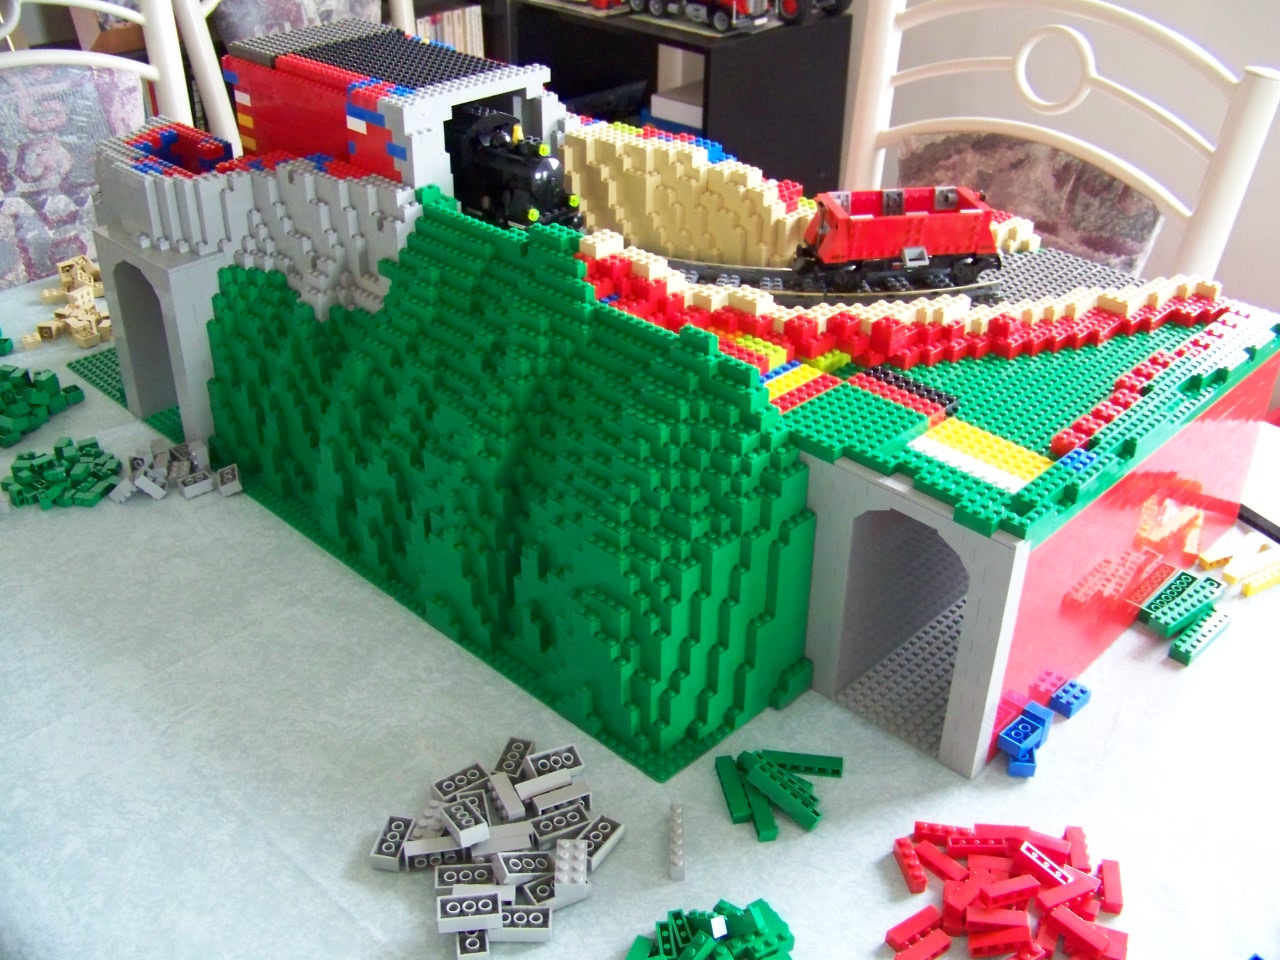
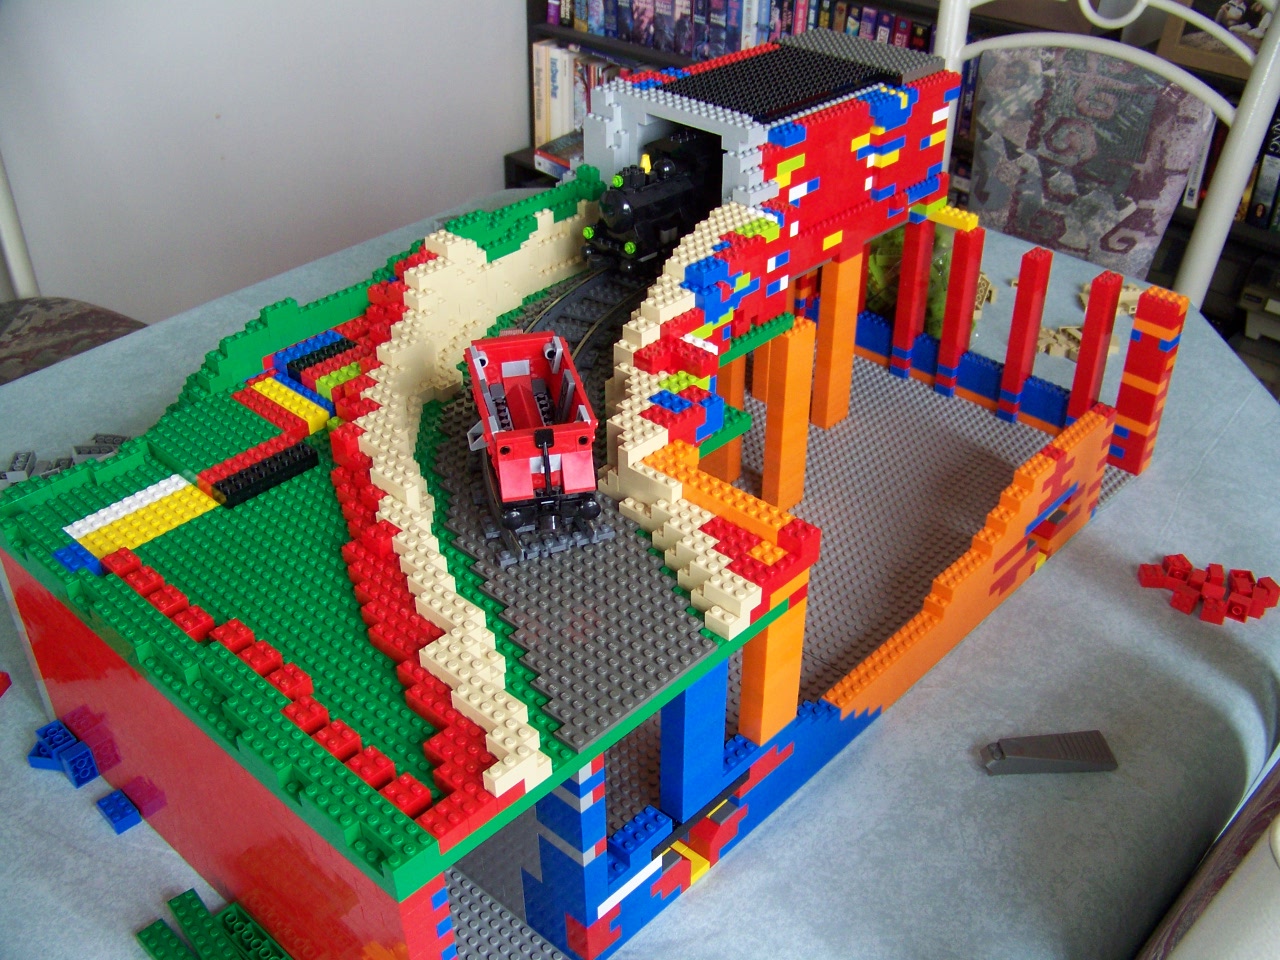
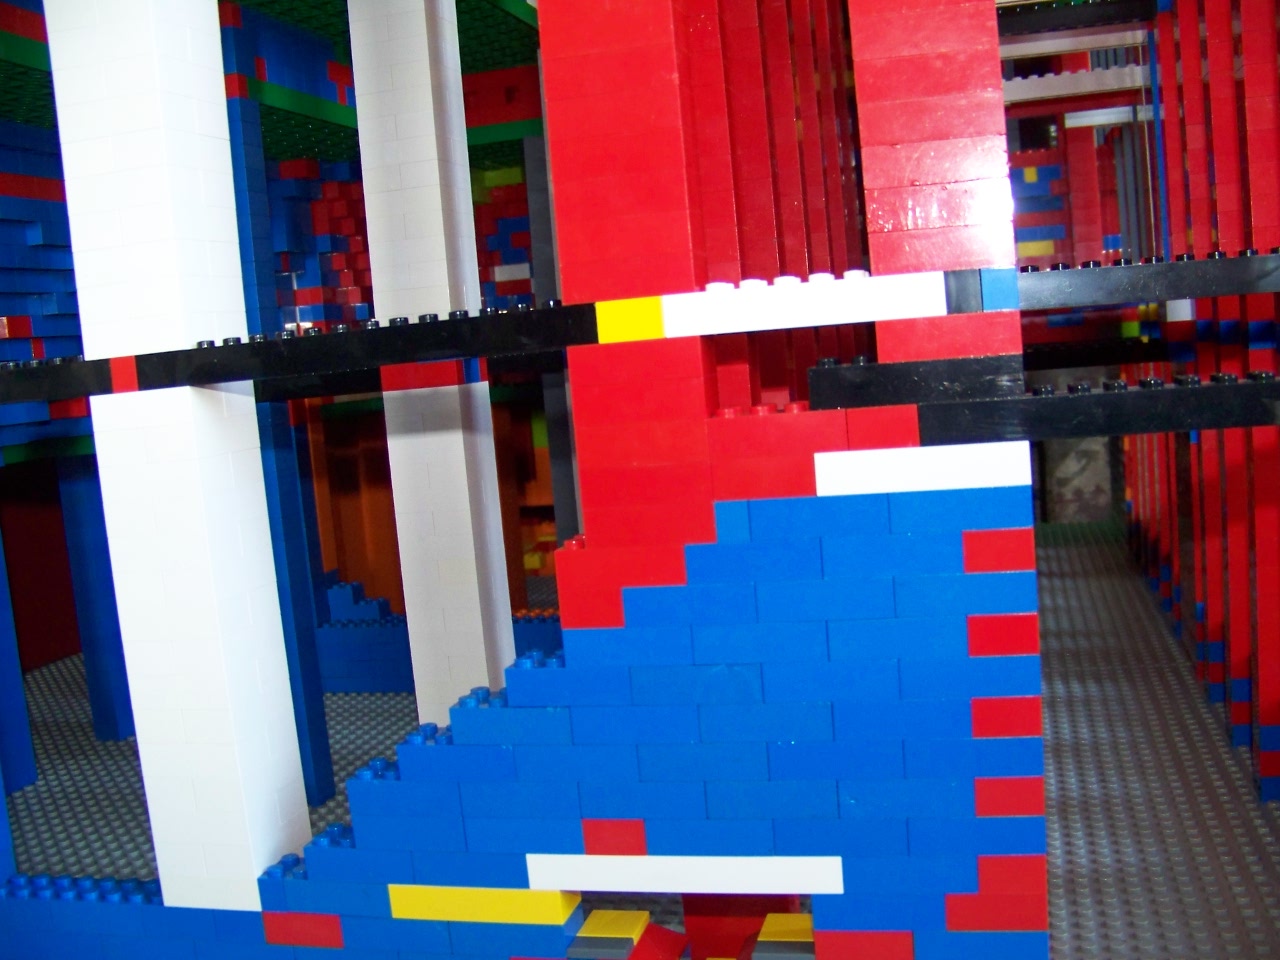
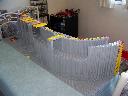
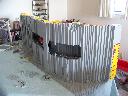
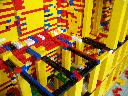
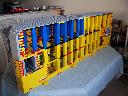
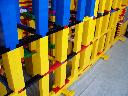
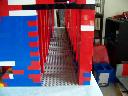
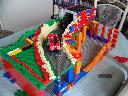
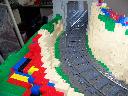
I started with the cliff side of the new "mountain", since it seemed the most interesting. It also was an open question of how it would be done, and whether I had the brick to do it. Something that helped a lot in the brick usage was doing a lot of the cliff face using 1x brick stacked in columns (usually 8 high), and using random-coloured brick to build infrastructure behind the columns. Then, the columns were tied to the backing stuff roughly every 8 bricks.
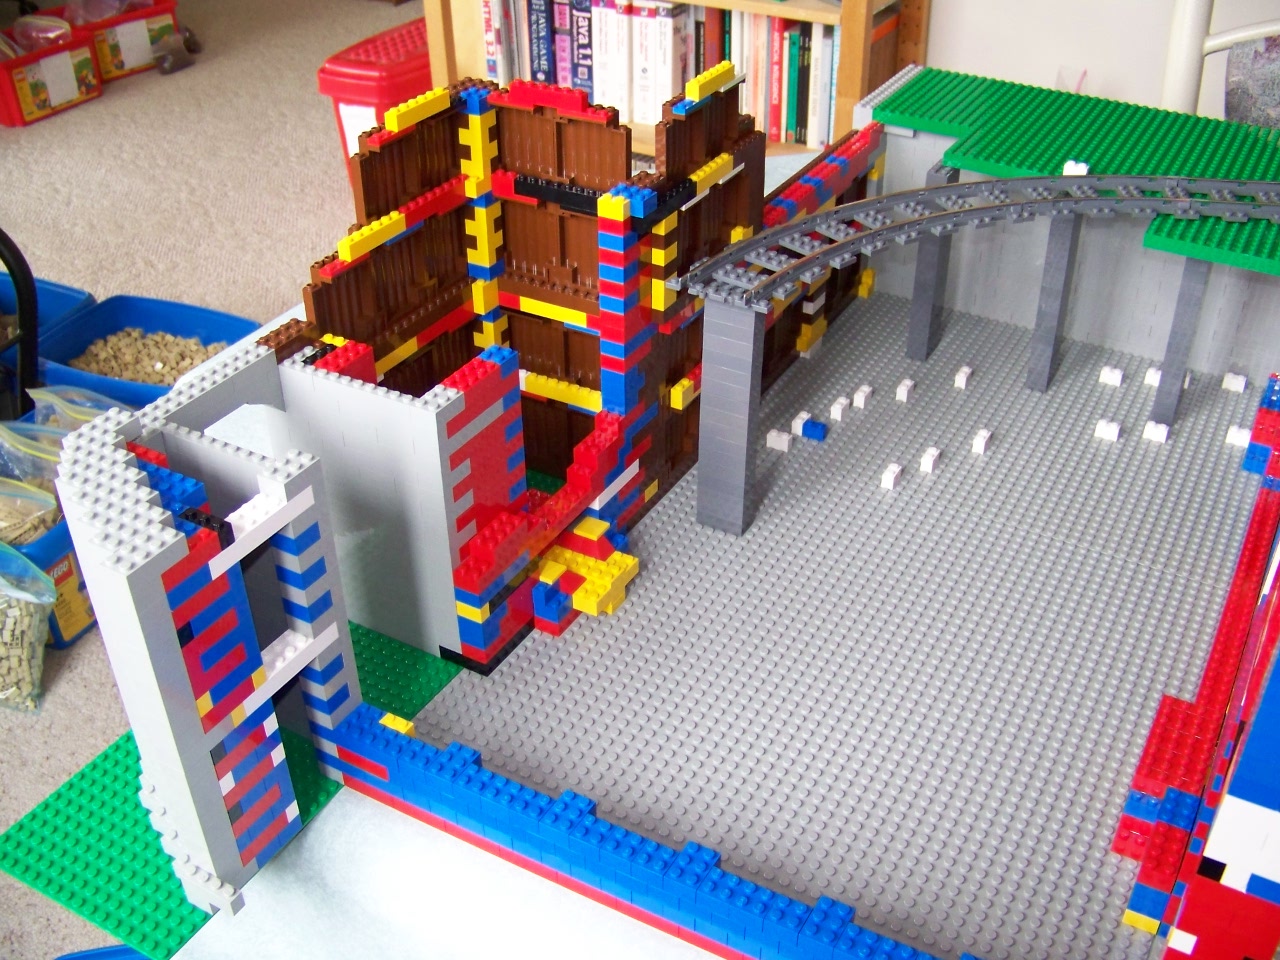
John suggested making each module be a pair of 48x48 baseplates instead of single ones like I had done in my previous mountain. That turns out to have been a bad idea, but that's what I went with. I had the trackplan for the small loop ready, and I knew I had to make the two cliff sections fit together properly, so I worked on the pair of them at once - they fit on my dining room table with extension with only an inch or two of overhang at each end.
Trackplan:
 | TDL:  |
The track doesn't make a perfect Lego-geometry loop, but it is close enough that it works fine. The straight side is the NALUG sign side, and the wiggly side is the cliff side. I wanted that wiggly to match the pictures of the real thing.
Early cliff shots - the trackbed is present, and the overhang is started
from the right
|
|
from the left
|
|
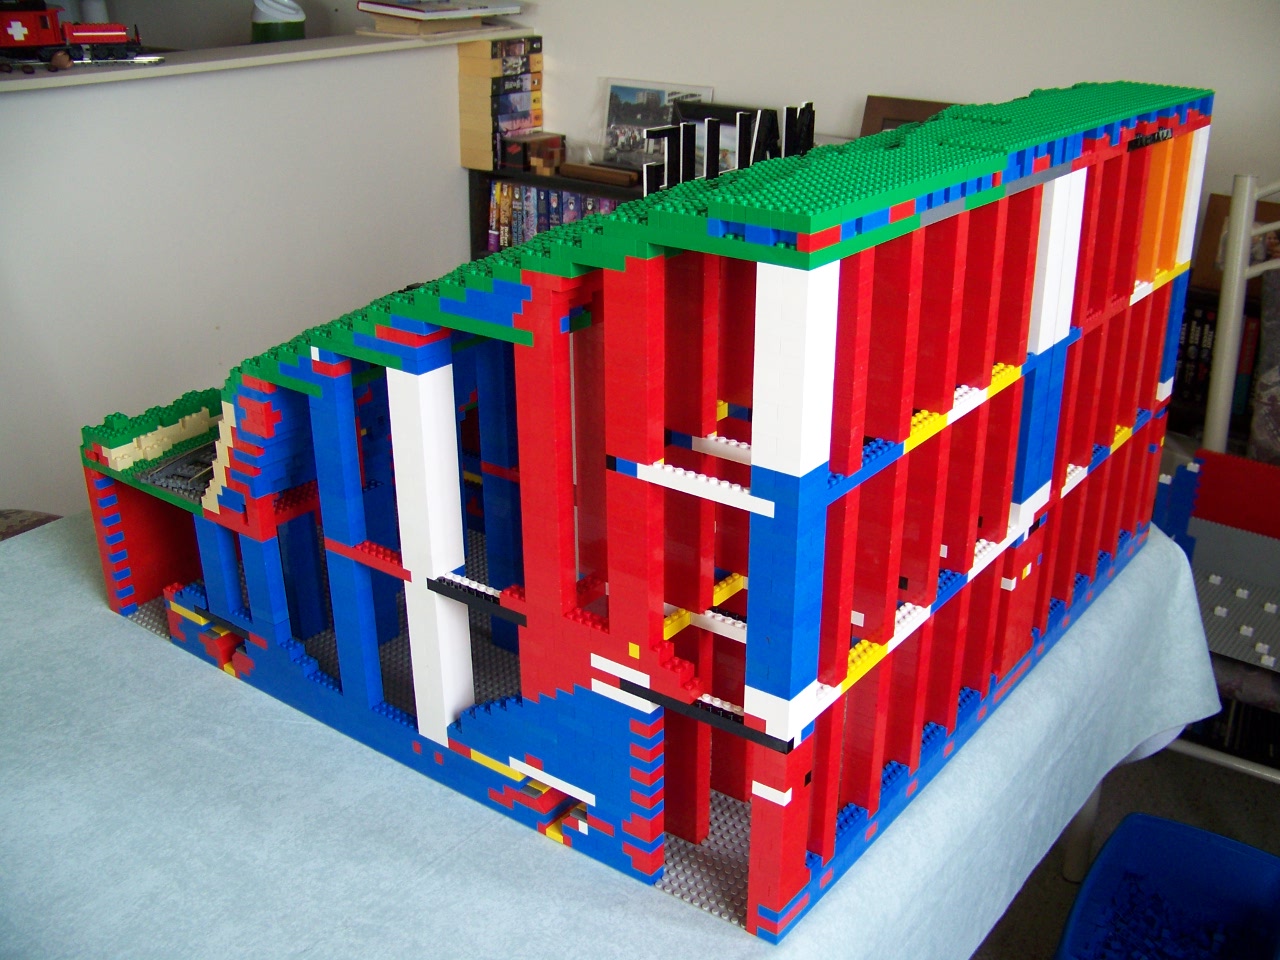
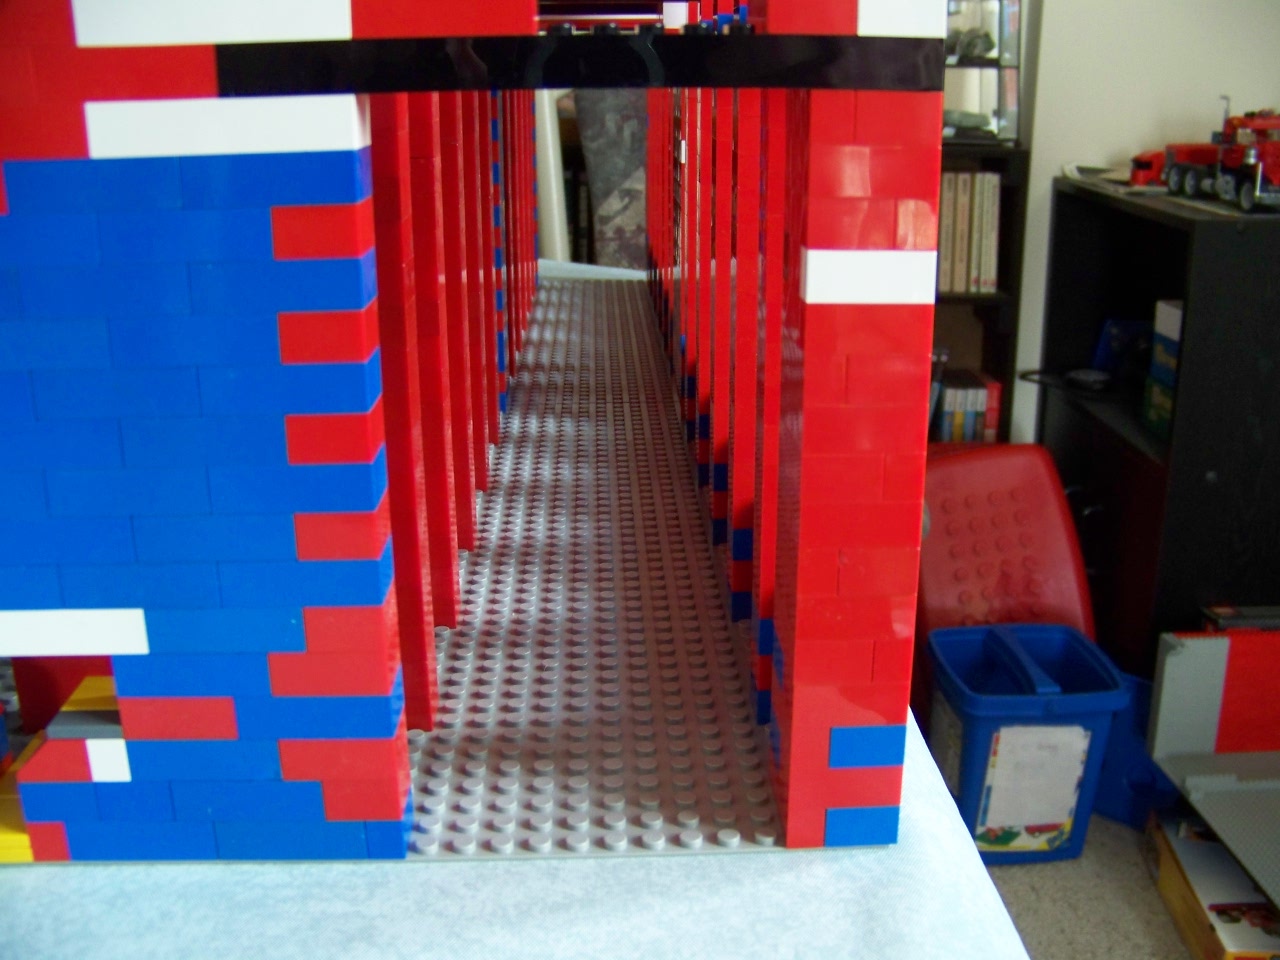
rear view showing interior

|
|
Vertical above track 2/3 done
right end
|
|
left end
|
|
along the top

|
|
rear view
|
|
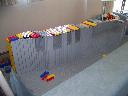
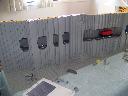
Vertical nearly done
right end
|
|
left end
|
|
rear view

|
|
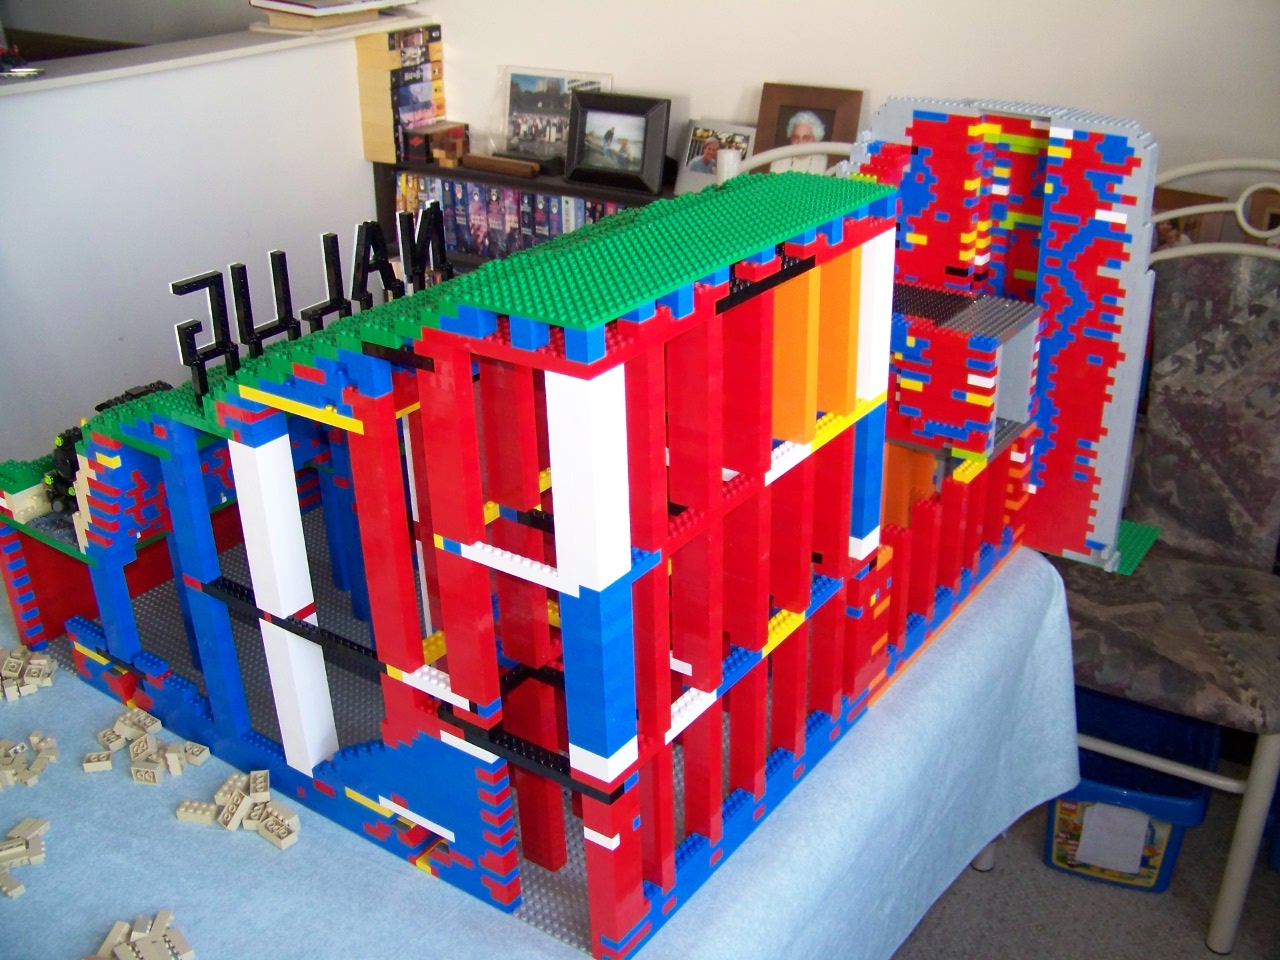
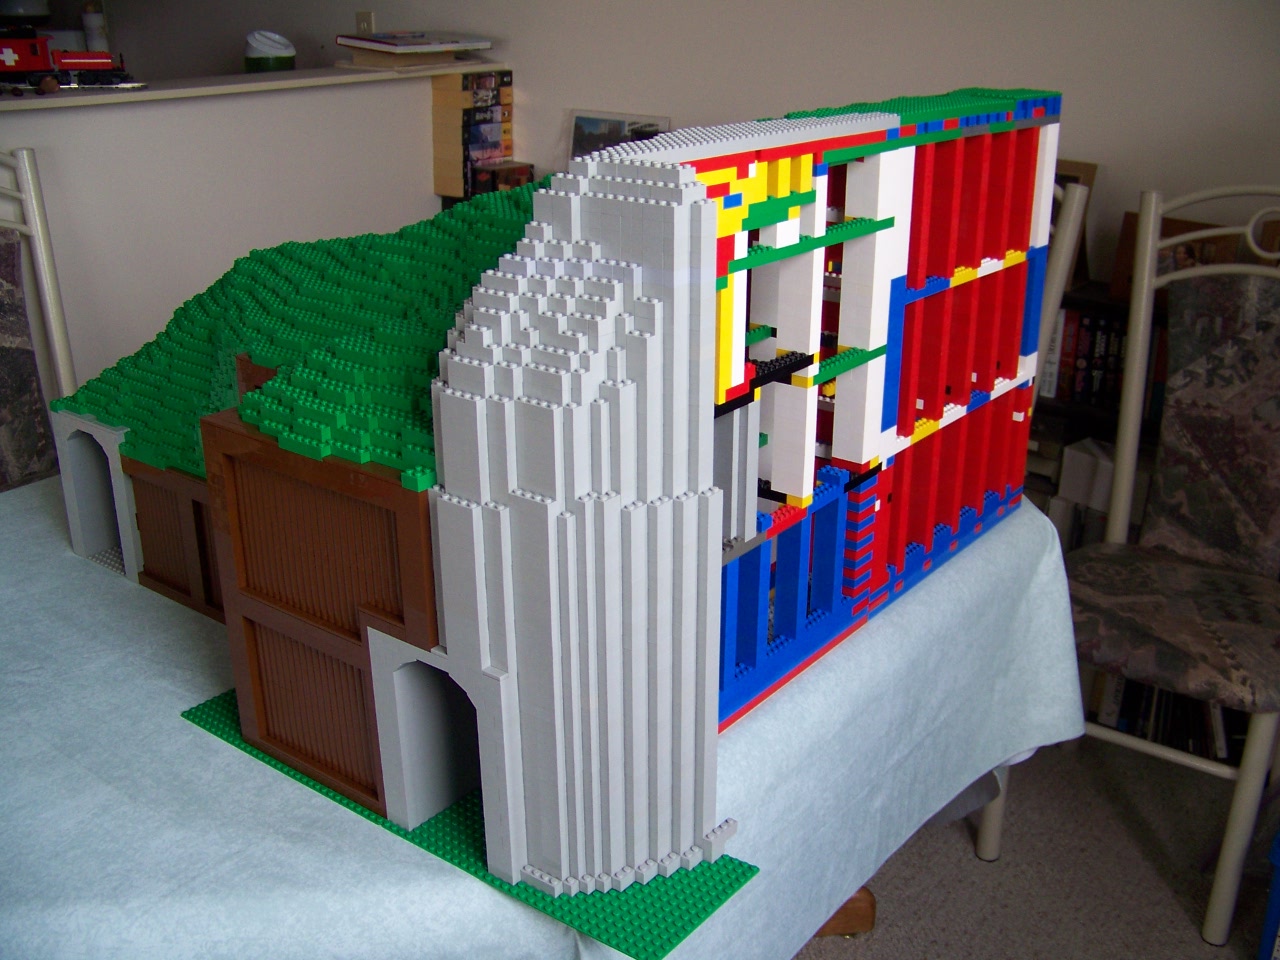
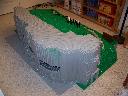
Vertical all done
front view
|
|
rear view
|
|
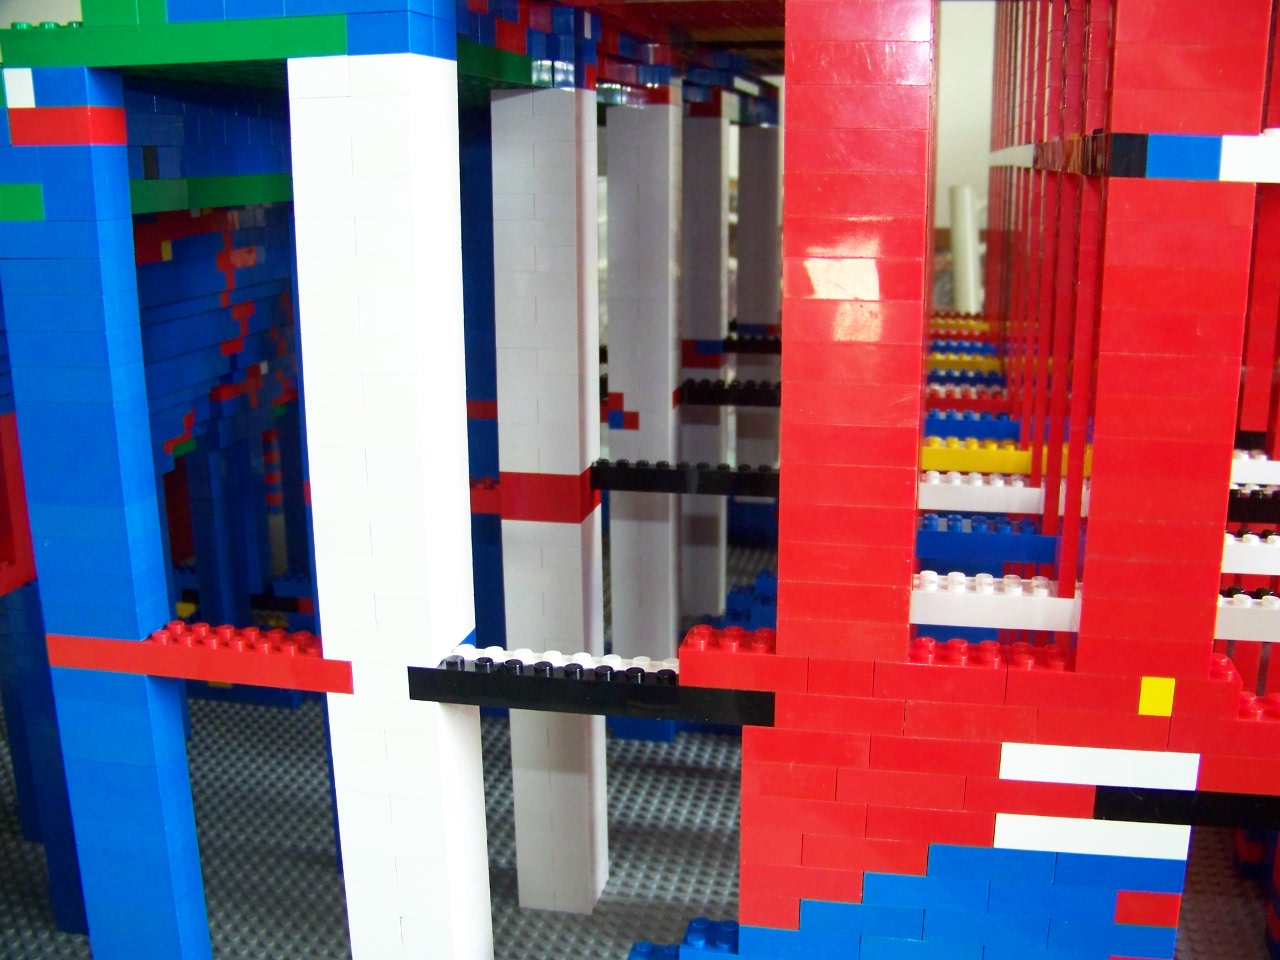
rear closeup
|
|
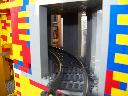
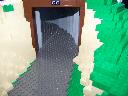
looking out through the left end tunnel
|
|
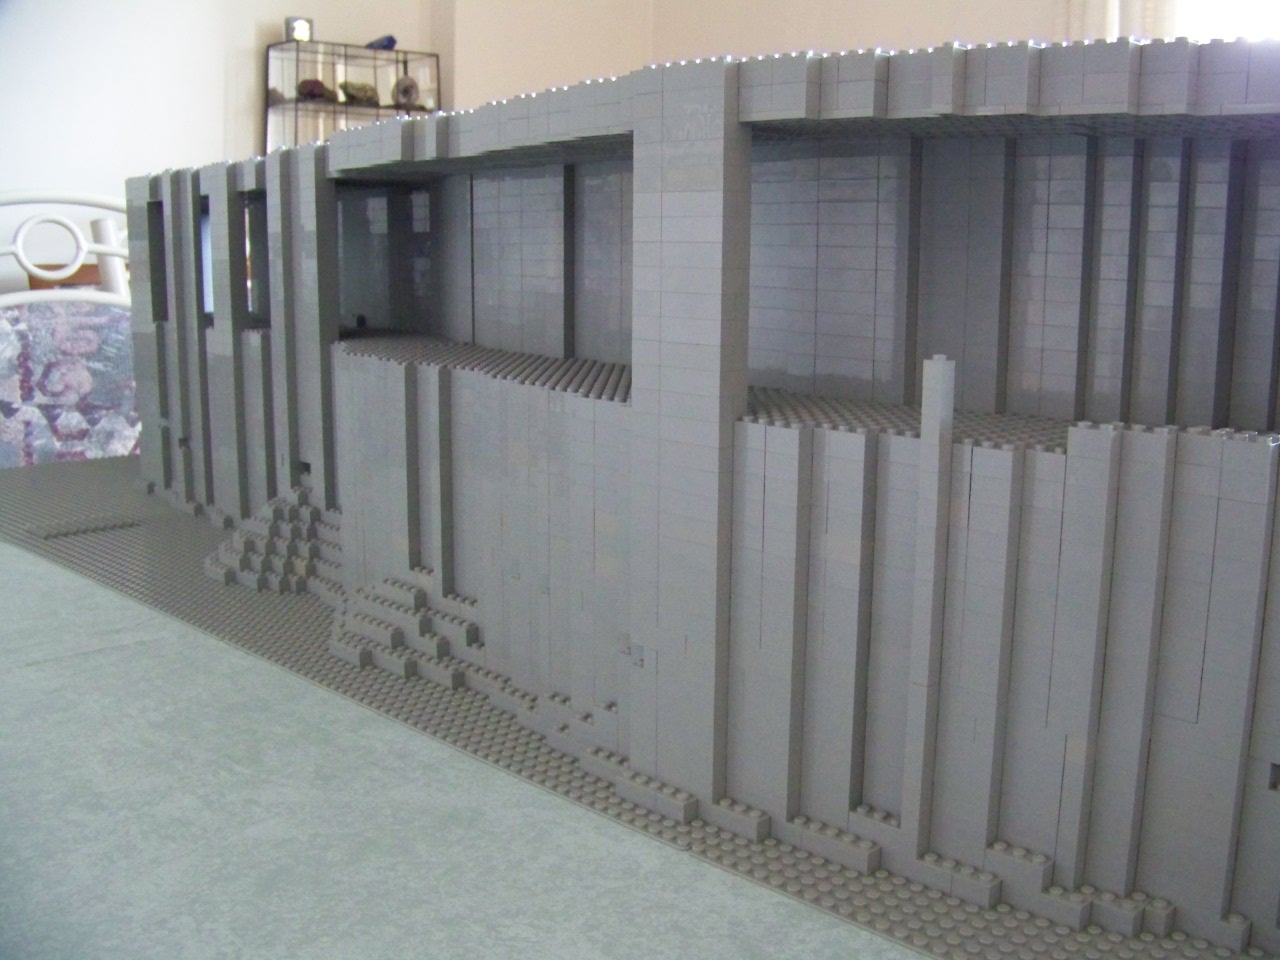
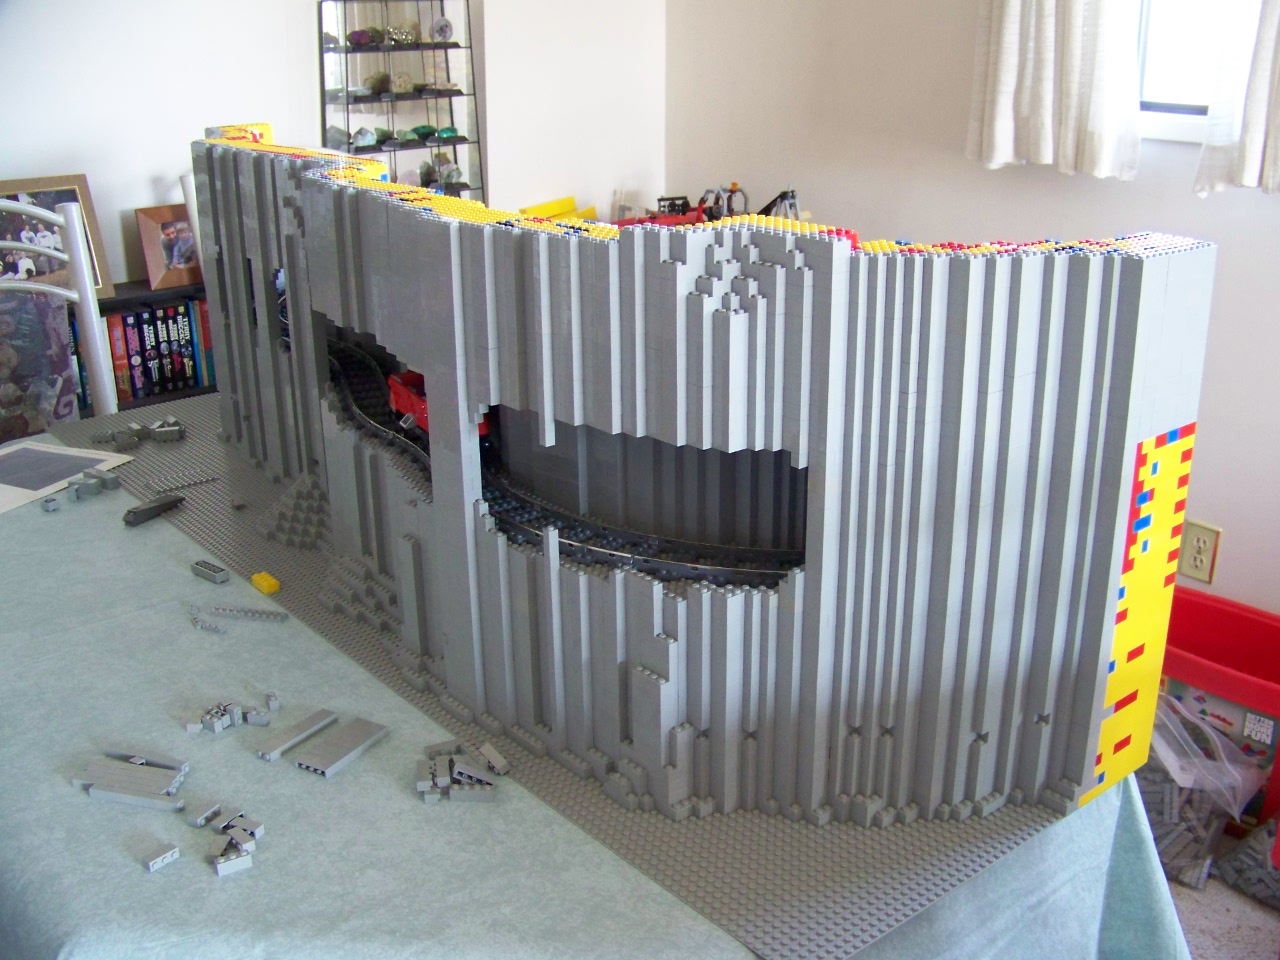
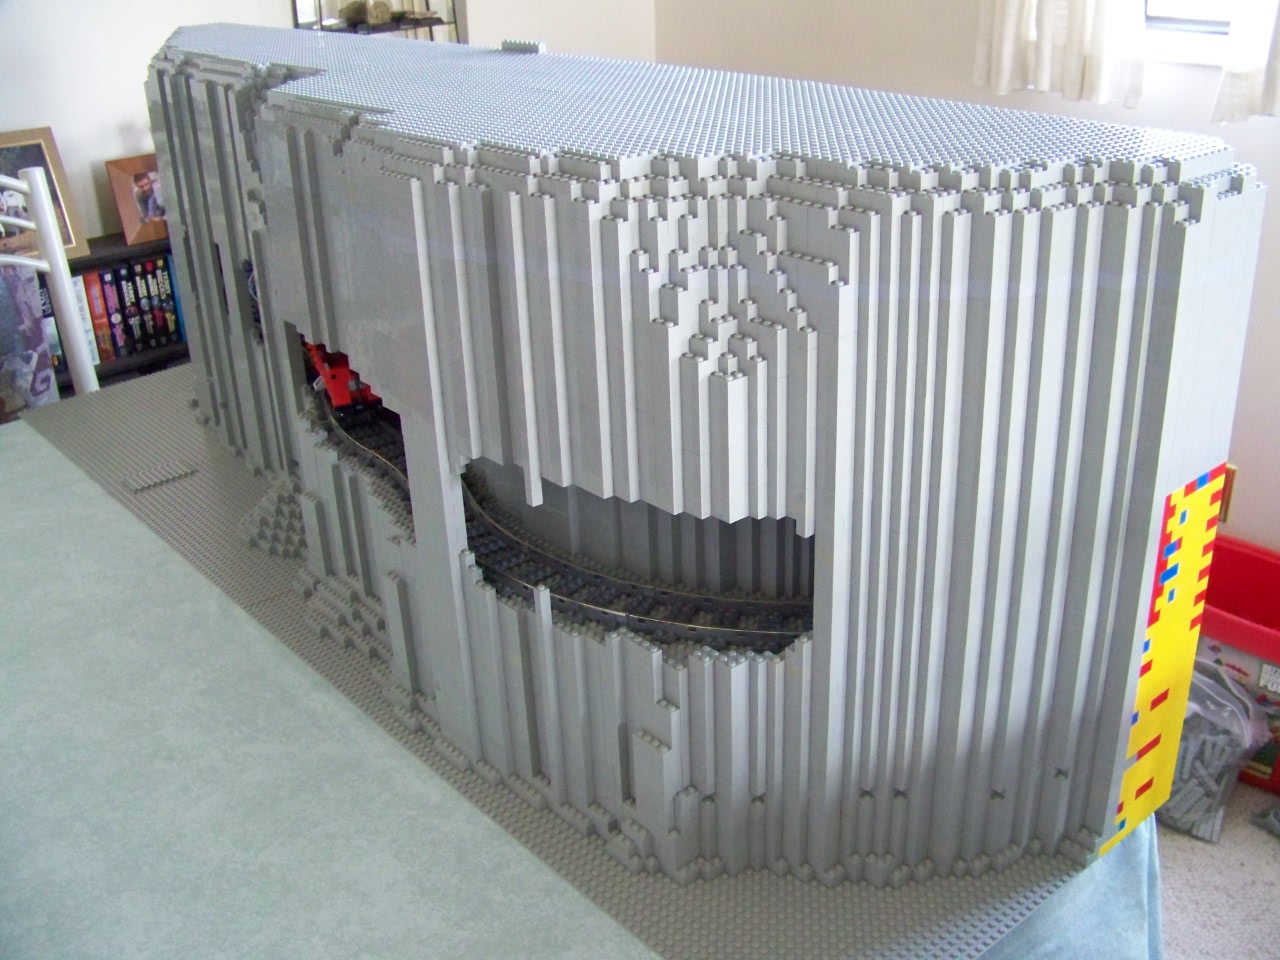
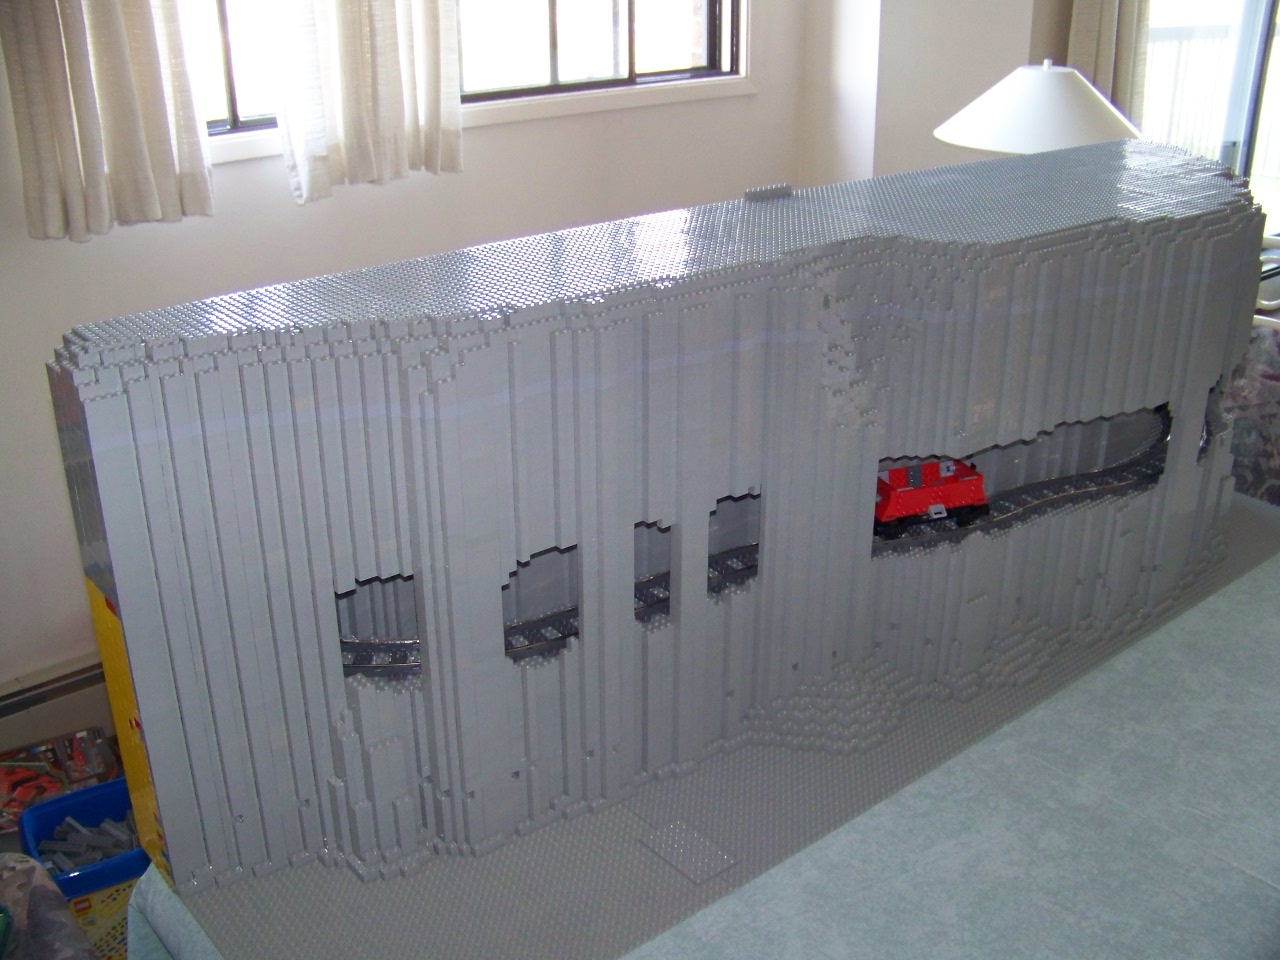
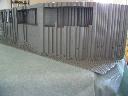
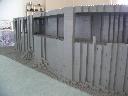
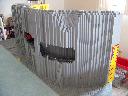
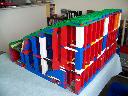
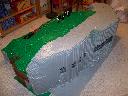
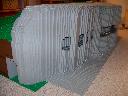
Completed cliff units
right end
|
|
left end

|
|
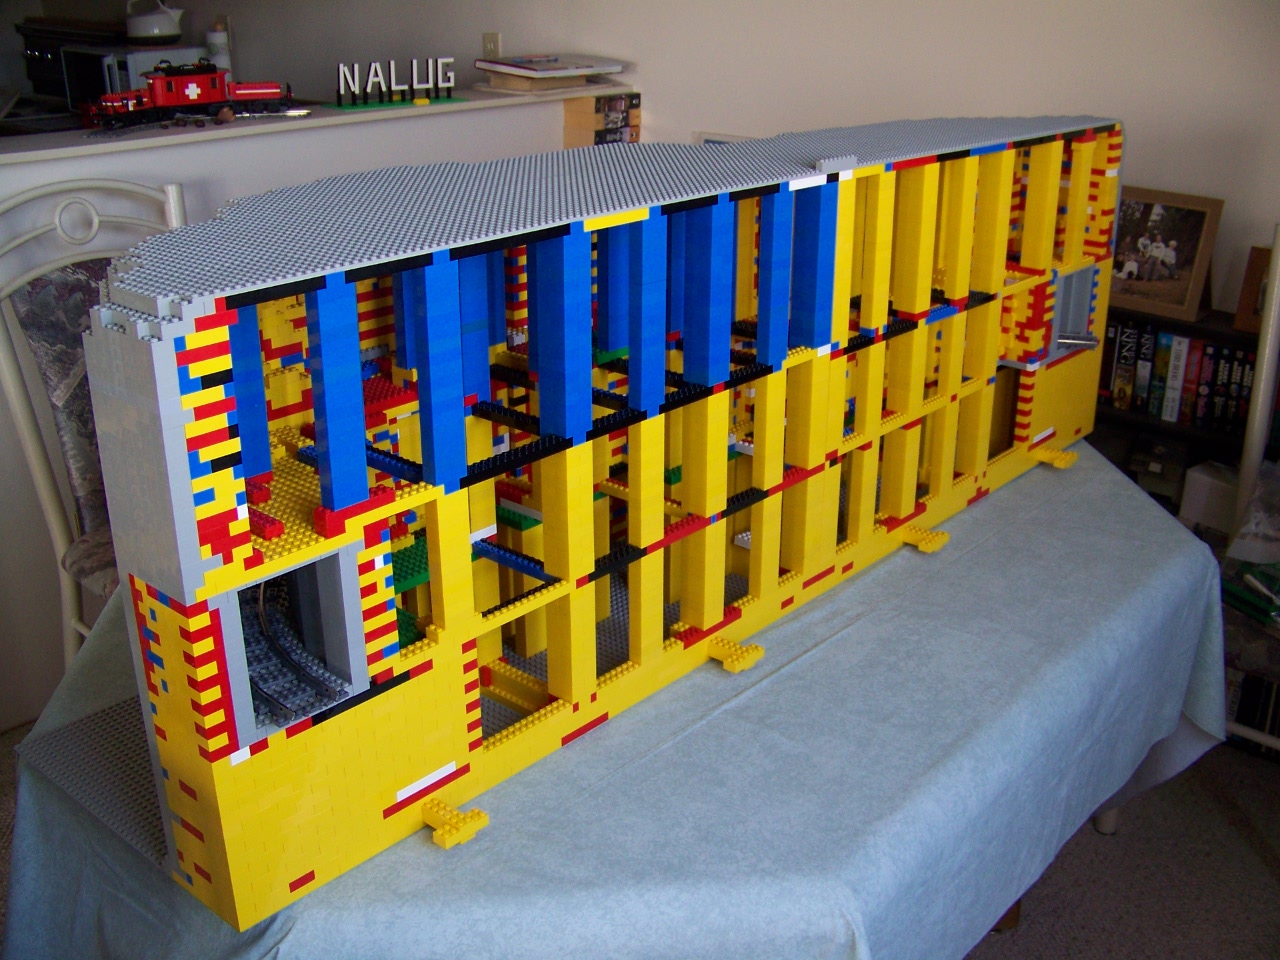
rear view
|
|
rear closeup
|
|
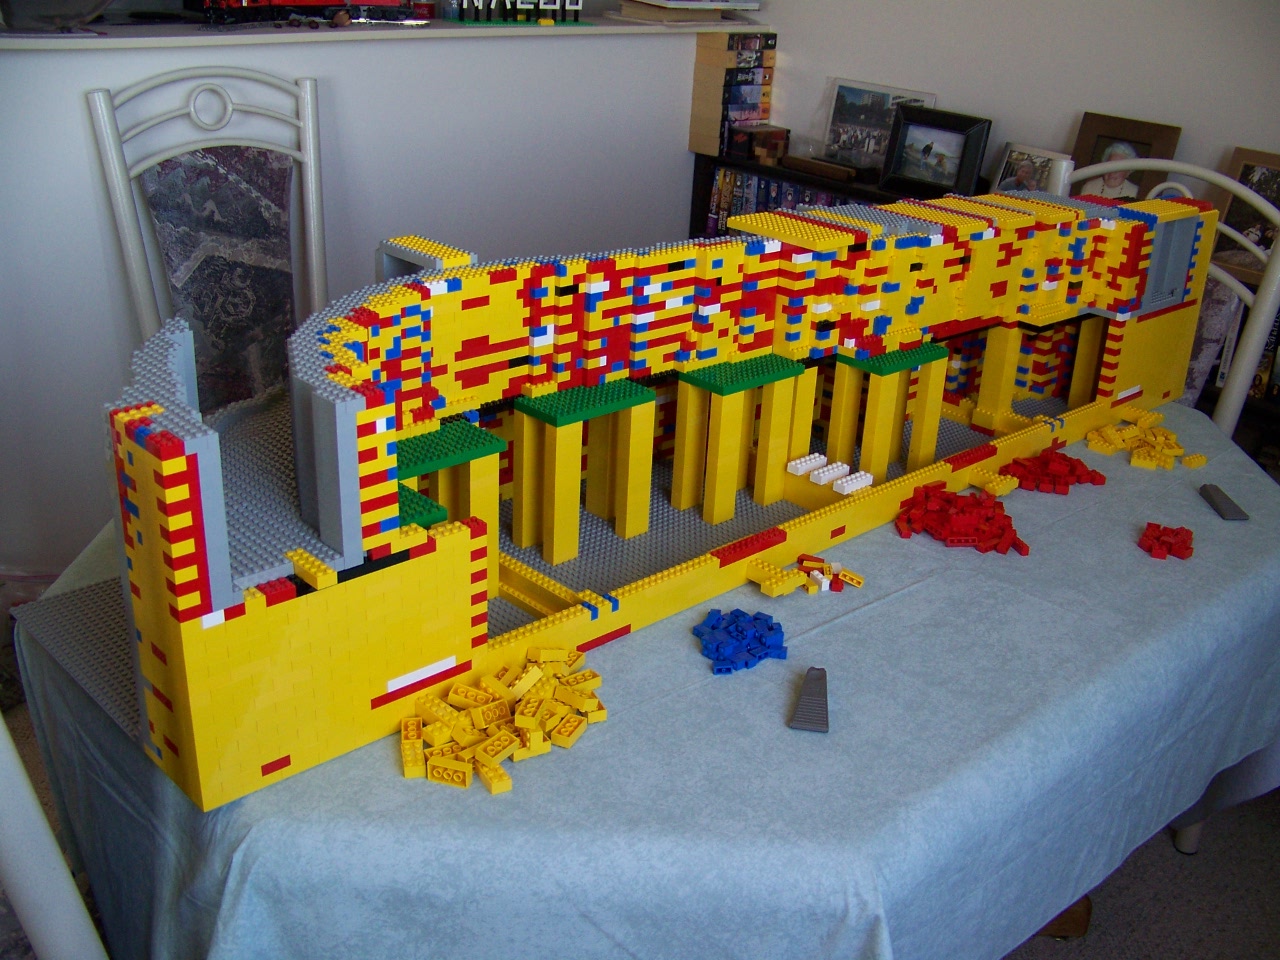
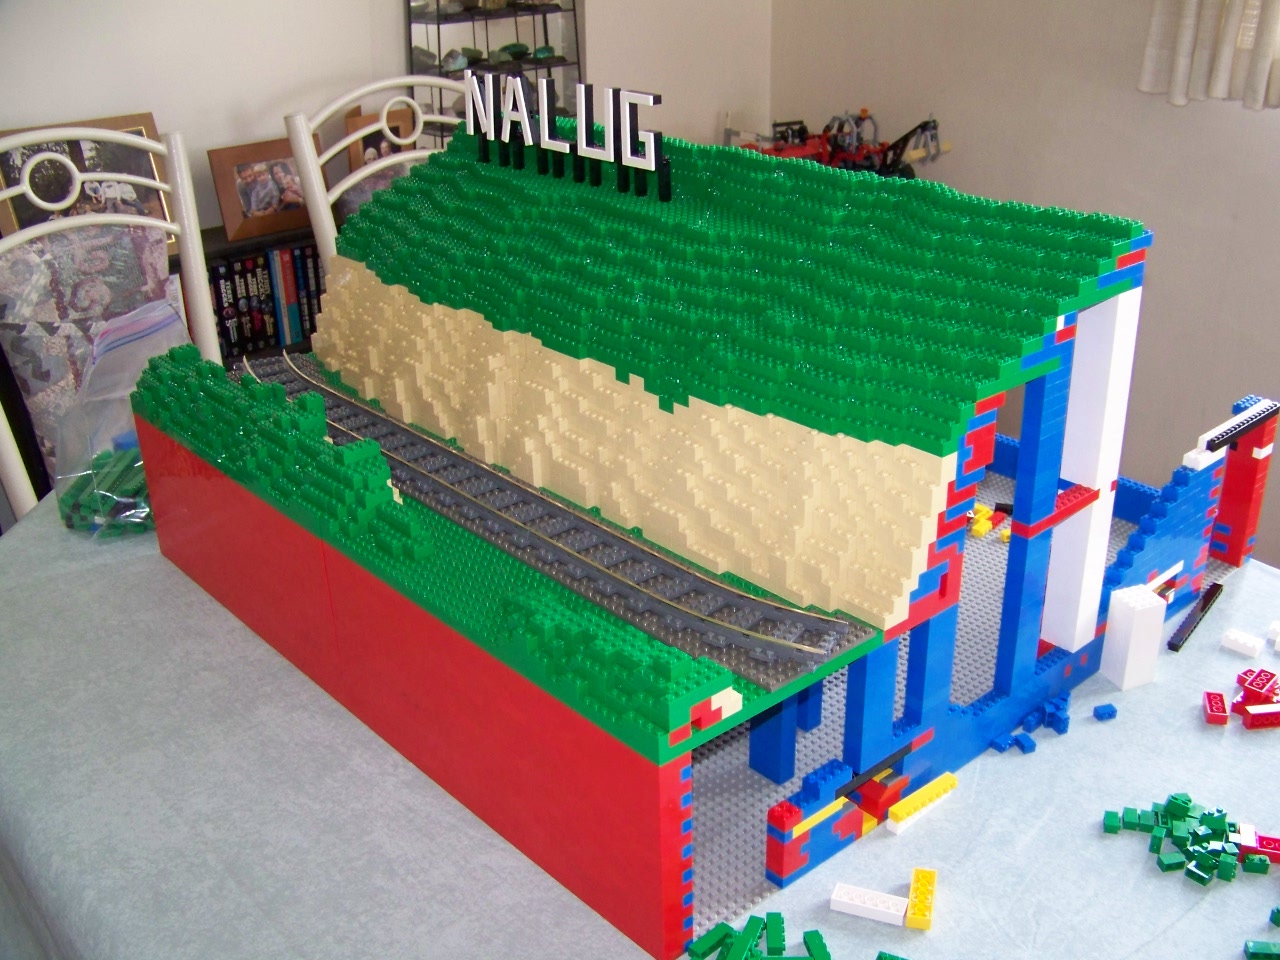
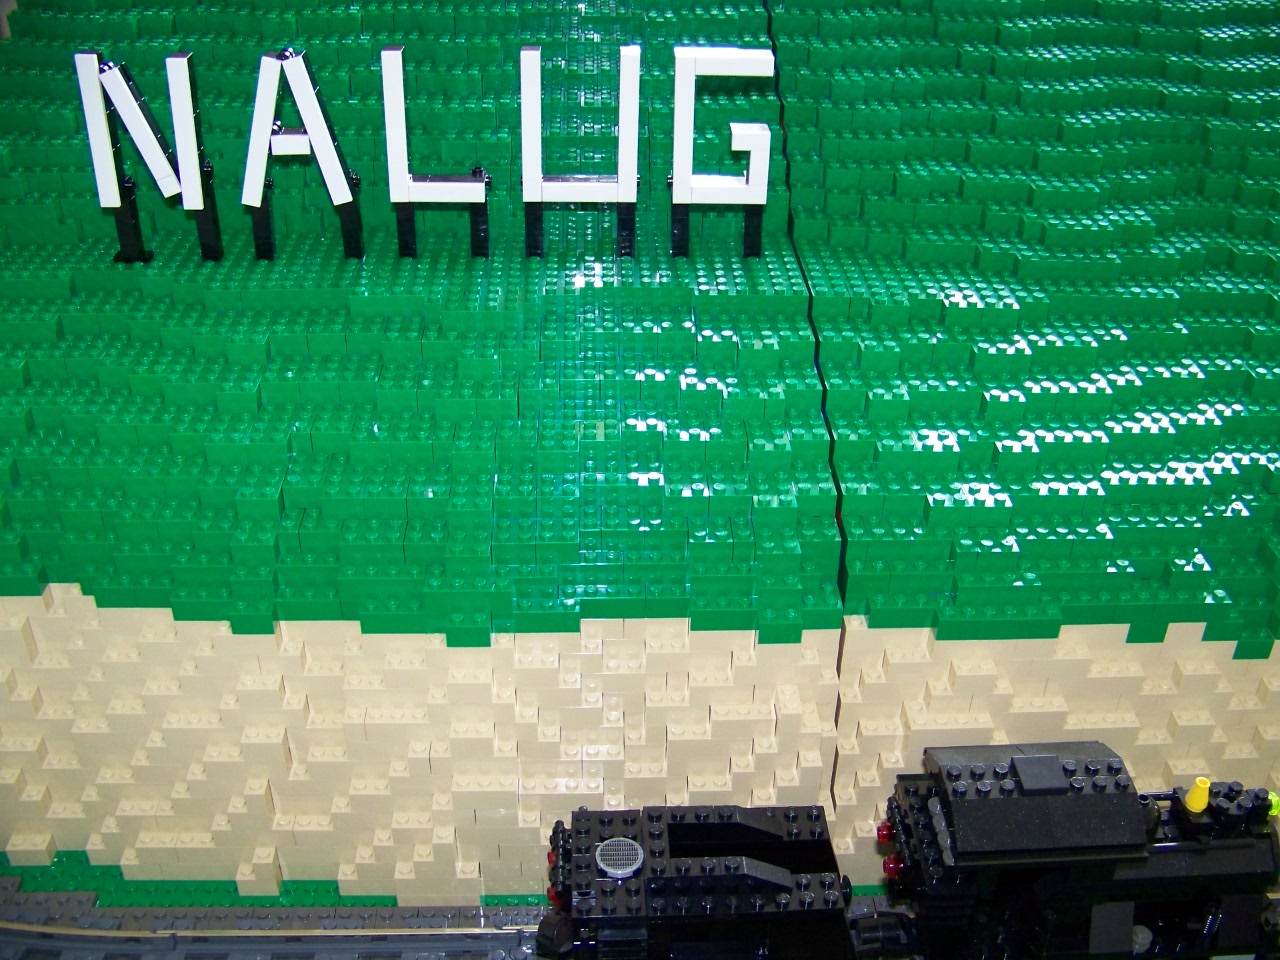
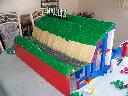
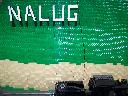
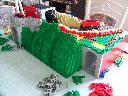
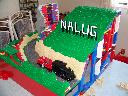
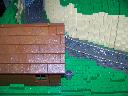
The NALUG sign side of the mountain is twice as large as the cliff side, being two baseplates deep instead of just one. Two tracks of mainline go through the bottom of these modules, at the edges of the baseplates, spaced so that a regular Lego track half-circle can connect them. Since there is not enough room on my table to do all 8 baseplates at once, I did the modules in pairs. The first pair was the center two. These set the basic look of the grass slope, track, sandy slope, etc. The NALUG sign is on the left-hand of these two modules.
Slope just above NALUG sign
overall front view
|
|
rear view
|
|
end view

|
|
rear view

|
|
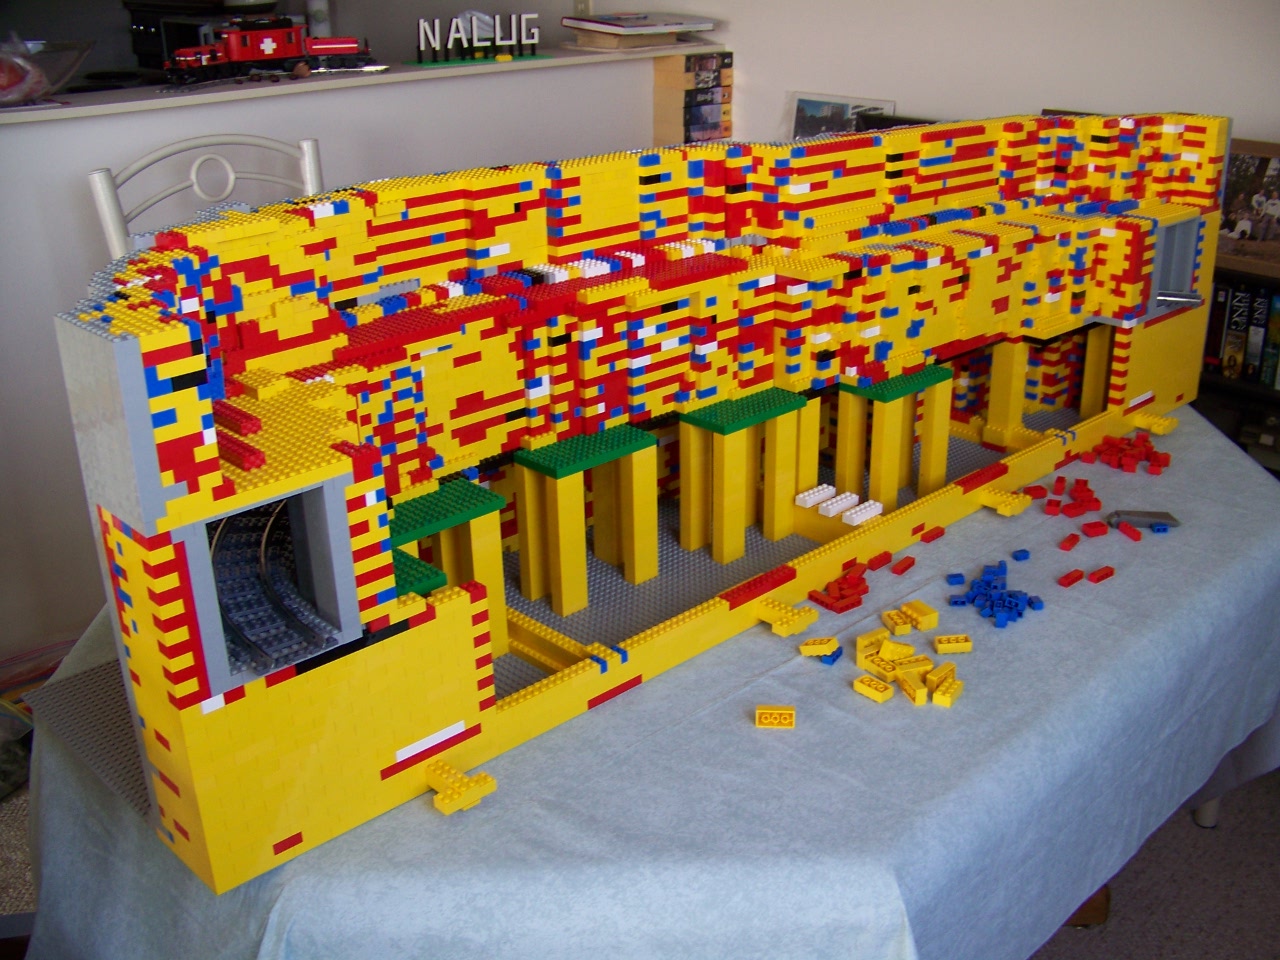
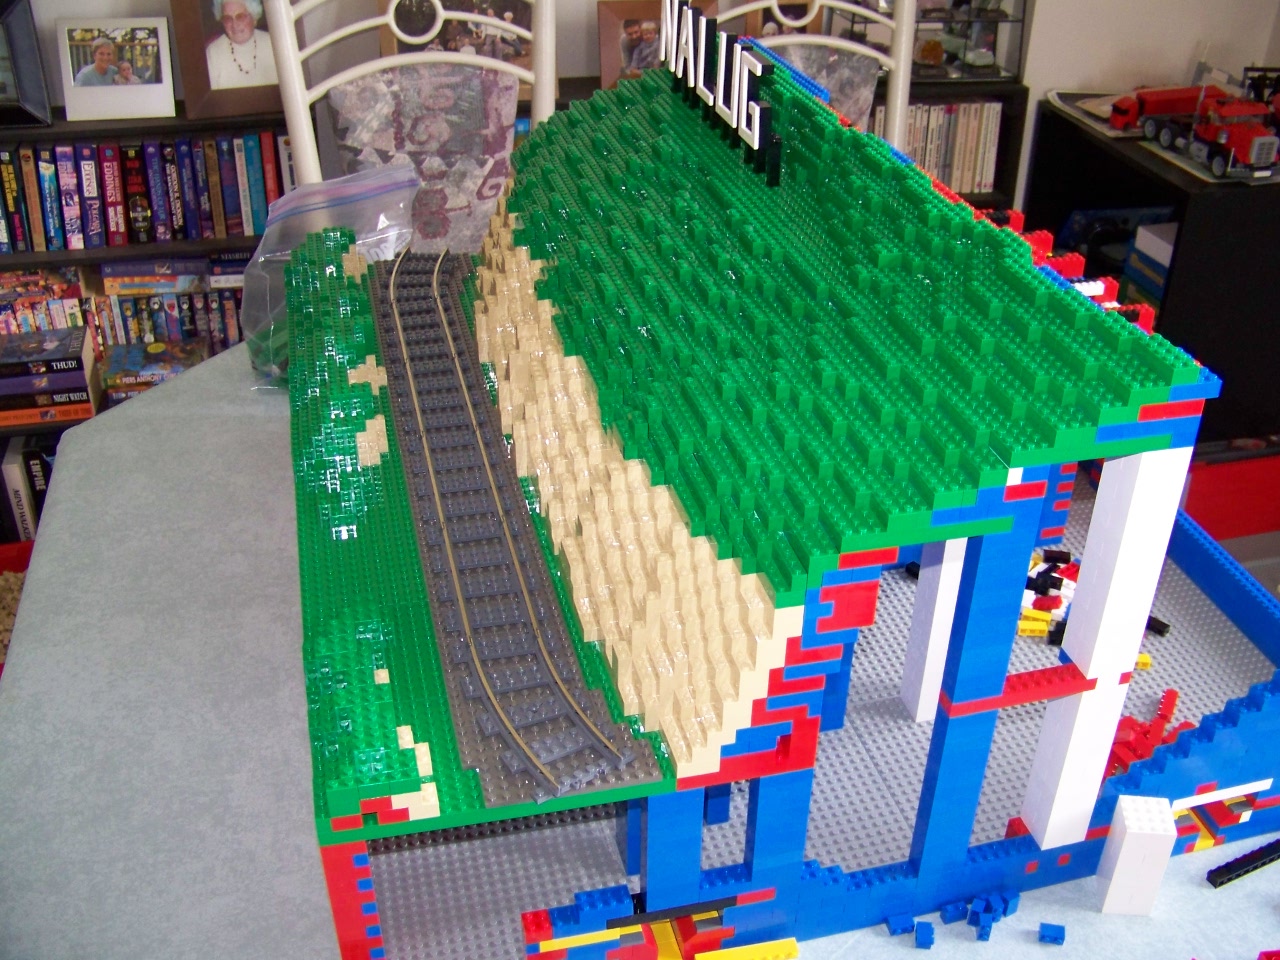
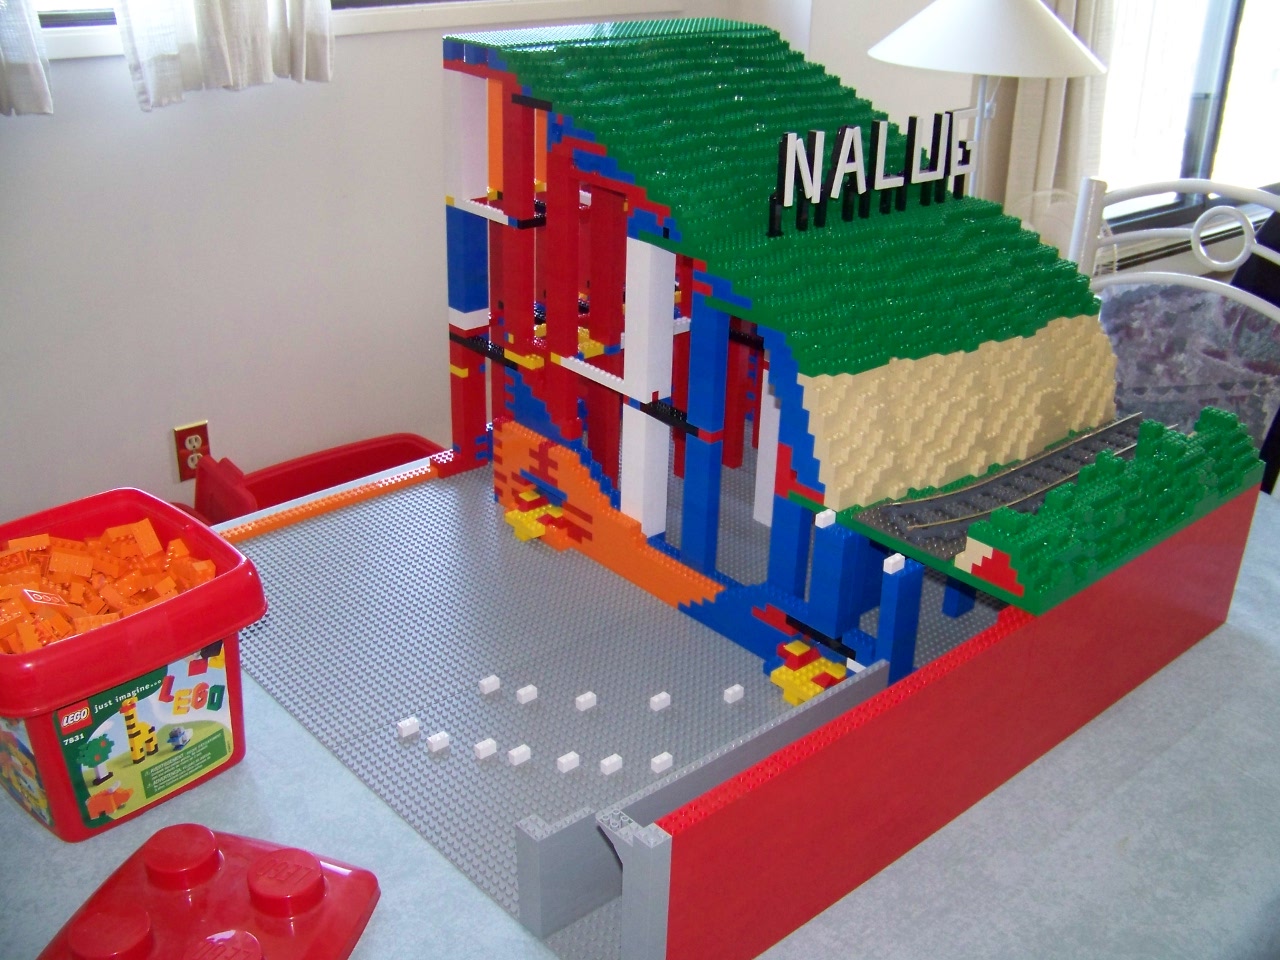
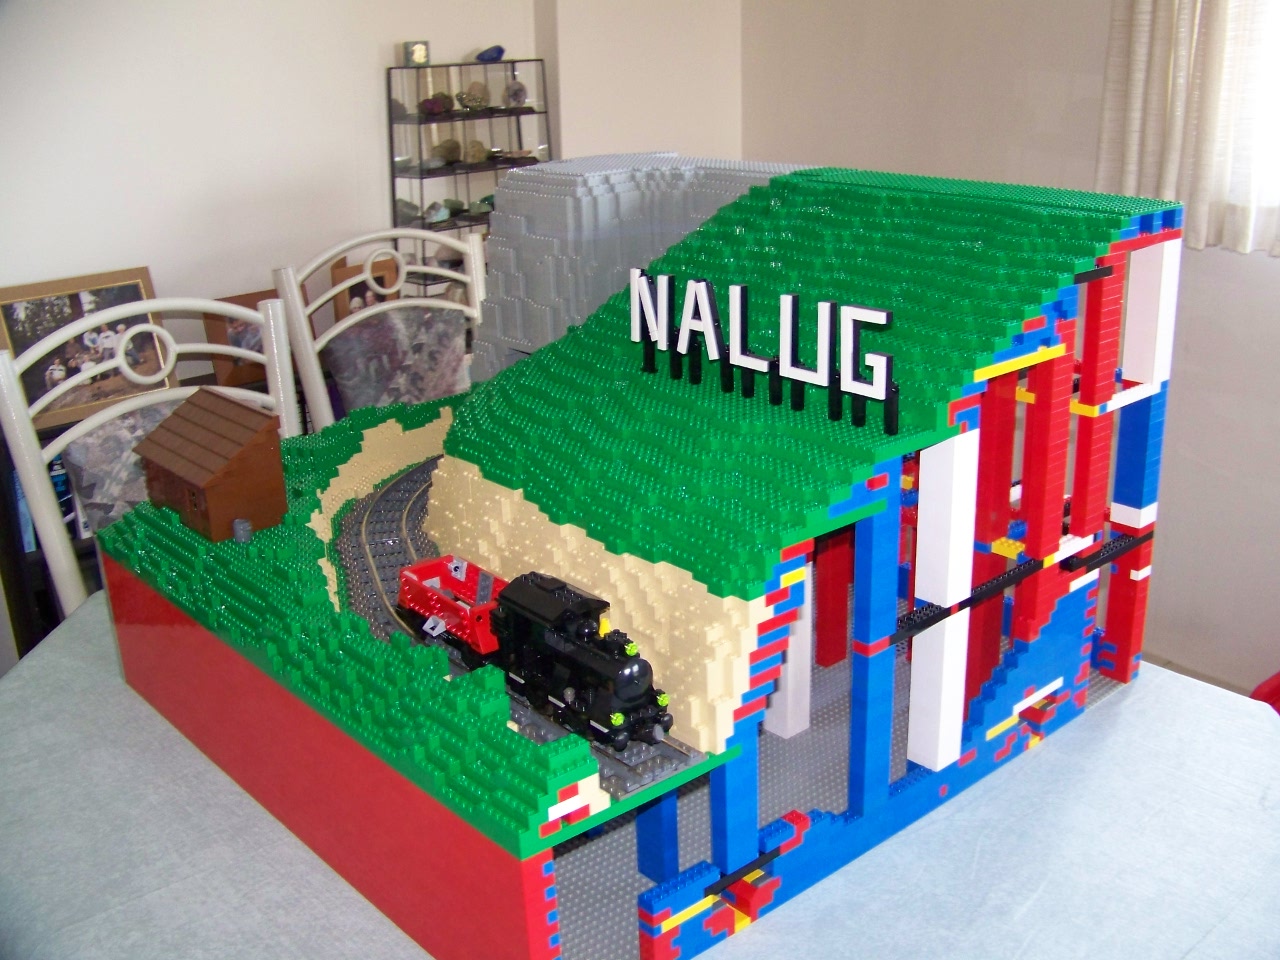
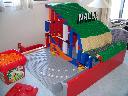
Middle slope modules complete
right front view
|
|
end view
|
|
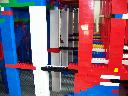
train in cut
|
|
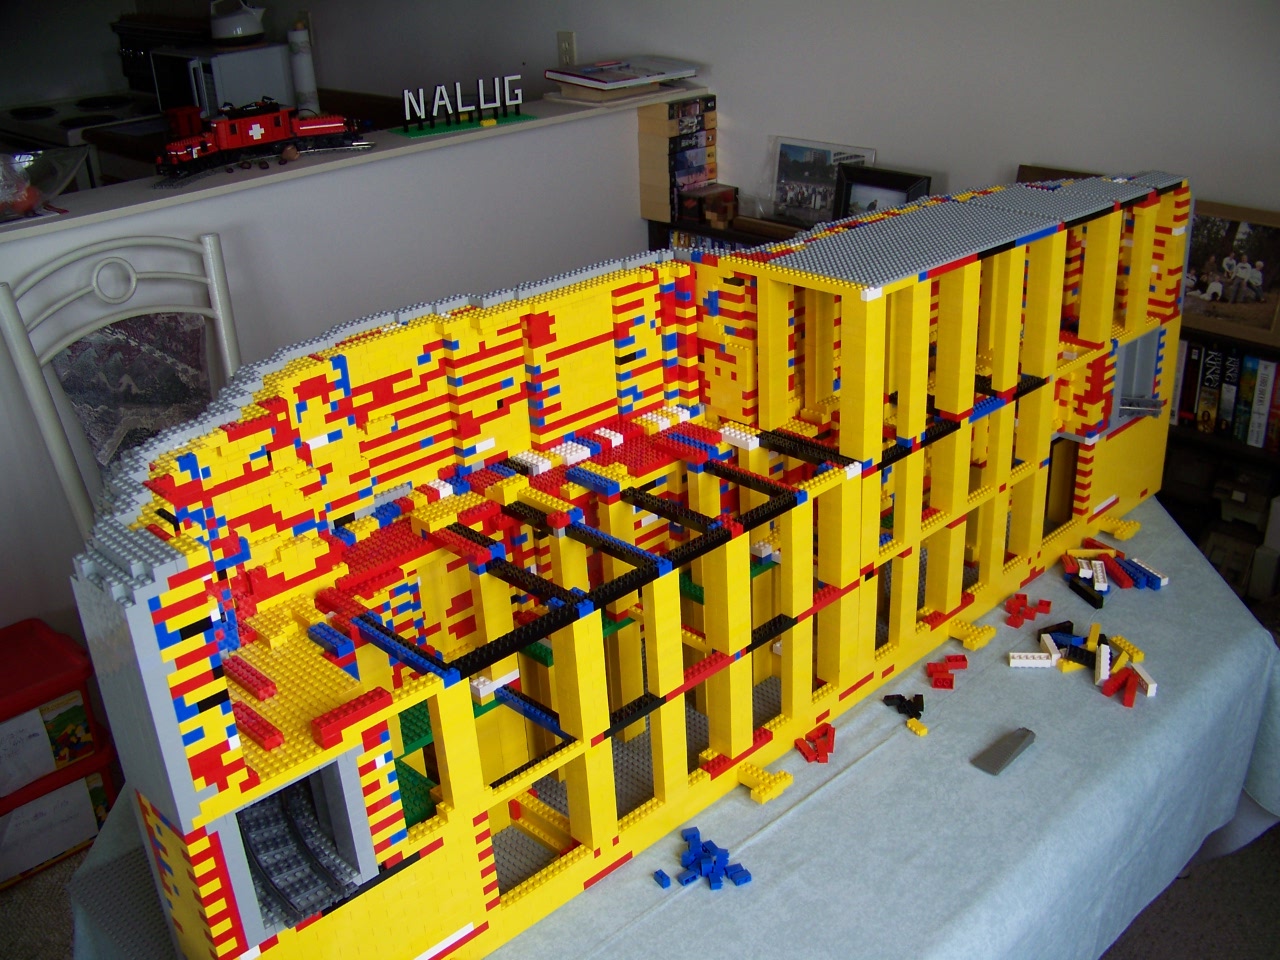
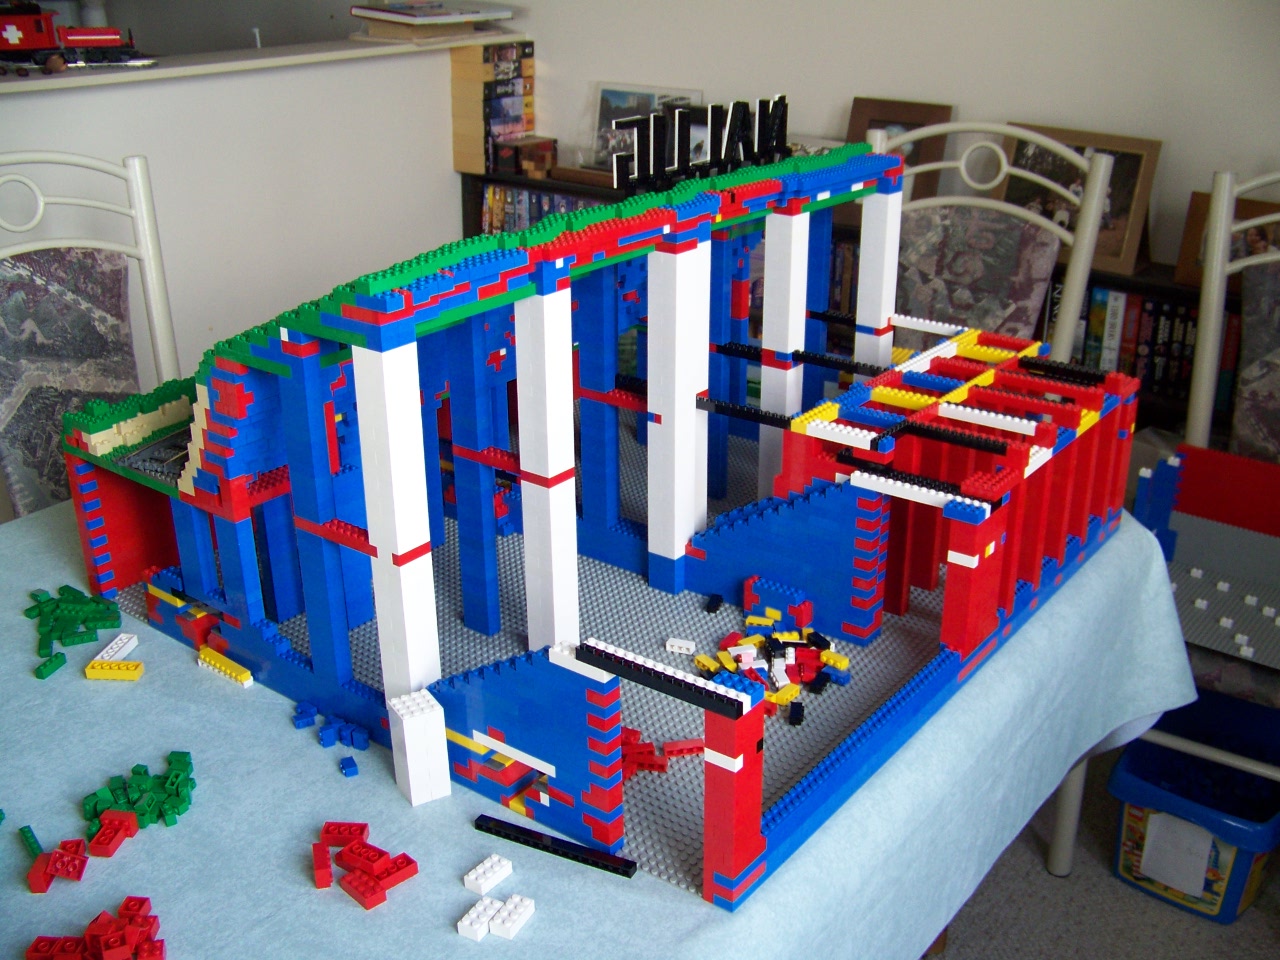
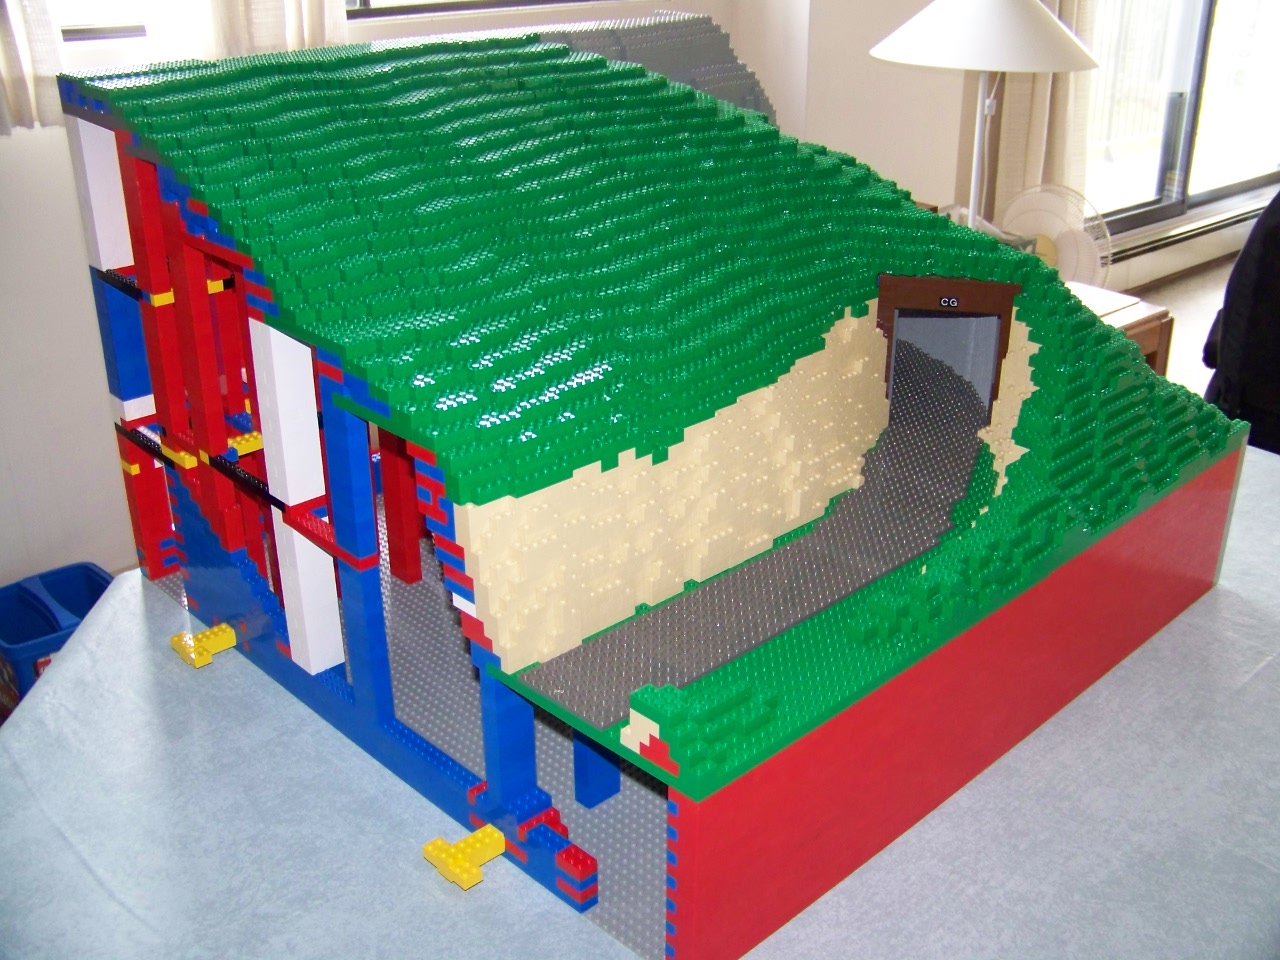
interior
|
|
rear space for mainline
|
|
just the Lego
|
|
left front view
|
|
Just starting the left slope module
front
|
|
back
|
|
The beginning of the left side unit
side view
|
|
rear view
|
|
tunnel portal
|
|
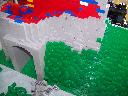
Left upper portal done, and left side unit done
end view
|
|
front view
|
|
rear view (notice side unit overhang)
|
|
just the Lego
|
|
Intermediate progress on main module
more green slope, and stone above portal
|
|
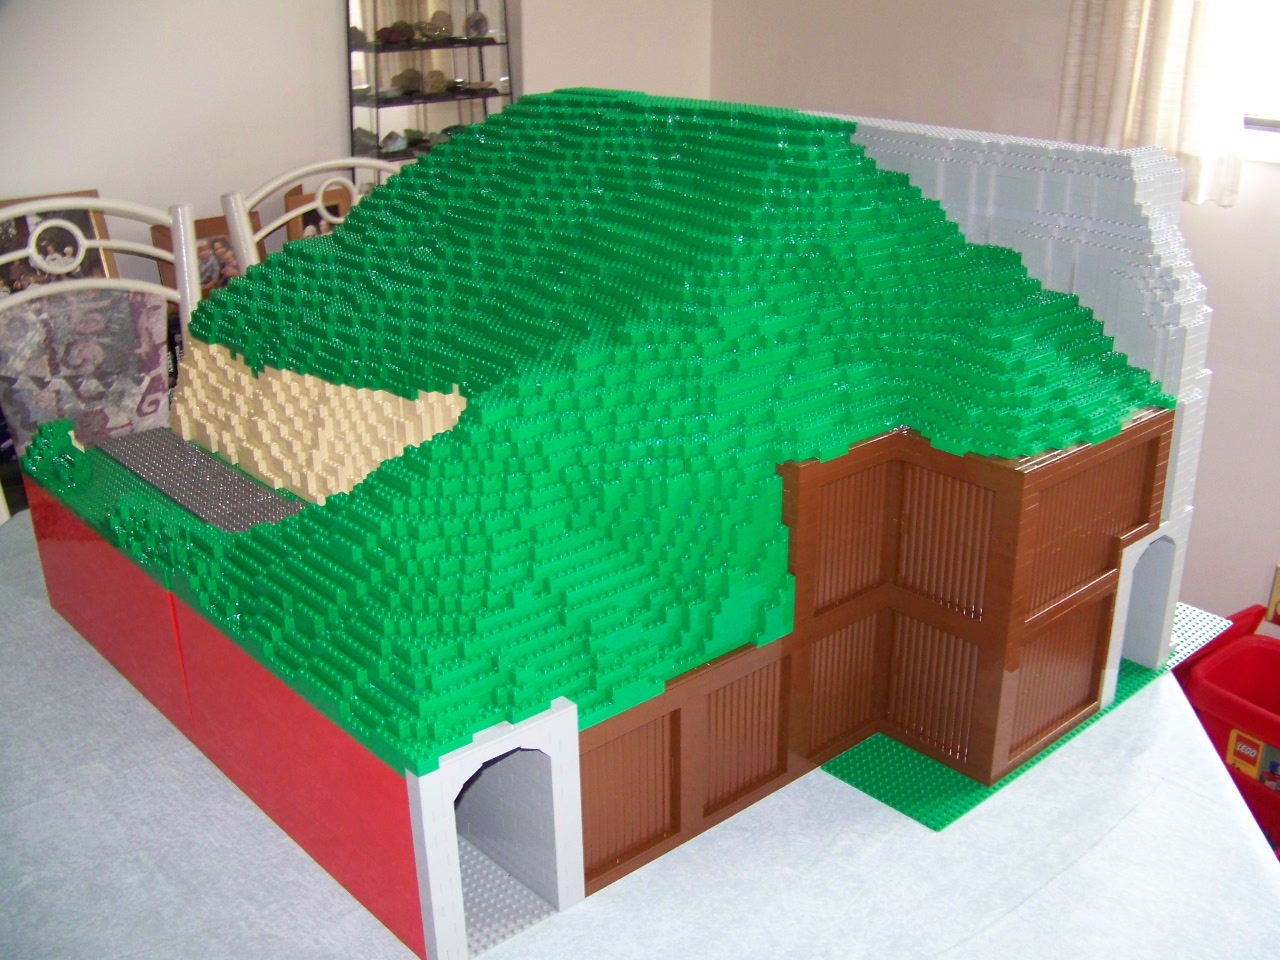
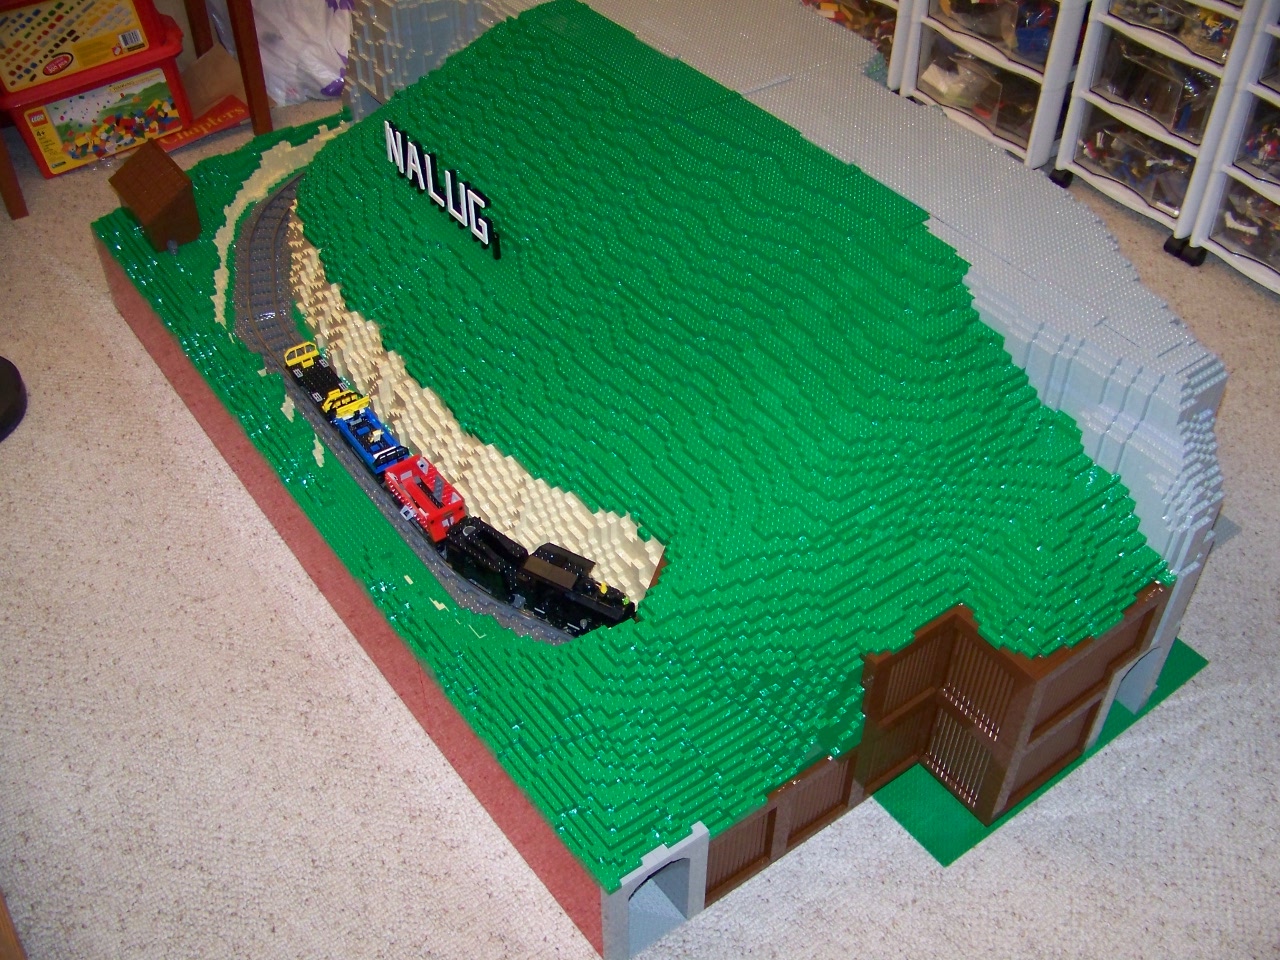
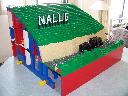
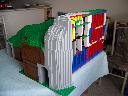
Left module, with NALUG sign, done
front view
|
|
corner view
|
|
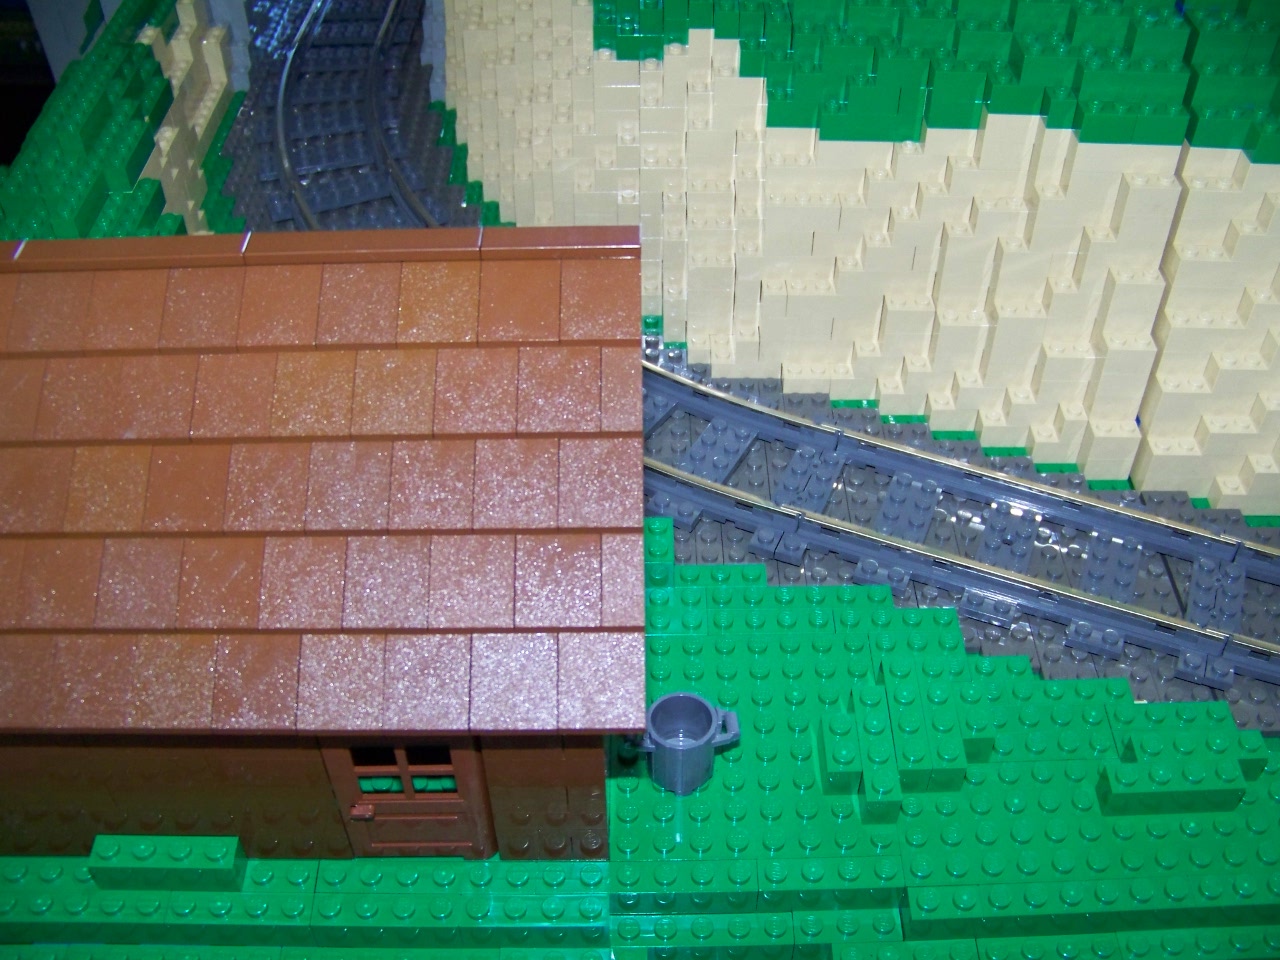
shack view one
|
|
shack view two
|
|
just the Lego (mountain/slope corner)

|
|
rear corner view
|
|
end view, and rear mainline space

|
|
First work on right module
end view, showing log retaining wall
|
|
rear view

|
|
Upper left tunnel portal
side view of portal
|
|
front view of portal

|
|
Upper right tunnel enclosed
end view - tunnel at right
|
|
front view towards portal
|
|
closeup into portal
|
|
end/rear view
|
|
Right module almost complete, right side unit complete
end view
|
|
front view towards portal
|
|
end/rear view
|
|
Right module complete
end view
|
|
front view towards portal
|
|
end/rear view
|
|
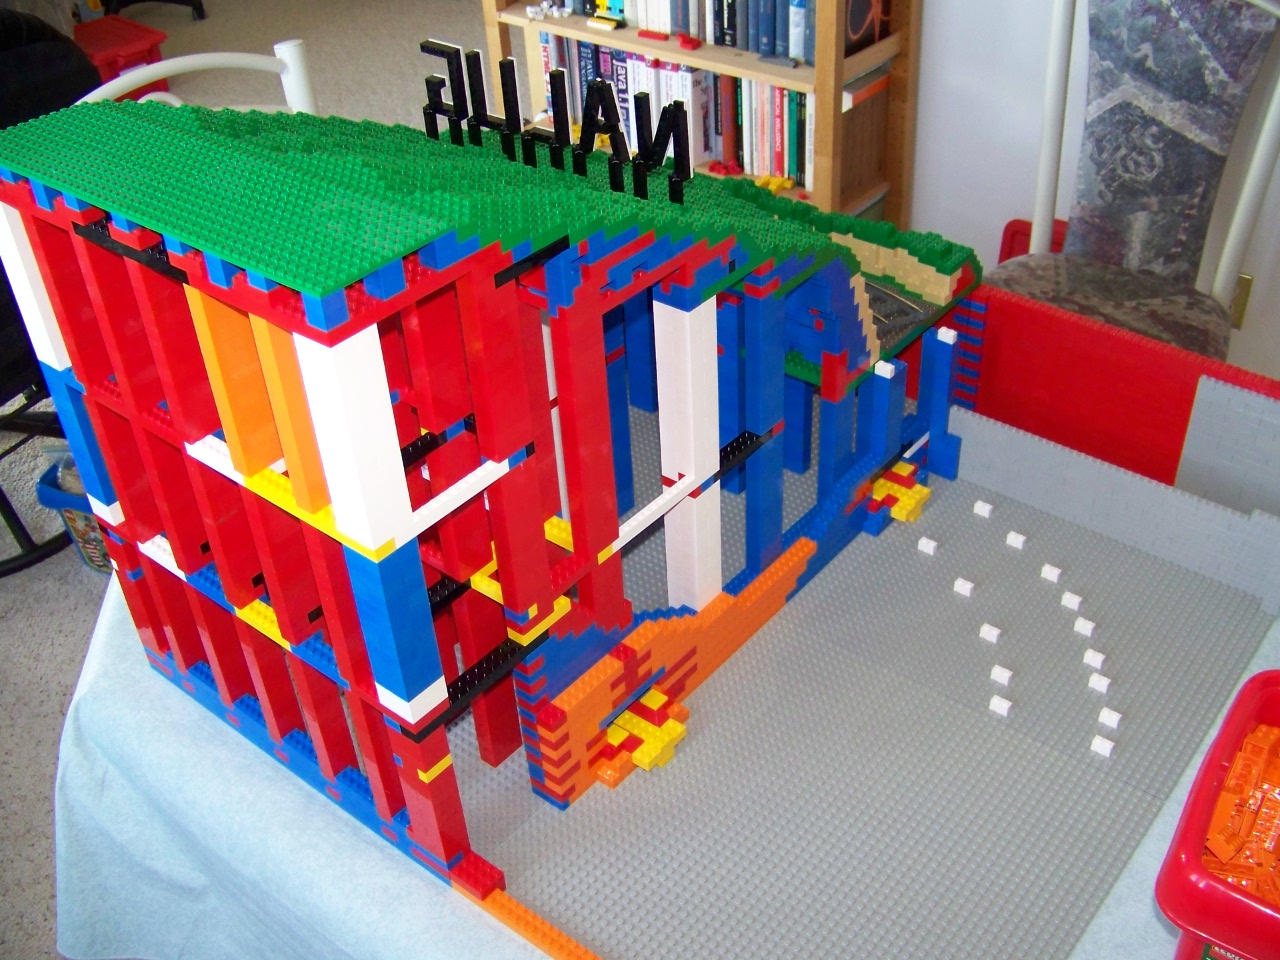
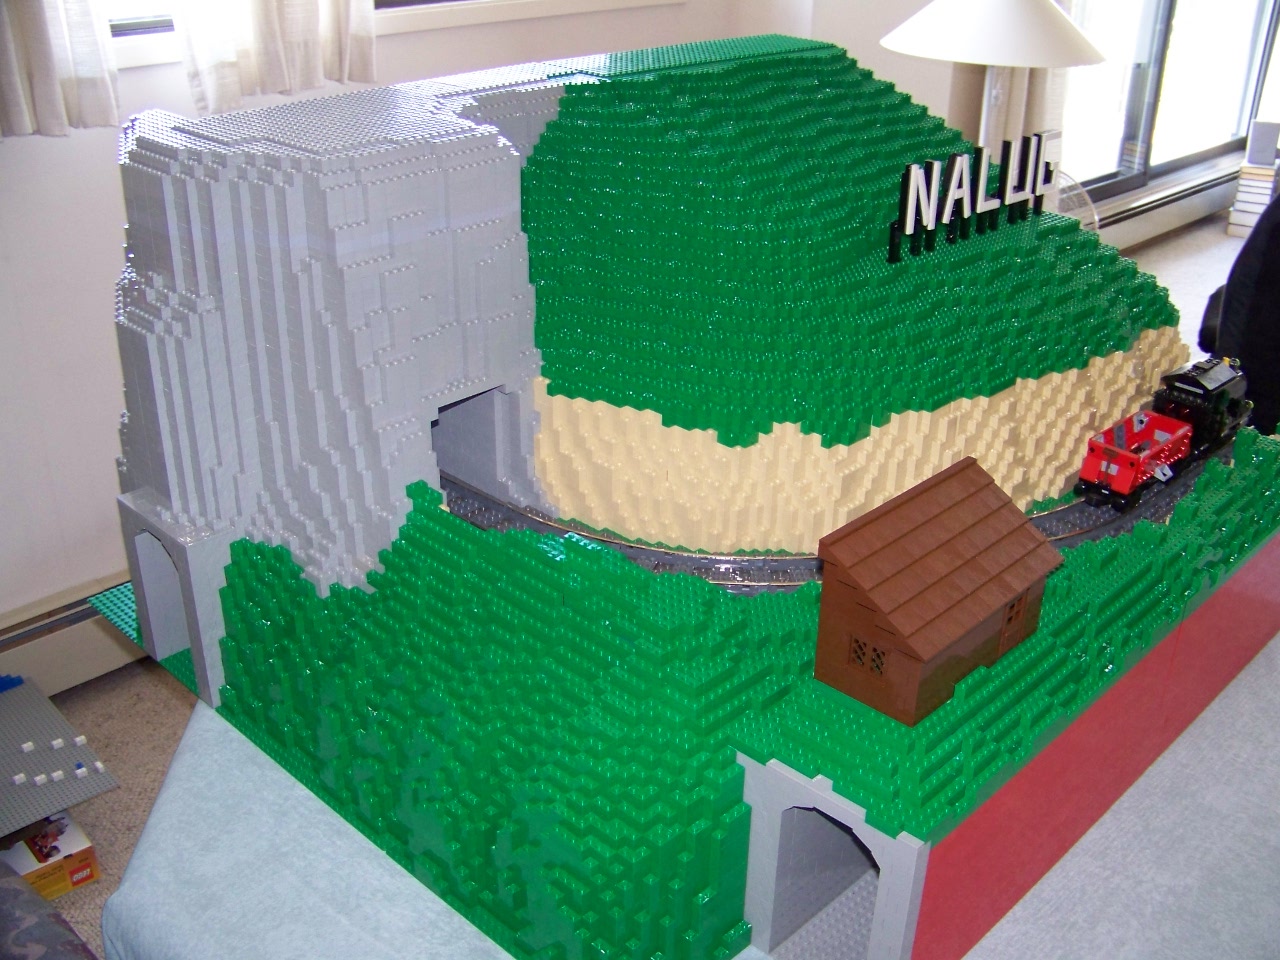
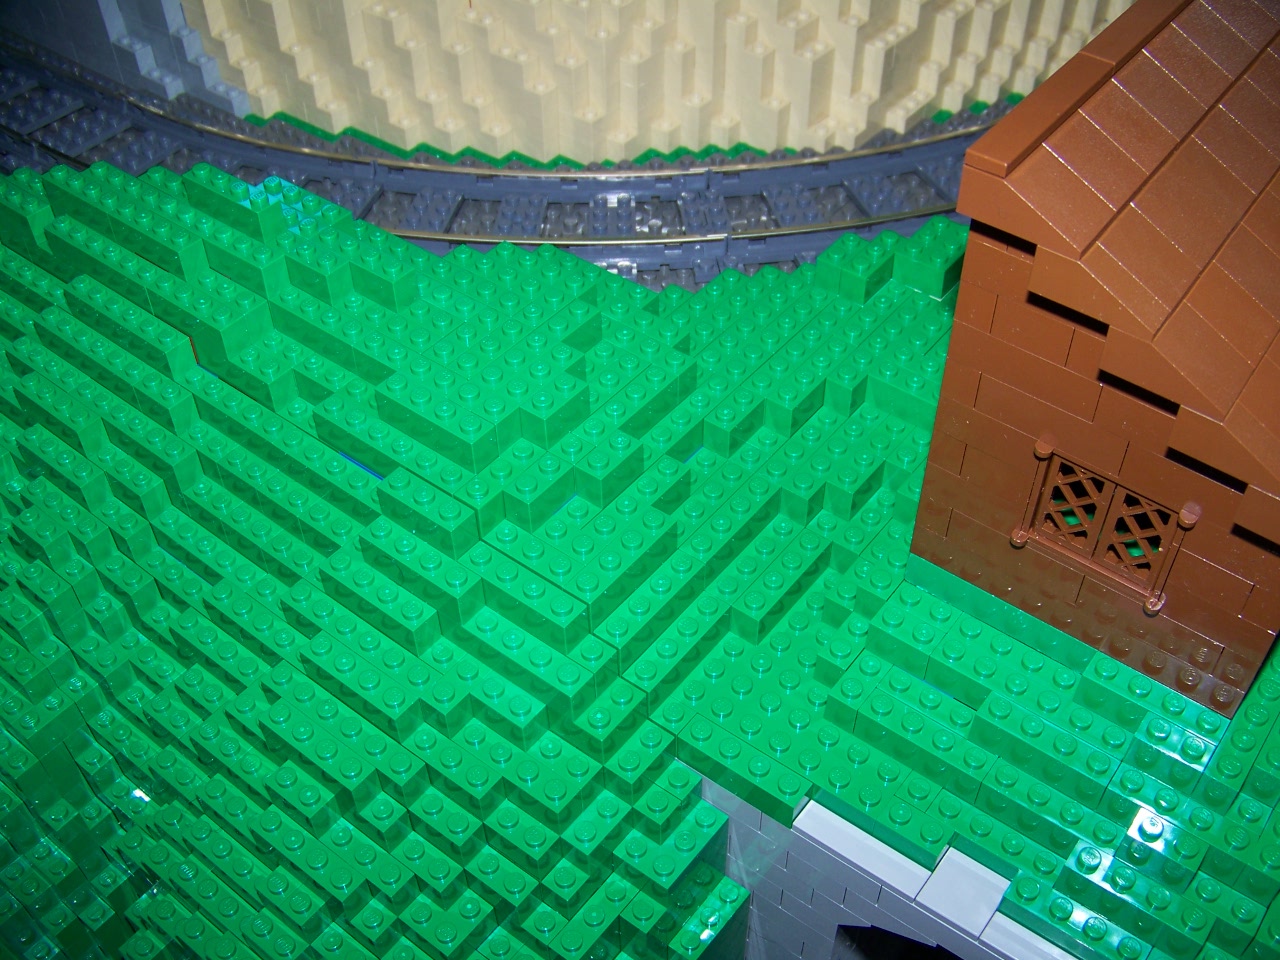
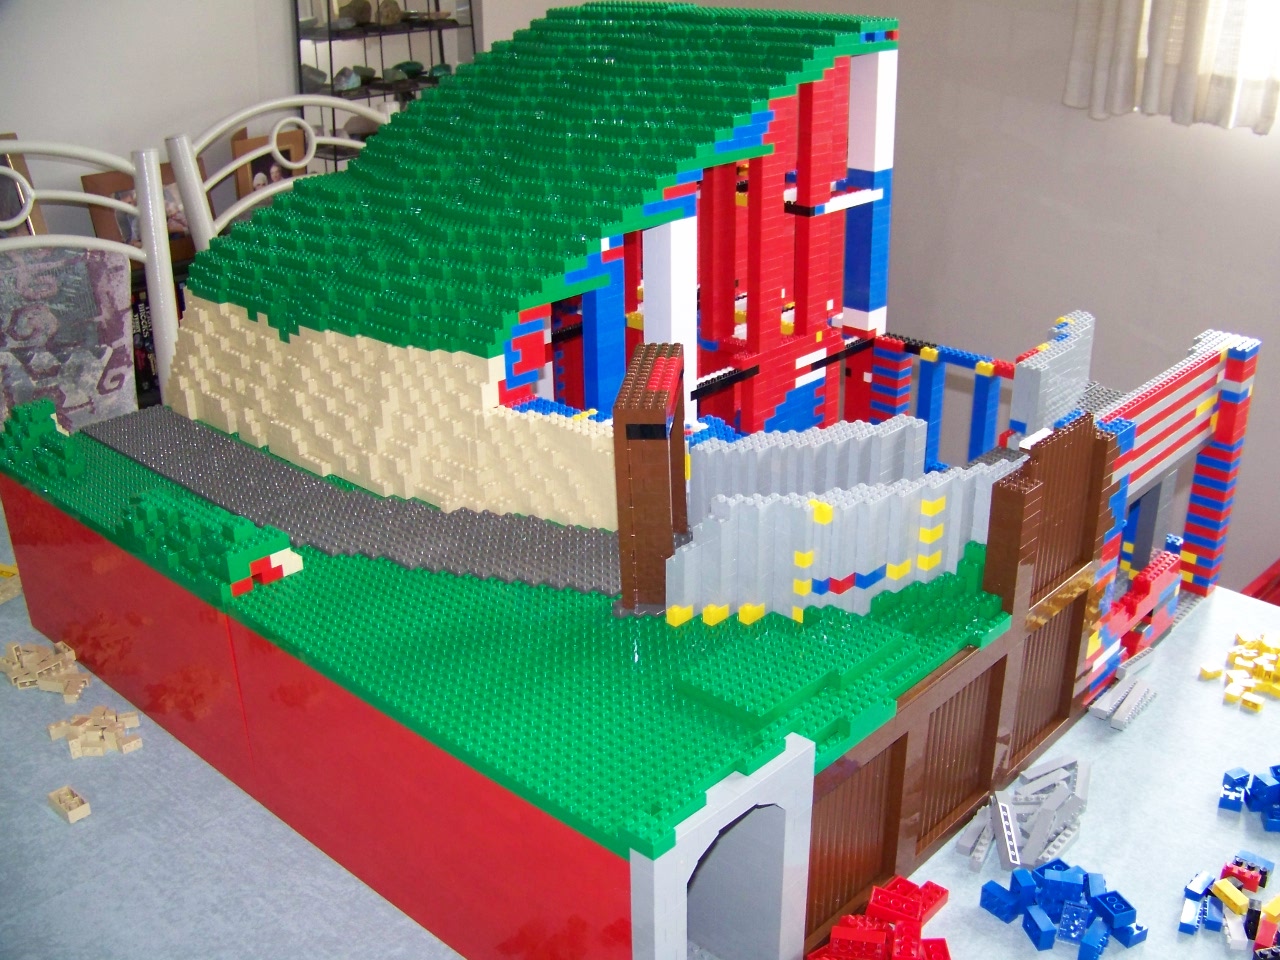
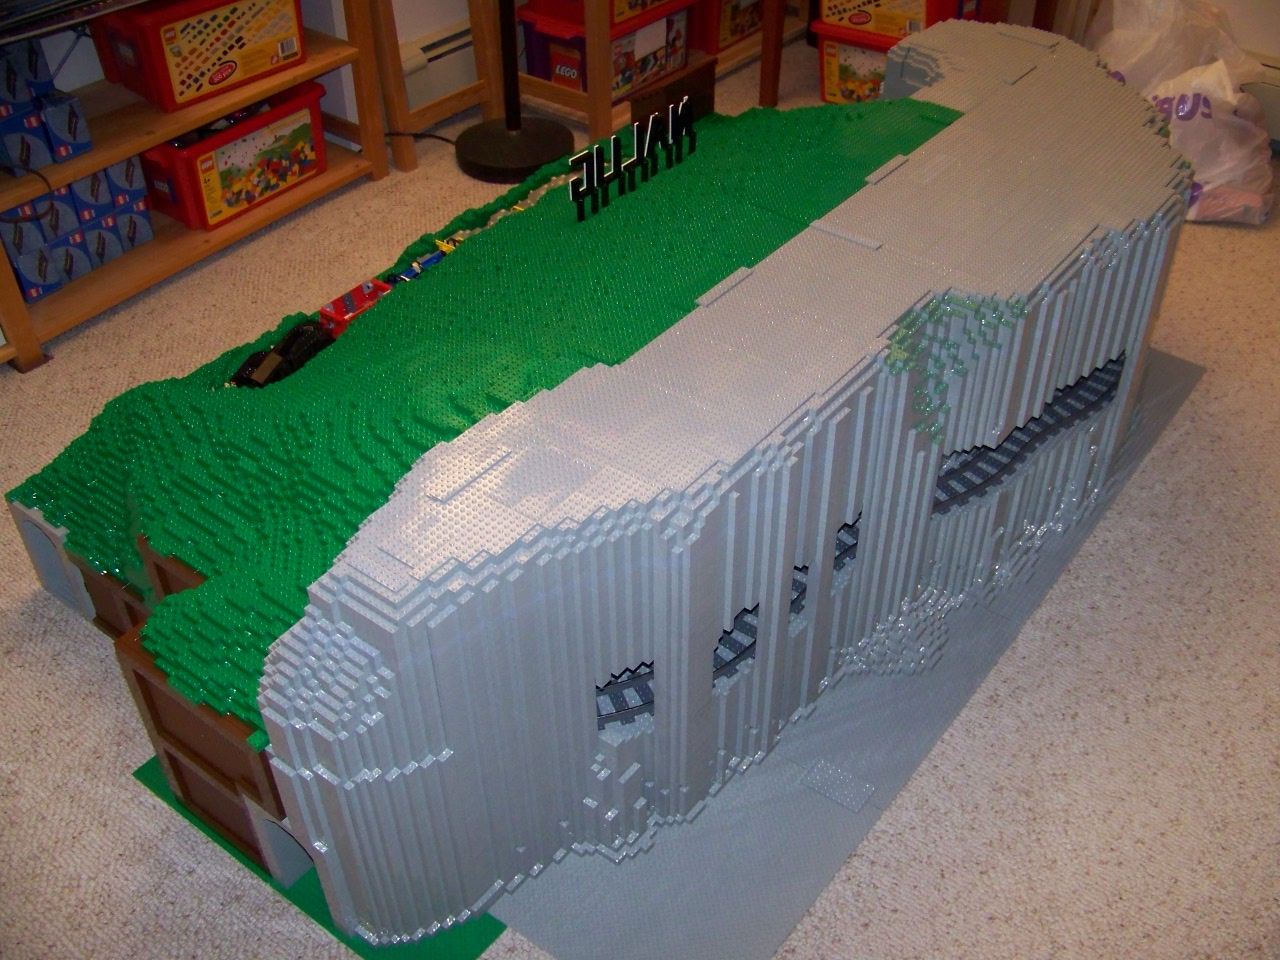
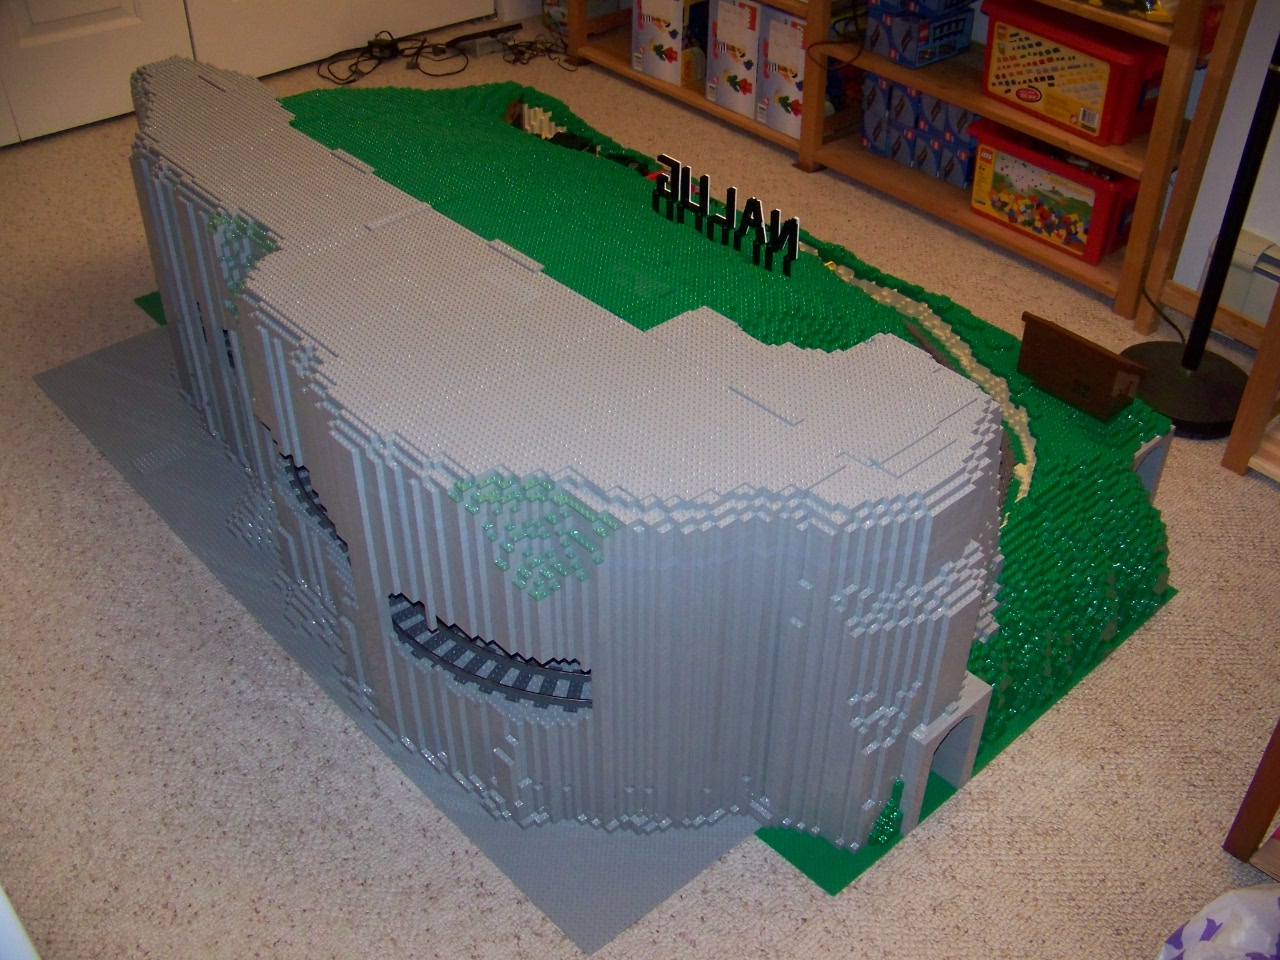
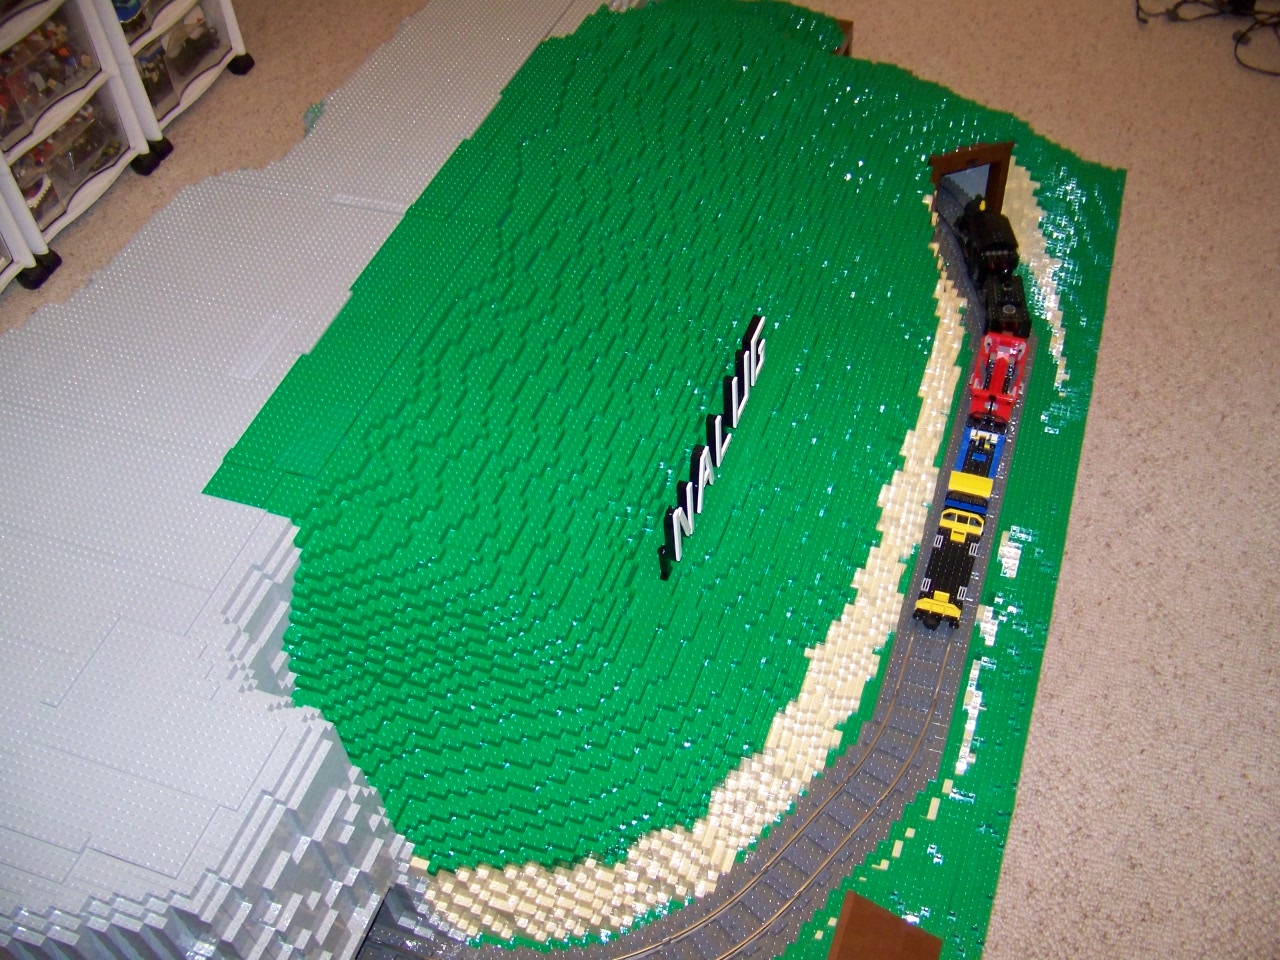
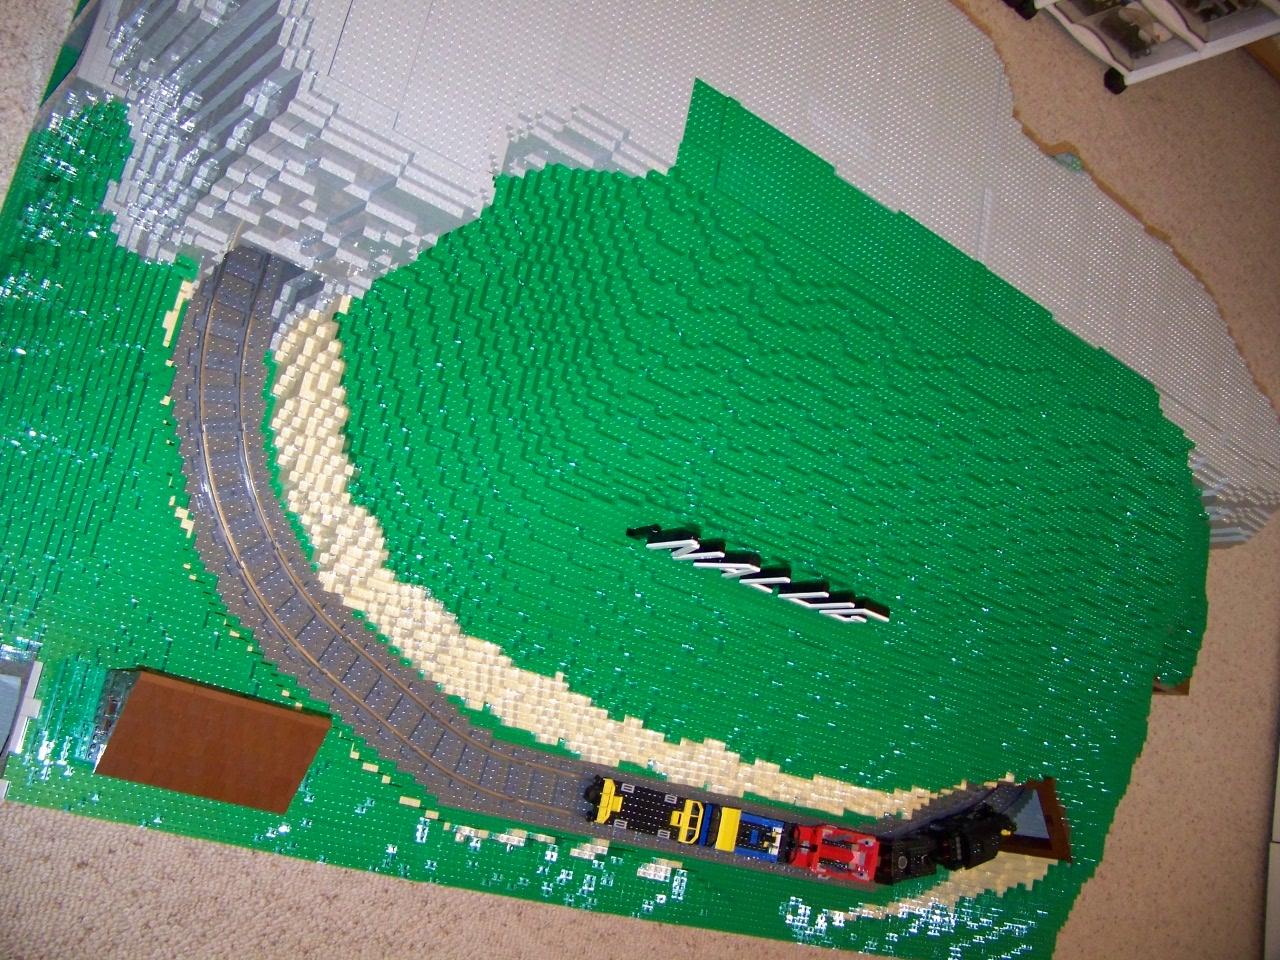
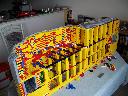
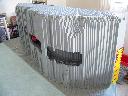
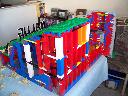
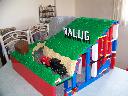
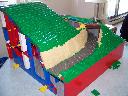
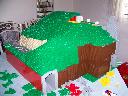
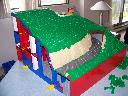
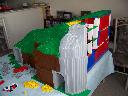
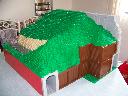
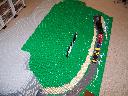
The entire mountain won't fit on my table, so I built it in my second bedroom (also known as my Lego room, although I don't build there, and there is lots of Lego elsewhere!). The pictures I took were from above it as I walked in the small space around it.
The entire mountain
left cliff
|
|
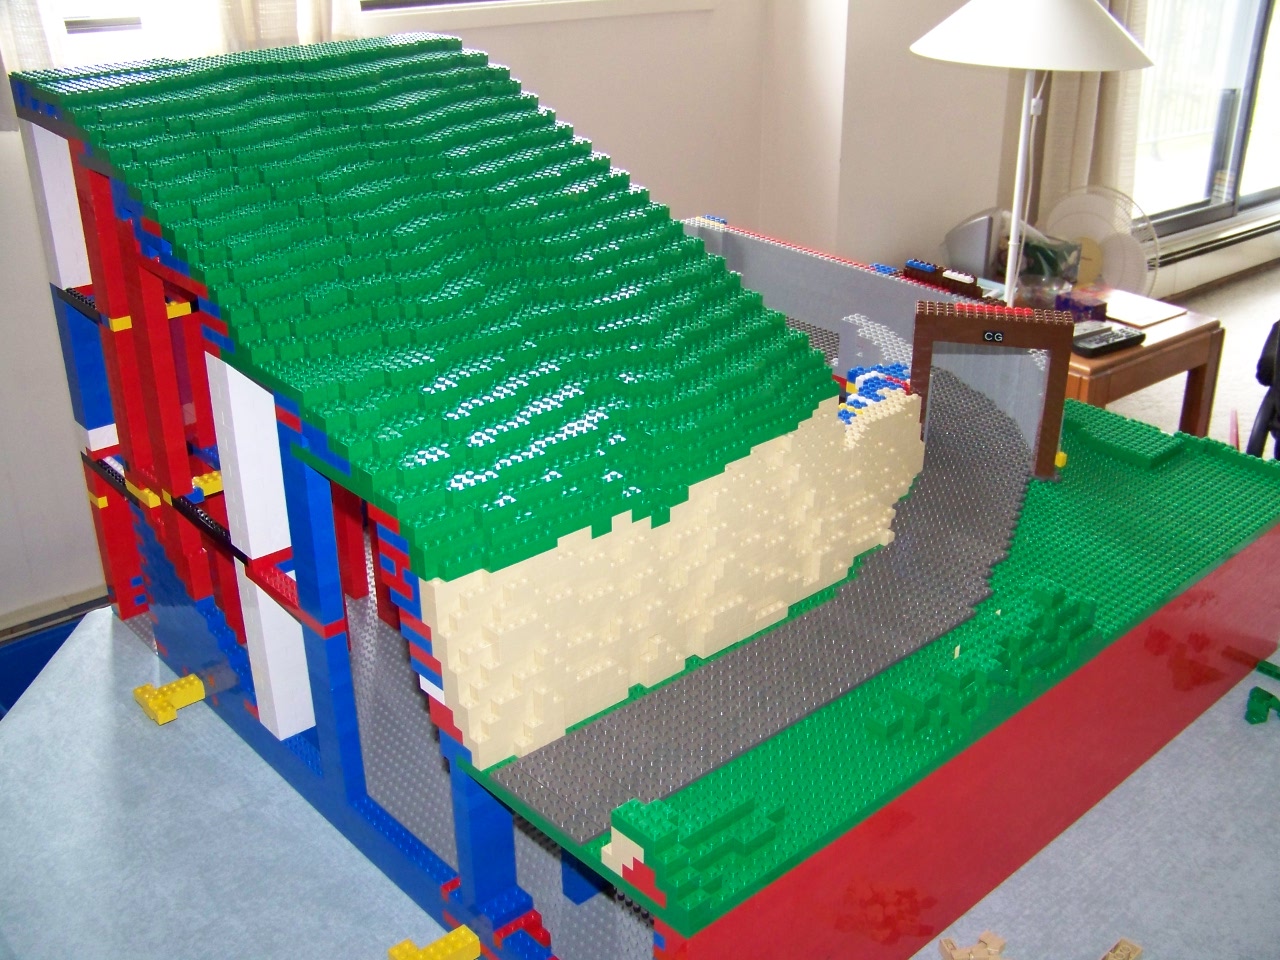
right slope

|
|
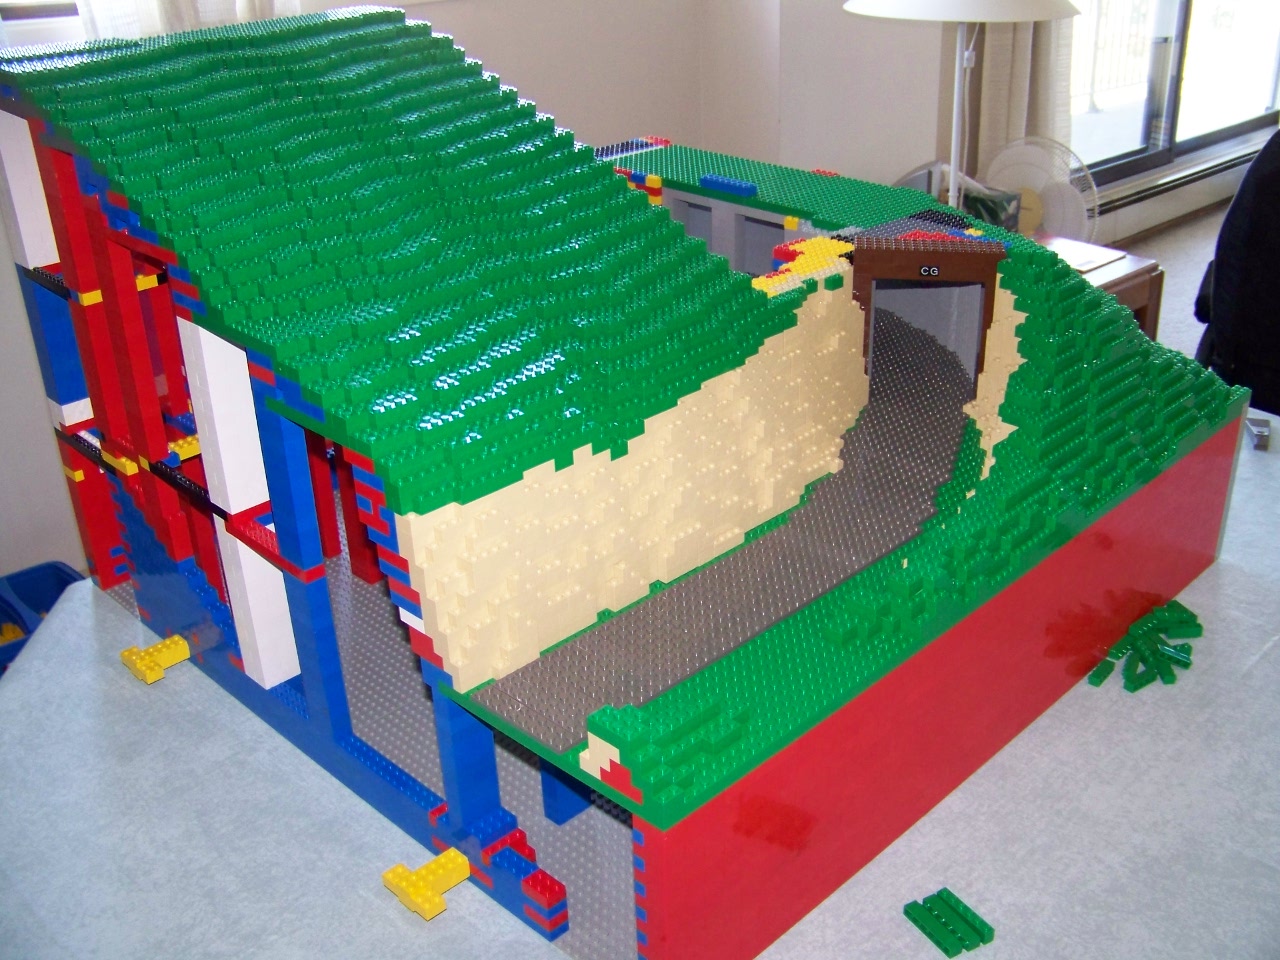
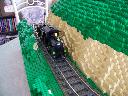
along the slope track

|
|
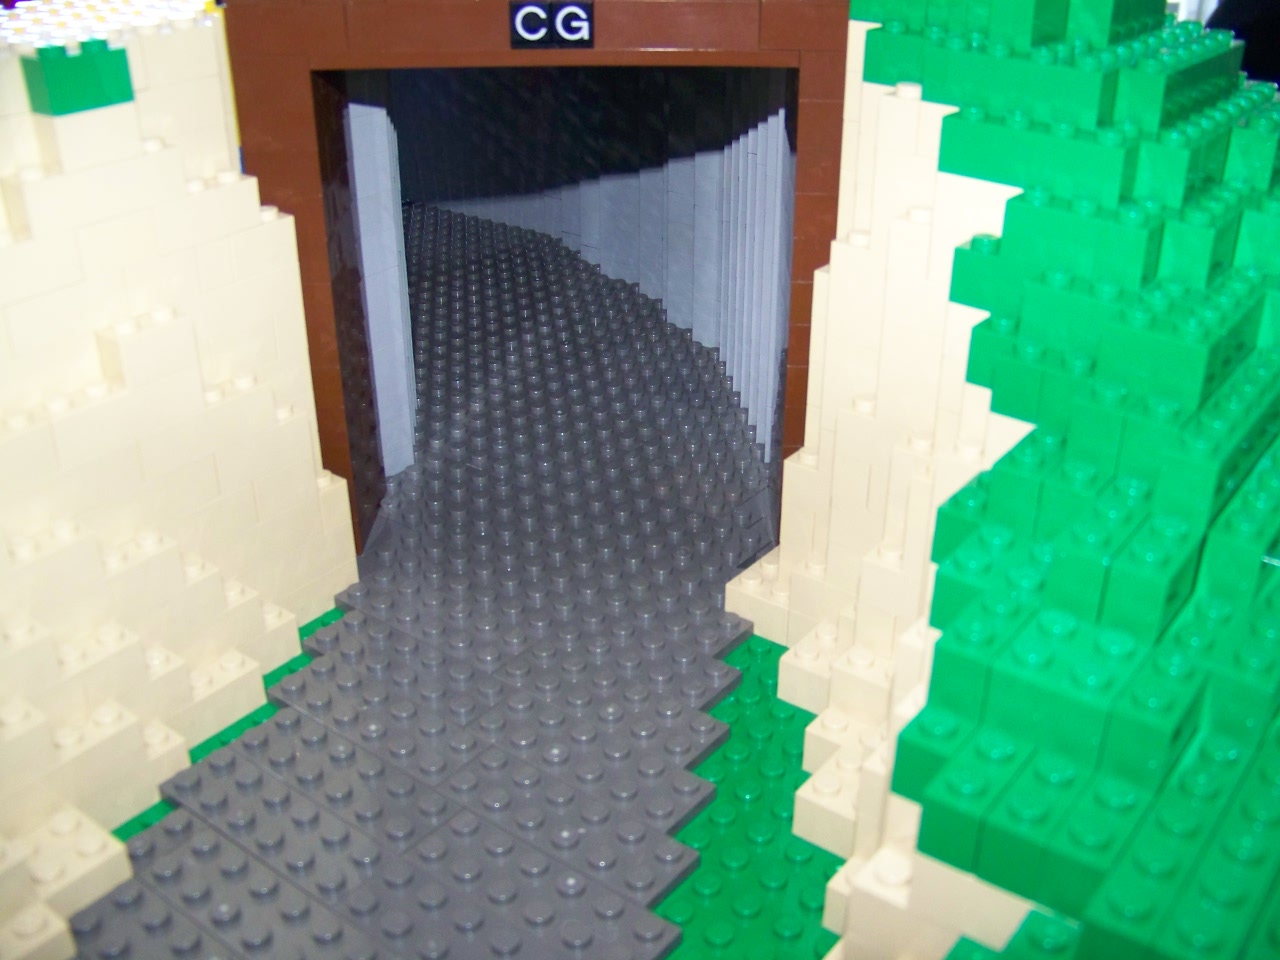
along the cliff
|
|
upper right cliff
|
|
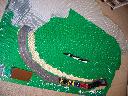
upper left slope
|
|
upper slope view
|
|
After setting it all up, I found that I had no way to apply power to the track to test out the train. I had marked out the train clearance early in the building, using white 1x2 bricks first on the baseplates, and then higher up as I built up. So, it should all work out. But, I wanted to test the train on the whole thing, just in case. I could get power to the outer rail, but not to the inner rail (its inside the tunnels). I ran the cars through by hand and they seemed fine. After a bit of panic, I realized that the tracks that Kevin had made with wires soldered to them would work fine. I could even hide one inside the tunnel with the wooden portal, since the inner side there has gaps in the tunnel wall to the interior of the module.
Next was setup at the pre-show at Capilano Mall. Thump! The engine and the car with the "handles" bump inside the left tunnel (as viewed from the cliff side). It's a pretty solid thump, and sometimes the engine derails, but usually it just stops cold. Removing the handles from that car, moving the roof piece of the engine one stud forward, bracing the track towards the slope side at that end, and only running the train clockwise, allows it to work.
Part of the problem may be the tables - there are significant gaps between parts of the modules that were not there during building - I believe the tables are not presenting a level surface for the entire mountain. However, I think there is still a problem inside the tunnel. Its not easily fixable. I think it may have been a case of me forgetting that the bottom brick of the end of the tunnel was fine where it was because it is under the train level, but that for the remaining layers I was supposed to move one stud outwards. However, reviewing the pictures of that end now, I don't see that being the case.
Moving from the mall store to the GETS show takes several trips with the vehicles, partly because of the large size of the tables that Laz's winter scene is on. I was off on one such trip, and some of the NALUG sign slope sections were sitting on tables in the show hall. Unfortunately, one of those tables didn't have its folding legs braced properly, someone kicked the leg, and *crash*, the modules fell to the concrete floor. They showed me the mess when I got there, and I didn't have the heart to try to quickly re-assemble something. I said "screw it", and went off for the next load. A couple of the NALUG members were able to spend a couple of hours salvaging large sections and did a good job of making it look right, even if it was a weak mess internally. The problem, which we had observed when transporting those sections, is that the thin wall on the front is wobbly by its nature, and the big 12x24 base bricks don't connect to it very well. I couldn't think of any fix, given the space constraints, so I took the whole thing apart after the show.