This puzzle is the largest (that I know of!) of the Wrebbit Puzz3D puzzles. I saw a TV spot about them having built a lifesize cable-car this way, but I don't think that's for sale. I also suspect they cheated, and did not assemble it as a puzzle! "New York, New York" is listed as having 3141 piece, but I don't know if that includes the bonus mini-puzzle or not. A 3000 piece 2D jigsaw puzzle is a big job. This one is bigger. This is the largest jigsaw puzzle I've worked on, and, as expected, there are big problems just finding somewhere to put all of the pieces. I suggest you have a large table (add all the extensions you have), plus some extra places nearby that you can stack things on. As with any serious jigsaw puzzle work, it is best to not let others near it until you are done (unless they are also jigsaw puzzle people). In particular, I suggest pets and young children be kept away - they are far too likely to eat some important piece! The foam pieces can also stick to you because of static electricity, so check yourself when leaving the area.
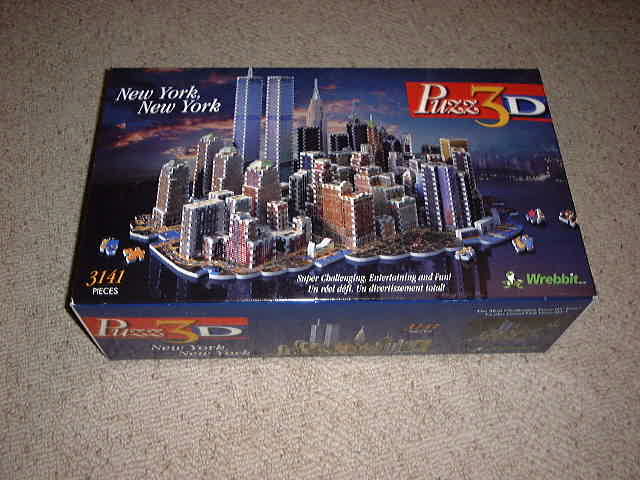
If you haven't see this puzzle in the stores, its easy enough to spot. Its a big box with pictures of the assembled puzzle on it.
|
|
The box top looks like this. |
|
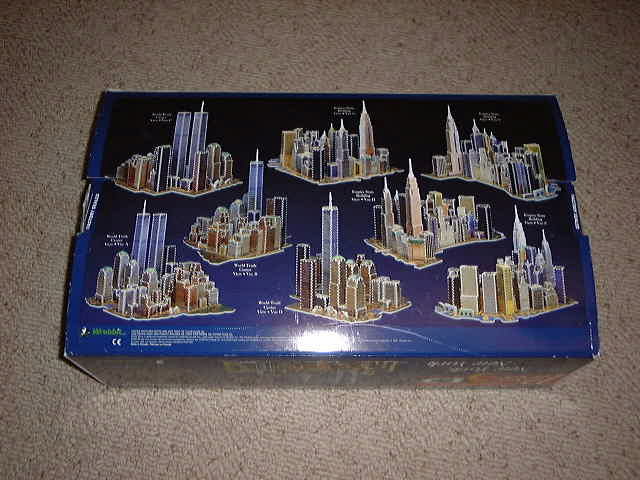
The box bottom looks like this. |
Inside, I found an instruction booklet (yes, you do need it), a sheet of glossy cardboard with some punched out pieces for pointy roofs and spires, and 2 big bags full of pieces. Because of limited table space, I chose to only dump out one bag at first. This was a very lucky choice. Each bag is sort-of like a separate puzzle - the pieces in it build a set of complete panels. (Well, other than the pieces of the mini-puzzle, which are split between the two bags, and are very easy to identify.)
So there is your first choice. Should you be "proper" and dump out both bags and mix them all together, or should you do them one at a time? I suggest one at a time - you will already be spending plenty of time on this puzzle, so don't make it worse. Also, going one bag at a time halves the amount of table space you need.
Assuming you are going one bag at a time, does it matter which bag you do first? It does a bit, and I lucked out and got the right order. One of the bags contains all of the base pieces. Since the bases (there are two, that sit side-by-side) are the largest panels in area, they take the most table space. It is useful to not consume that table space until the end of your sorting and panel assembly phase. So, I suggest you identify which bag has the bases, and work on the other one first. When you get to the bag with the bases, set aside all of the base pieces until you have sorted out and assemble all of the other panels. The base pieces are by far the largest set.
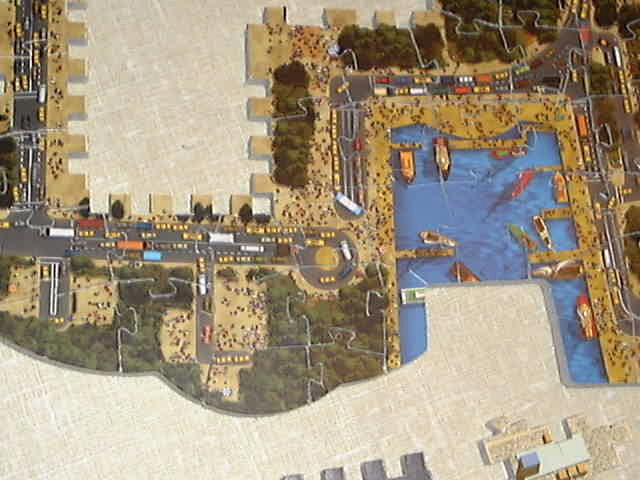
The bases are the hardest panels of the puzzle. This is due mostly to the odd and unpredictable shapes of the pieces, and to the total unpredictability of the "cars and roads" patterns on many of them. I started by separating out the blue water pieces and doing those parts, then working on trees and a couple of other special bits. Then I went with straight road sections, based on the number of traffic lanes on the roads, and how wide the roads are. One of the edge tree pieces was missing, but found in my bag of "red spot" discards. Don't throw those discards away until you are very sure there are no real pieces in with them!
|
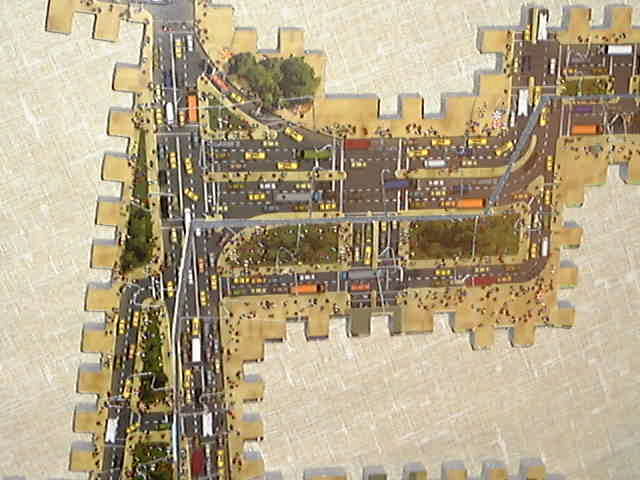
Don't expect the roads to make sense! Well, OK, apparantly there is a set of roads in Battery Park, on the south end of Manhatten, that almost come together in a corner, but end up both being dead ends. Perhaps they did join at one point, and were split to control the traffic. |
|
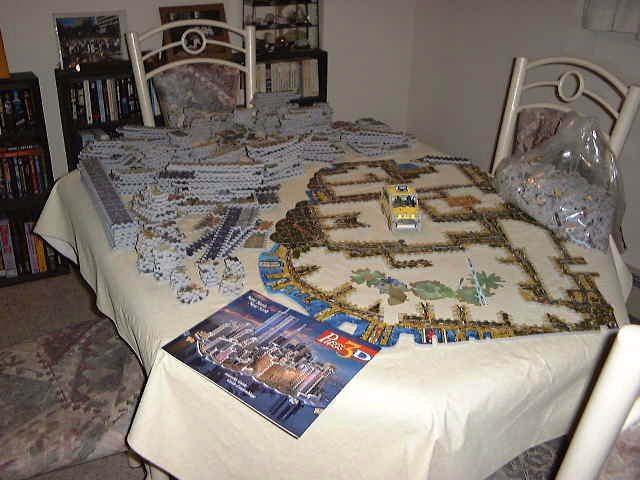
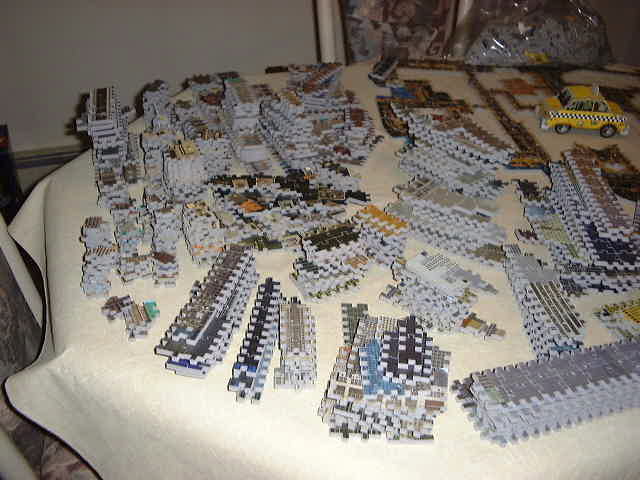
Here are the various panels that you end up with when you have put together all of the individual pieces. This shot also shows the bag of waste. |
|
|
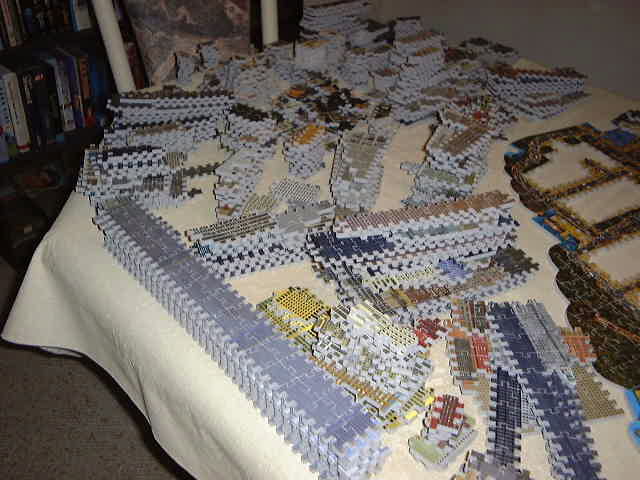
These are closer shots of some of the panels. |
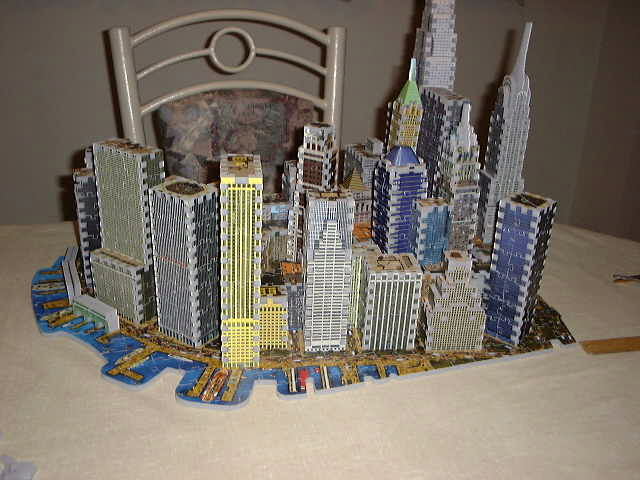
Here is where you start following the instructions. You probably don't have to do the panel assembly in that order, but I did and it worked. They first assemble the "World Trade Center" half of the puzzle, and then the "Empire State Building" half. This is a reasonable order, since the pain and frustration of the first will help prepare you for the second, which is much worse. For this part of the assembly, I suggest you grow youself a couple of extra arms, and have foot-long, strong, slim tentacles on each one. This will allow you to reach inside tall buildings from little holes, and apply pressure at the right points. If you can't manage that, perhaps a helper to sit under the table, while you position things over a hole in the table, so that you and the helper can push on opposite sides of things at the same time. I didn't manage either of these ideas, so I used a pen, a flat-bladed screwdriver and a wooden ruler, which are visible in some of the photos. Oh yes, I also often held newly built sections out beyond the edge of the table, so that I could reach inside to tighten things up.
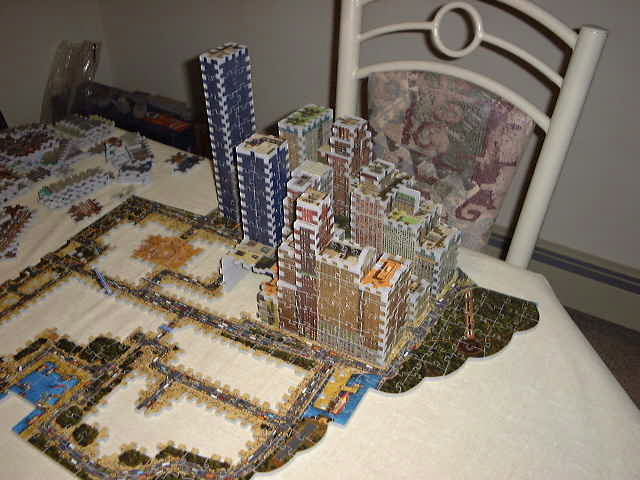
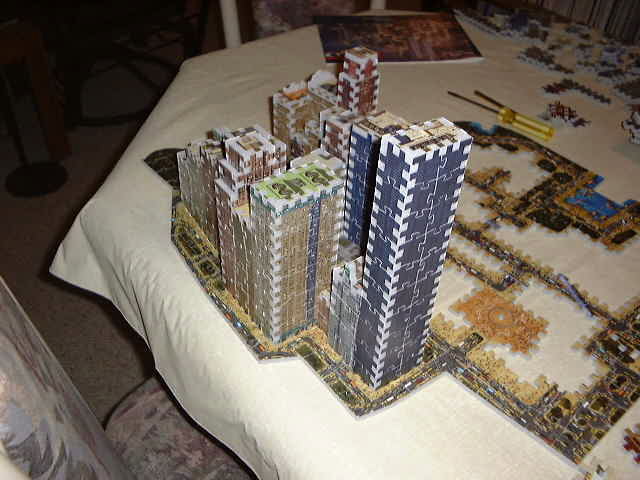
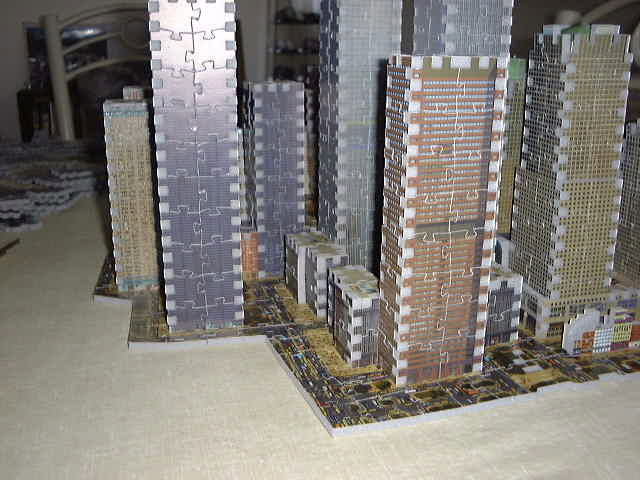
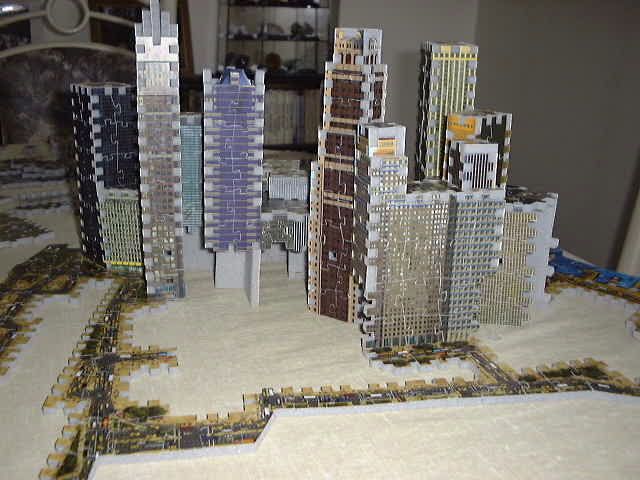
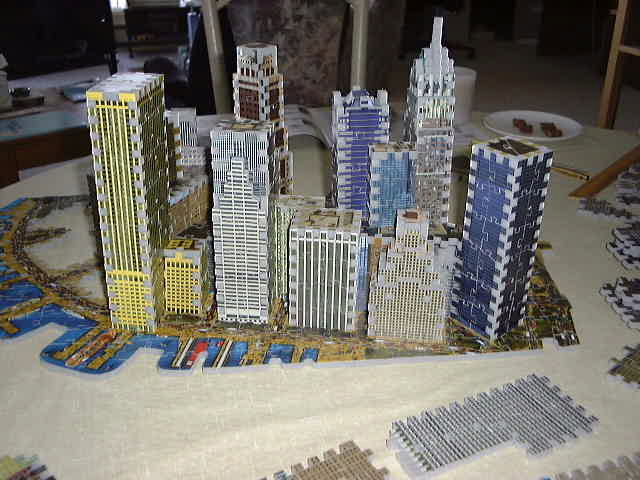
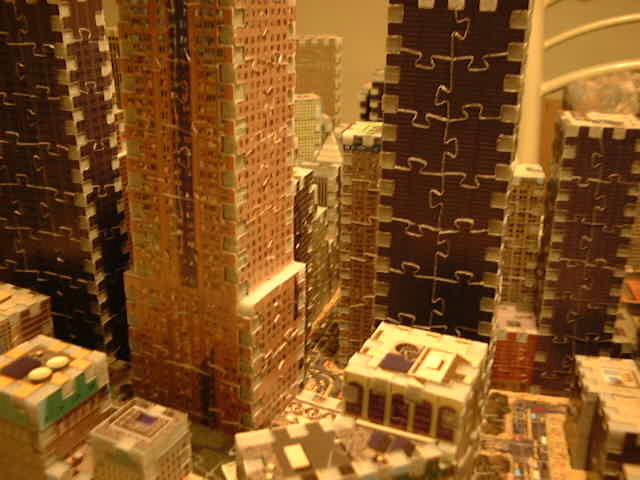
Assembling simple rectangular buildings is easy. The hard parts are the funny-shaped roof sections that plug into vertical walls all over and at various angles. There just isn't any way to make them all tight at the same time. Perhaps the professionals glue the pieces as they go. I cursed a lot at the big roof section in the "World Trade Center" half of the puzzle, but its nothing compared to the ones in the other half! However, I'm stubborn, so kept working at it until I had it all done. Here are some pictures of the "World Trade Center" half of the puzzle, as it was about half-assembled:
|
|
|
|
|
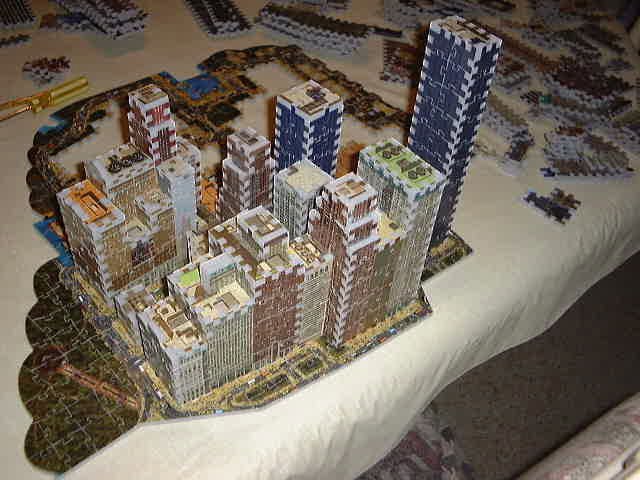
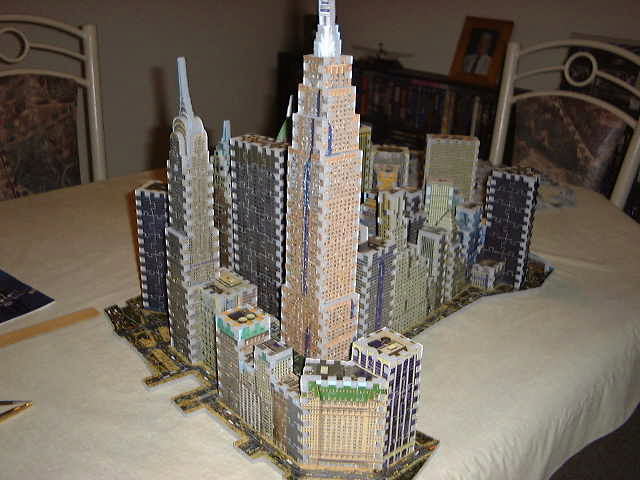
Eventually the first half is done:
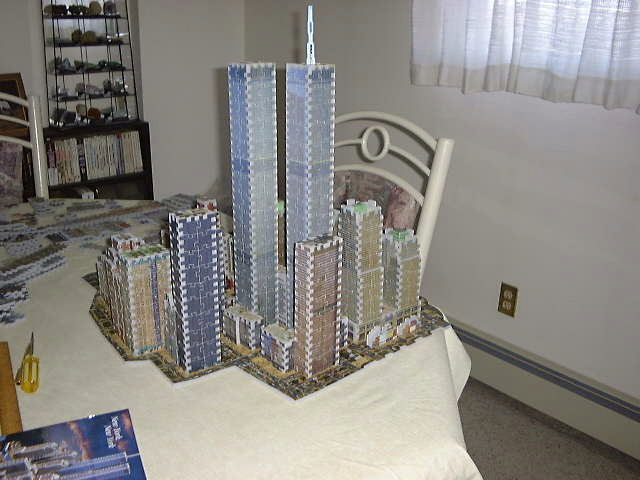
|
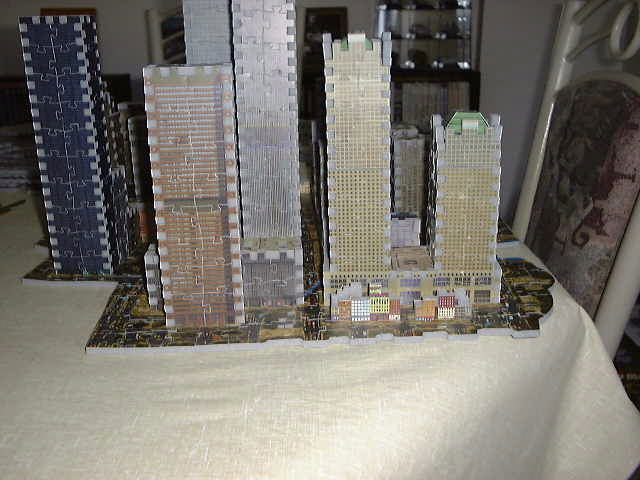
|
|
|
If you look closely, you will see that I hadn't yet figured out that there are regular roof sections underneath the cardboard roofs!
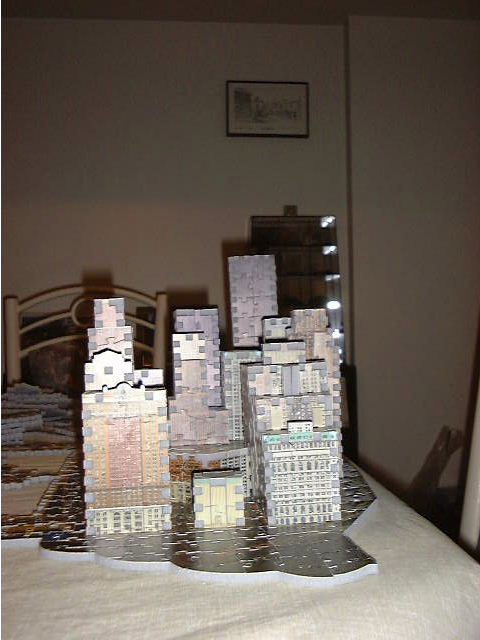
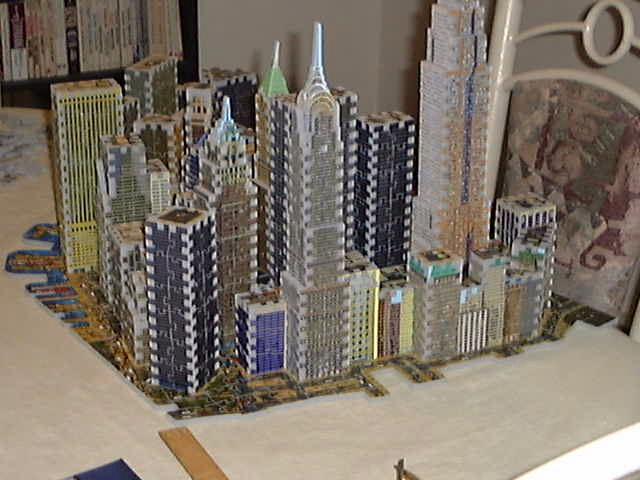
As I said above, the "Empire State Building" half is harder, since most of it is one large interlocked mass of buildings. You can likely spot jagged bits and gaps in my photos. For it, I have photos of it partially assembled:
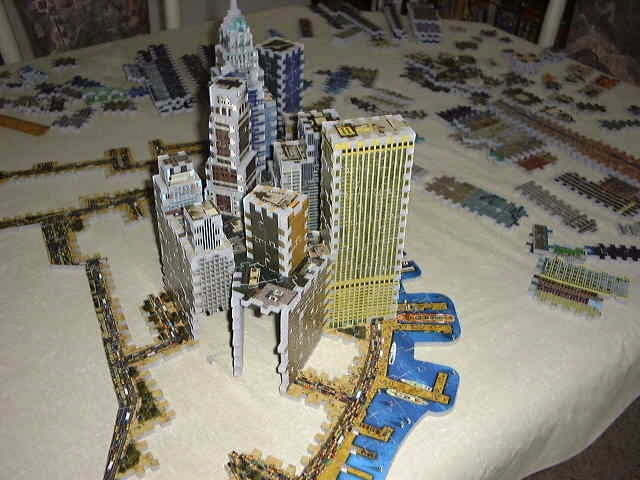
|
|
|
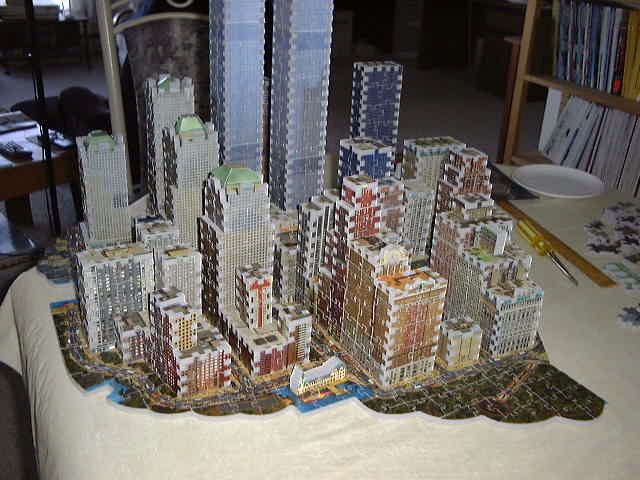
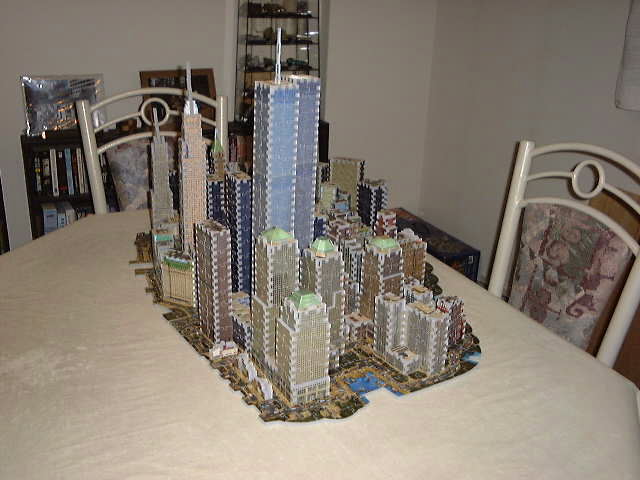
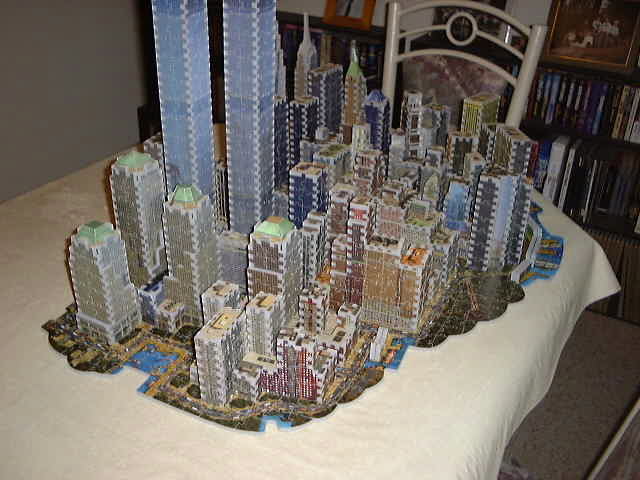
Also fully assembled:

|
|
|
|
For this half, I ended up removing lots of the base panel on several occasions, and also removing the top parts of previously assembled buildings, so that I could reach in and tighten joints.
Now comes the final step, which is simply to slide the two halves together, thus making the final completed puzzle.
|
This is a closeup of the split between the two halves. It occurs on roads, and follows a crooked path through the city. |
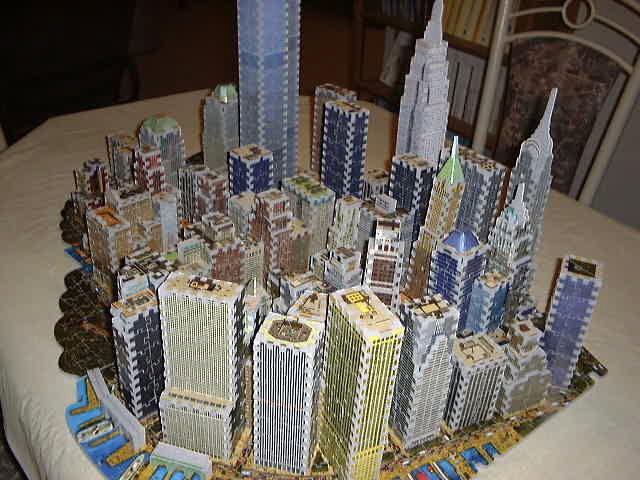
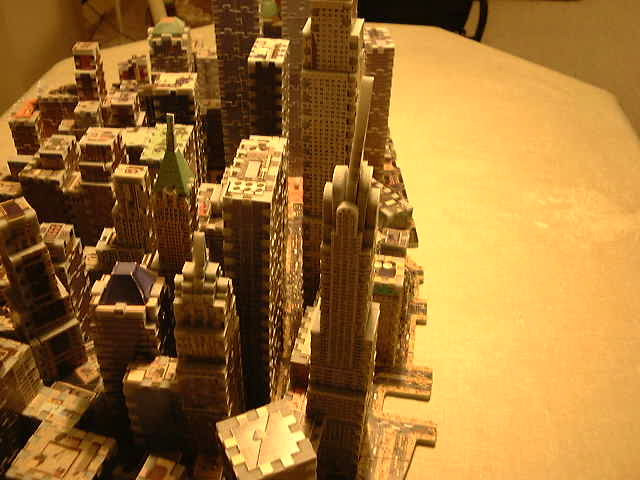
Finally, the fully assembled puzzle:

|
|
|
|
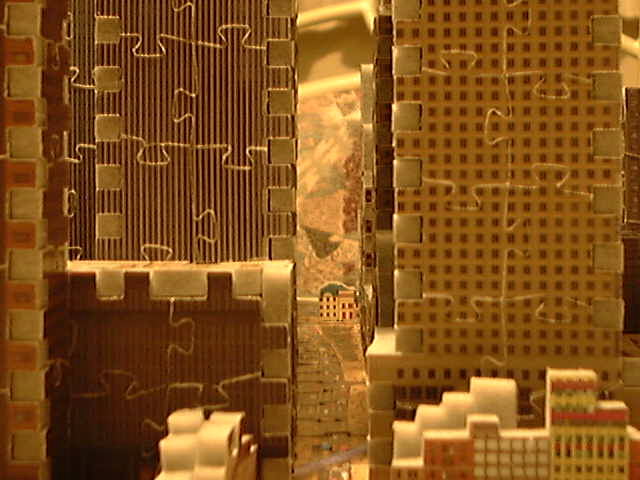
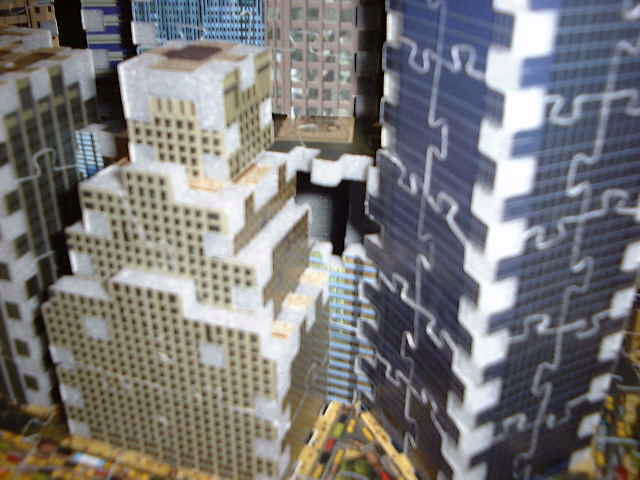
I took some overhead view shots, to show some of the roof sections and roads wandering between the buildings:
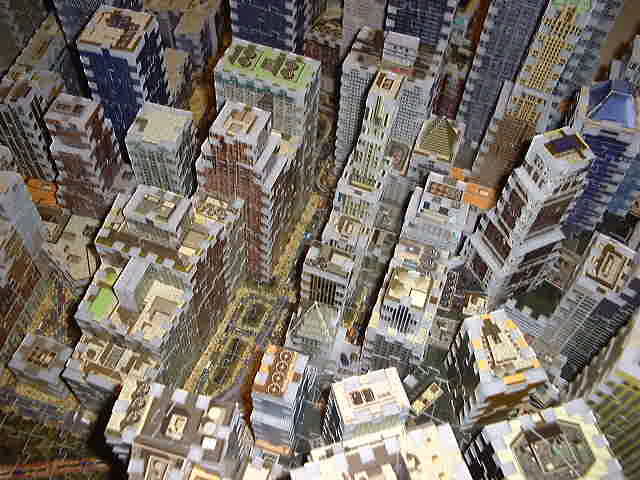
|
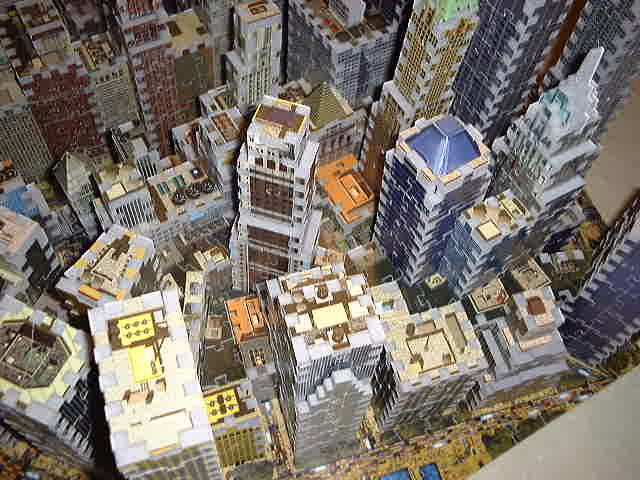
|
|
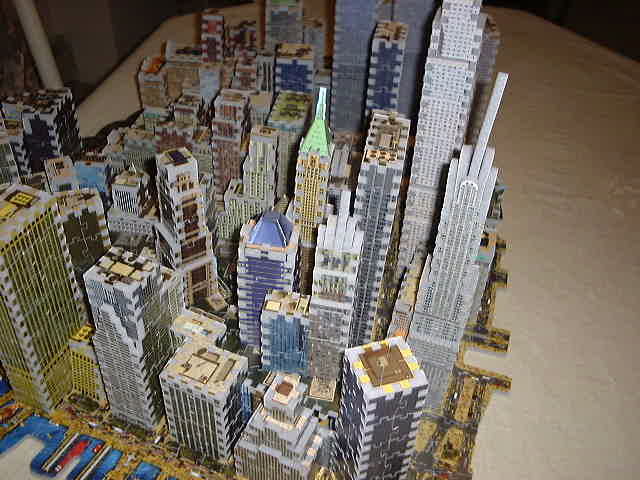
|
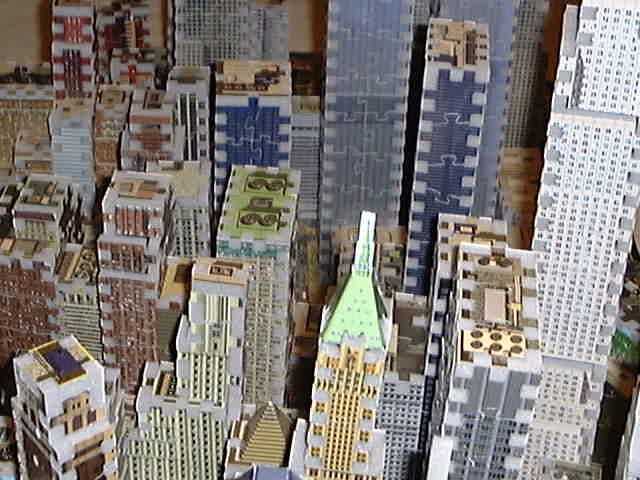
|
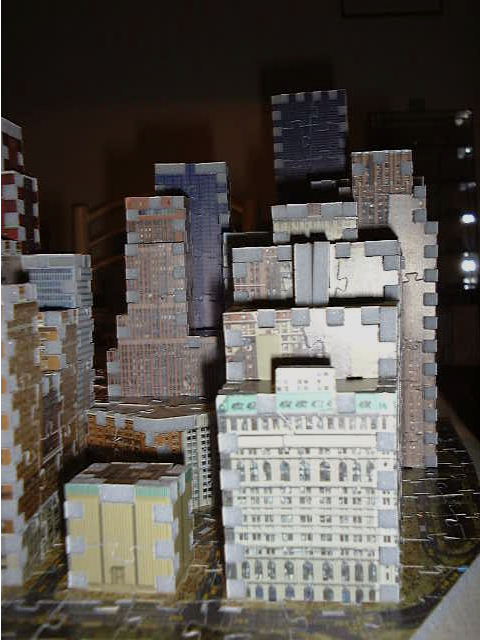
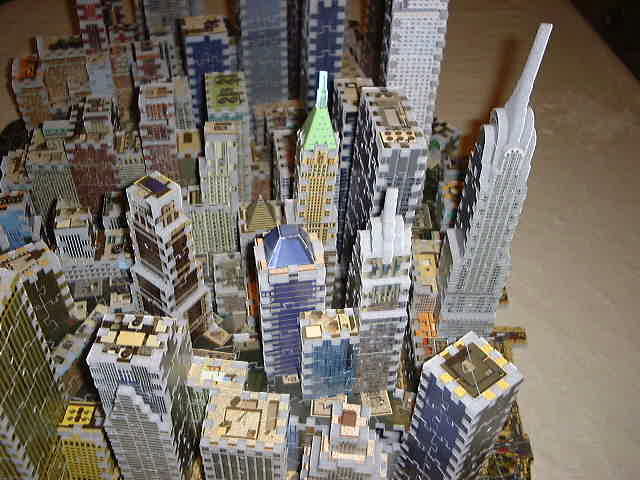
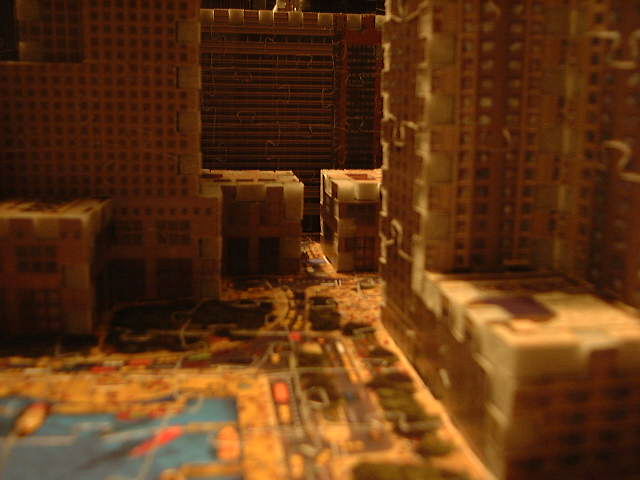
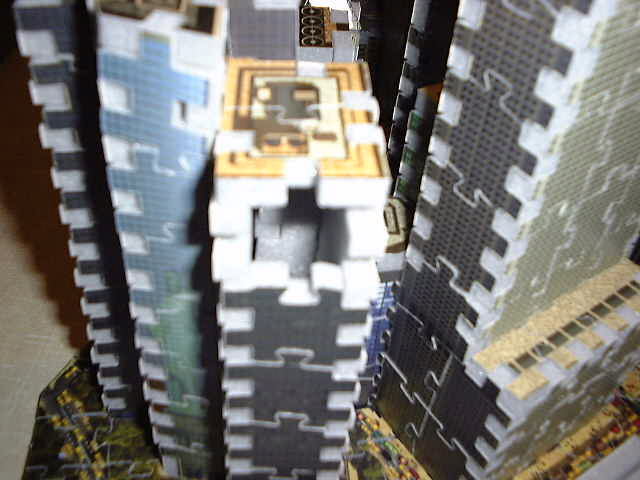
I also took some photos to try to show the streets among the buildings. The first three are with the camera flash on, and the second four are with it off, and so are oranger, and show more depth.
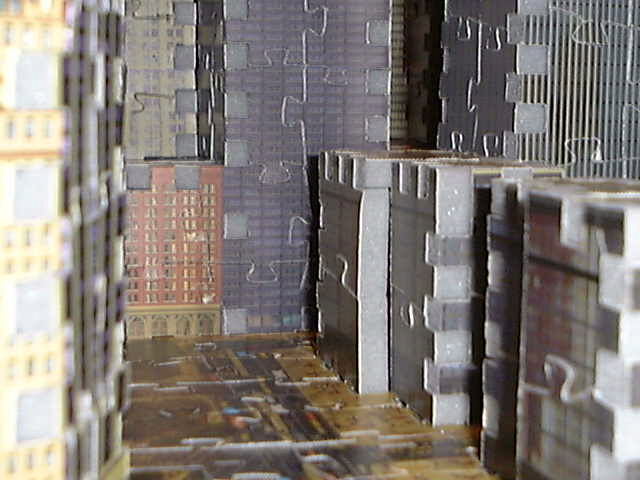
|
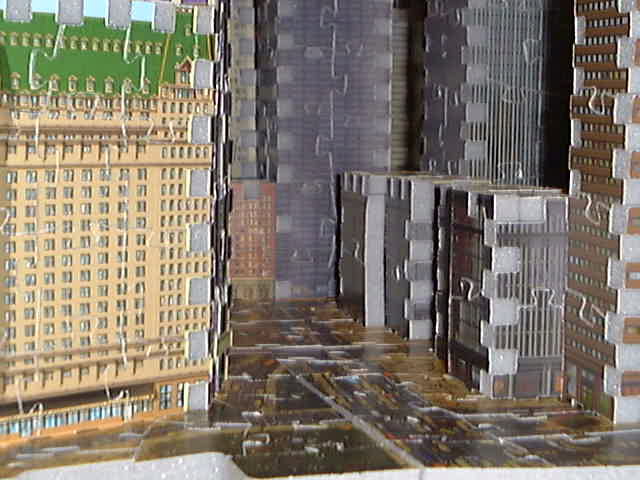
|

|
|
|
|
|
|
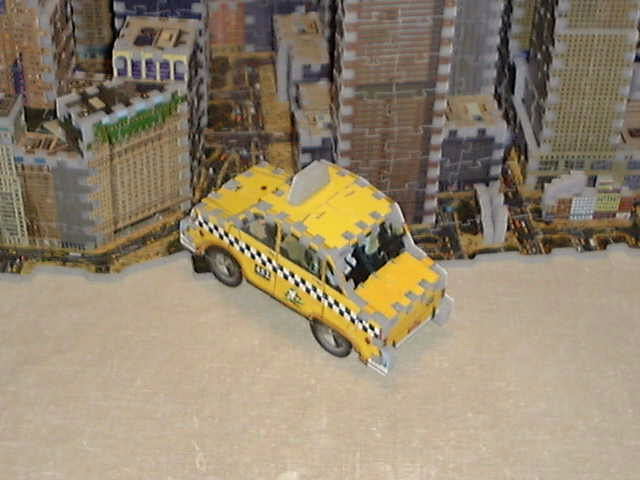
Finally, I have a shot of the mini-puzzle. |
Oh yes, unfortunately, I seem to be missing two pieces for this puzzle. I've looked everywhere, honest! They go in these spots:
|
|